
Creating a Solar ID account, creating a PV profile and activating the device
This document describes the full process: from creating a Solar ID account, through completing the PV installation profile, to activating the Solar Cube device using a one-time token in the portal.
Before you start, prepare
- The email address used to log in to Solar ID.
- PV installation parameters: panel capacity, azimuth, tilt angle and location.
- Inverter and battery storage details: model, power rating, serial number, IP address and MAC address.
- The device identifier
SCXXXXXXXXXXXXXrecorded during Wi‑Fi configuration. - The Solar Cube device powered on and connected to the local network via Wi‑Fi or LAN.
- A computer or phone connected to the same local network.
Key activation requirements
- The Solar Cube device must have been powered on or reset within the last 3 minutes.
- The computer or phone used for configuration must be on the same local network as the Solar Cube device.
- The PV inverter should also be available on the same local network.
- The current device status can be checked at https://solarcube.local:5443.
1. Creating a Solar ID account
The steps below show how to start the login process and create a new user account.
1
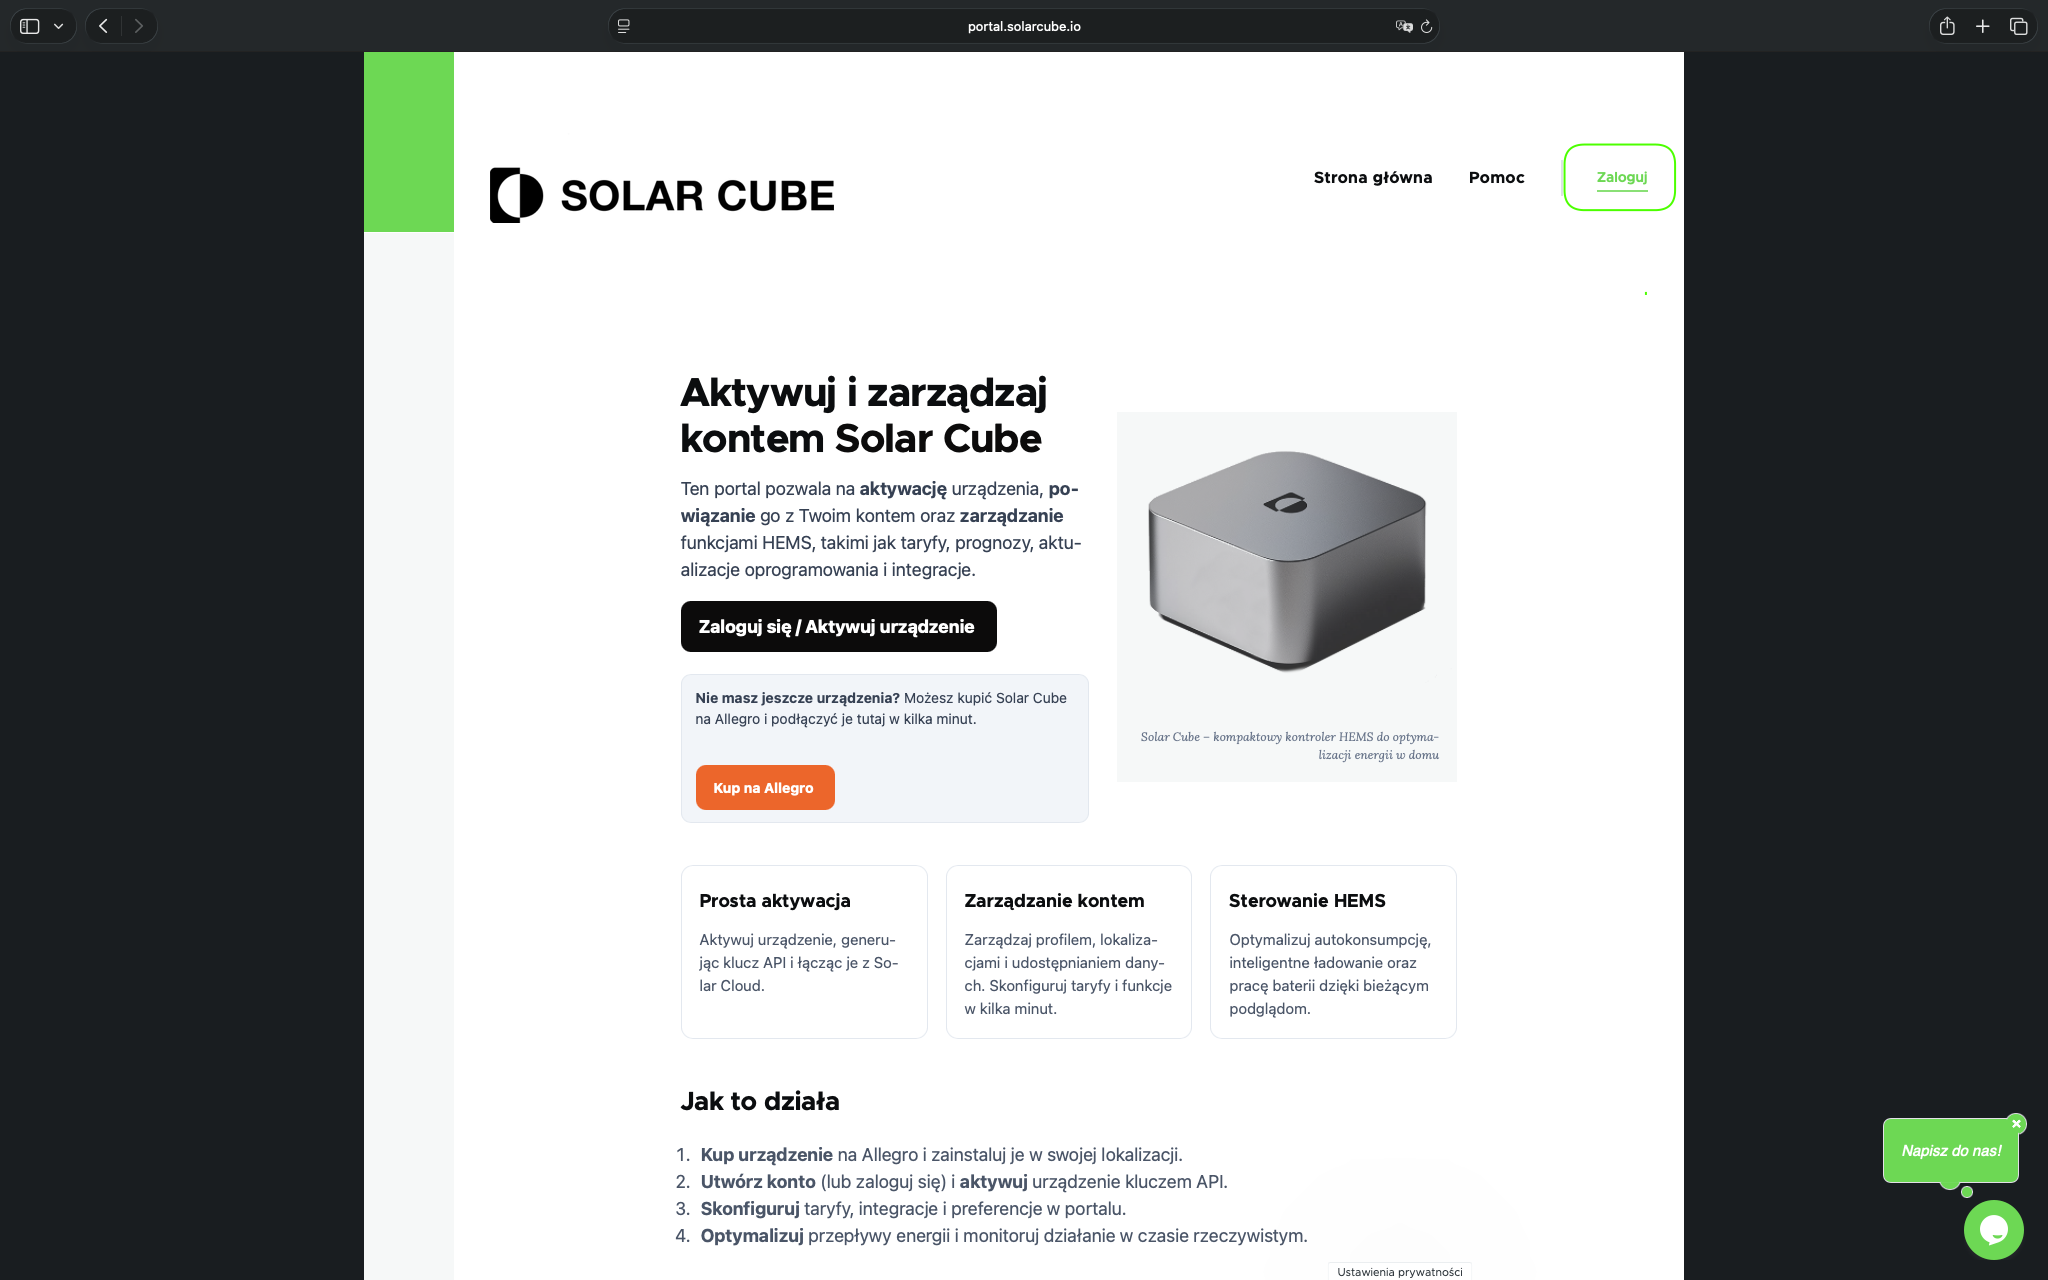
Open the Solar Cube portal
Go to the portal https://portal.solarcube.io and click the “Log in” button.
1a
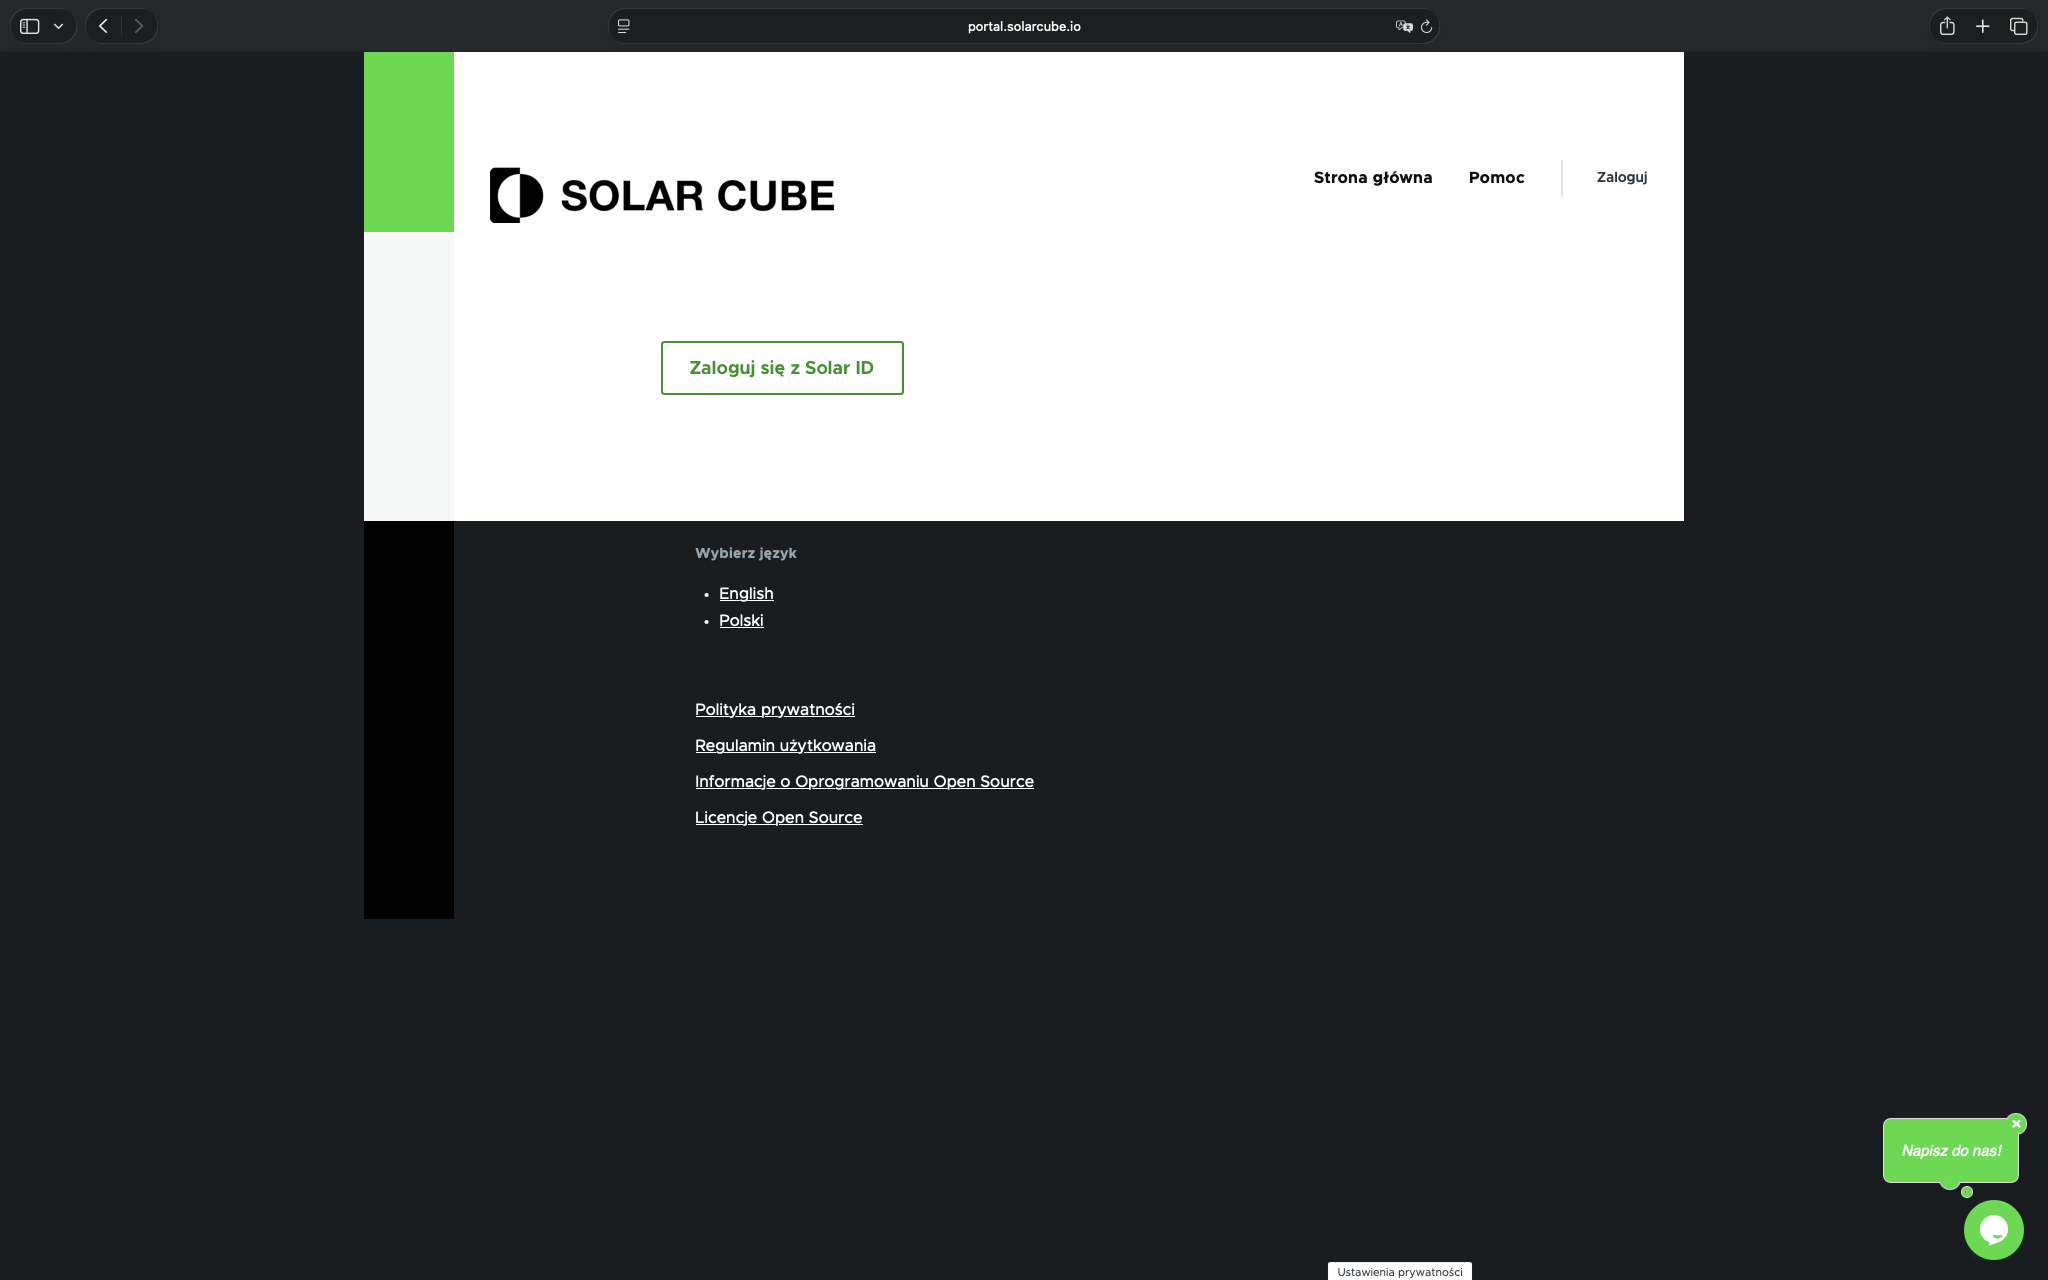
Choose login with Solar ID
Click “Log in with Solar ID” to start the registration or login process.
2
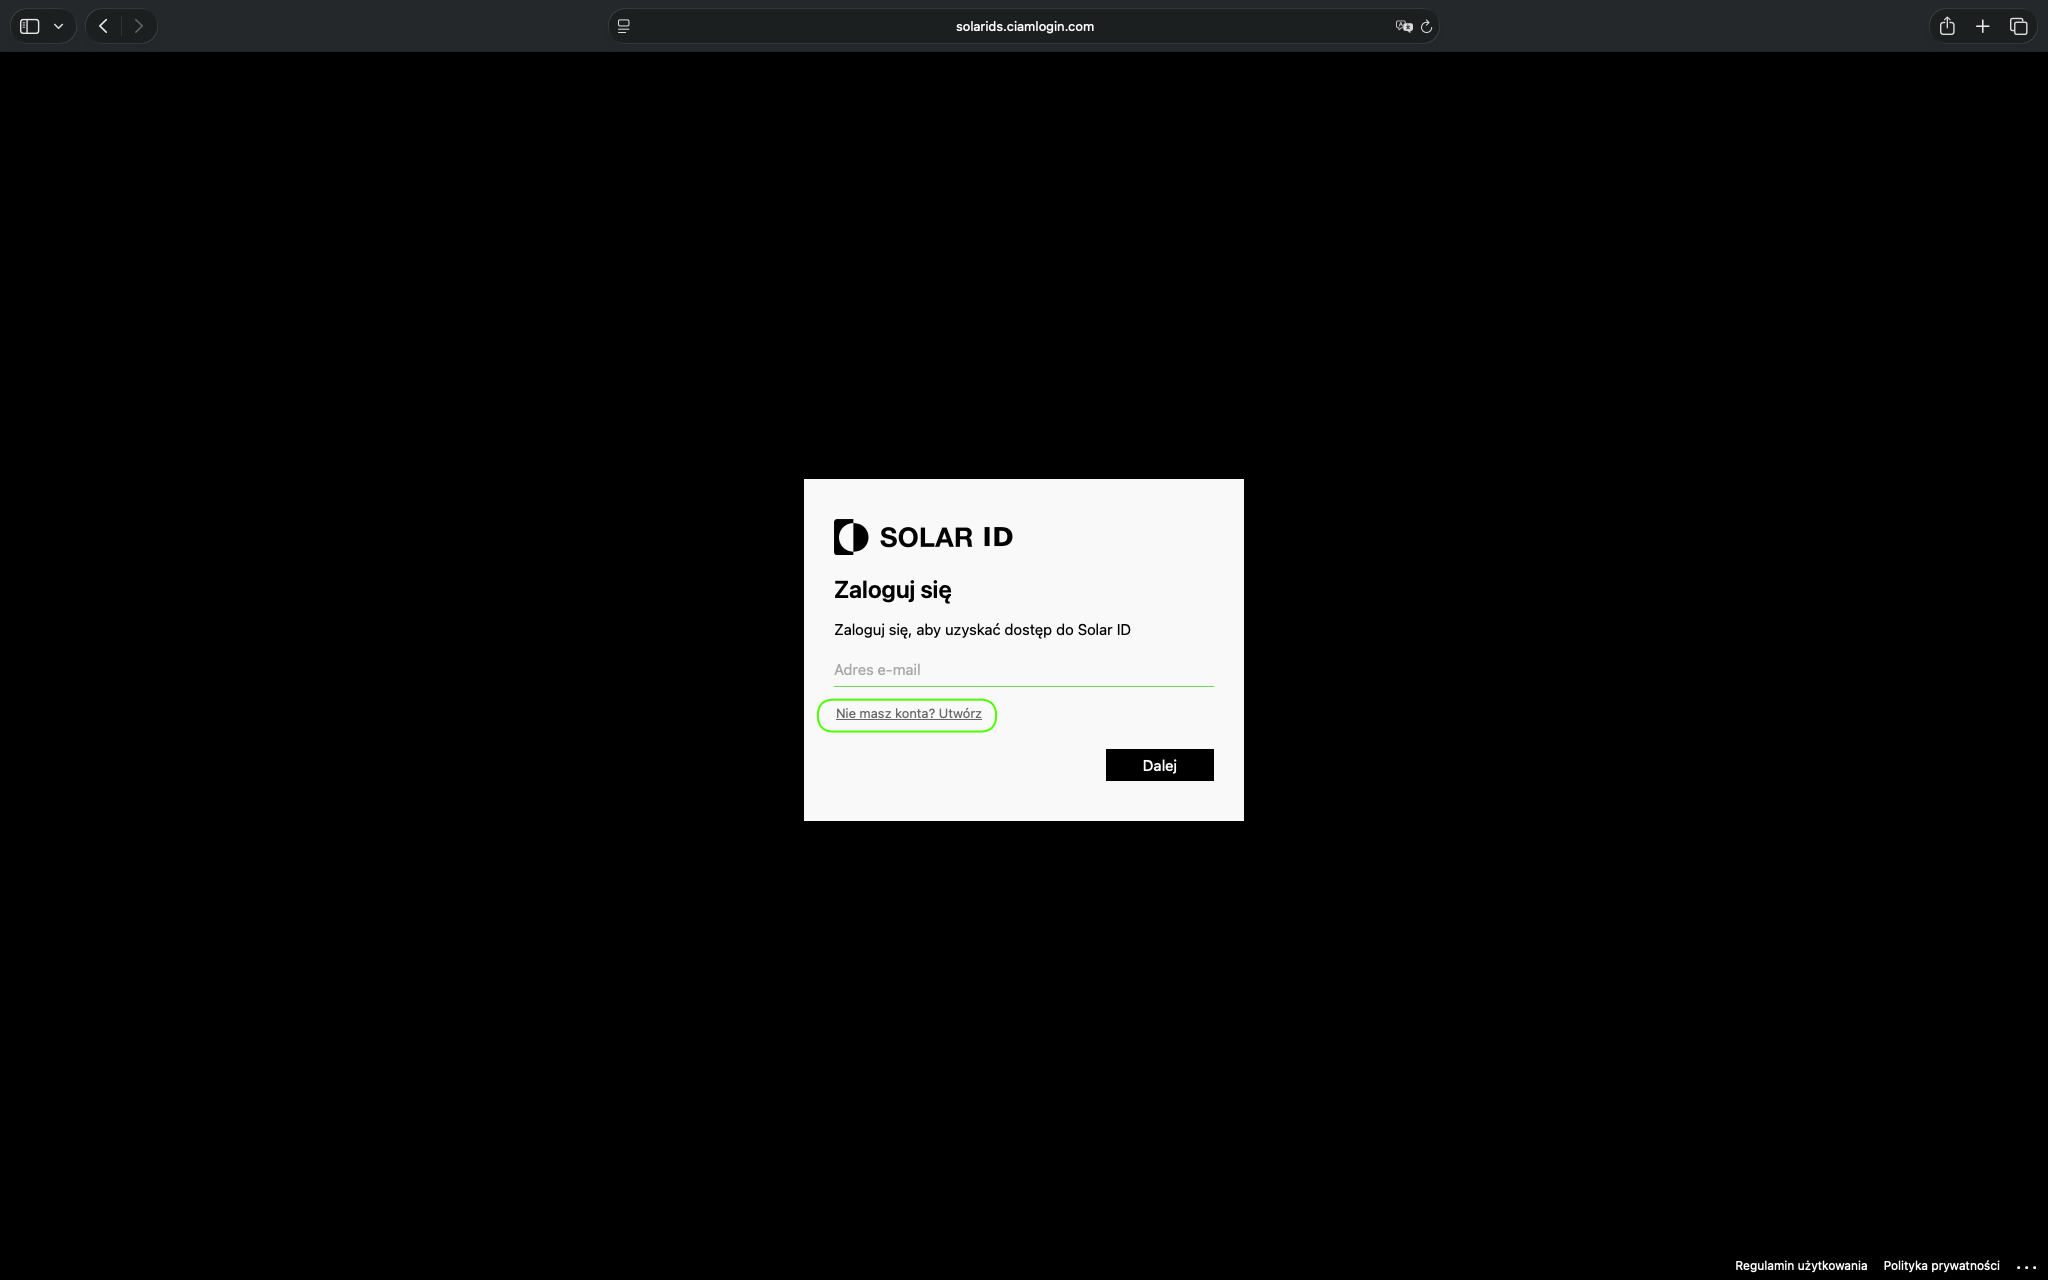
Go to the Solar ID login screen
On the Solar ID login screen, choose the option to create a new account if you do not already have one.
3
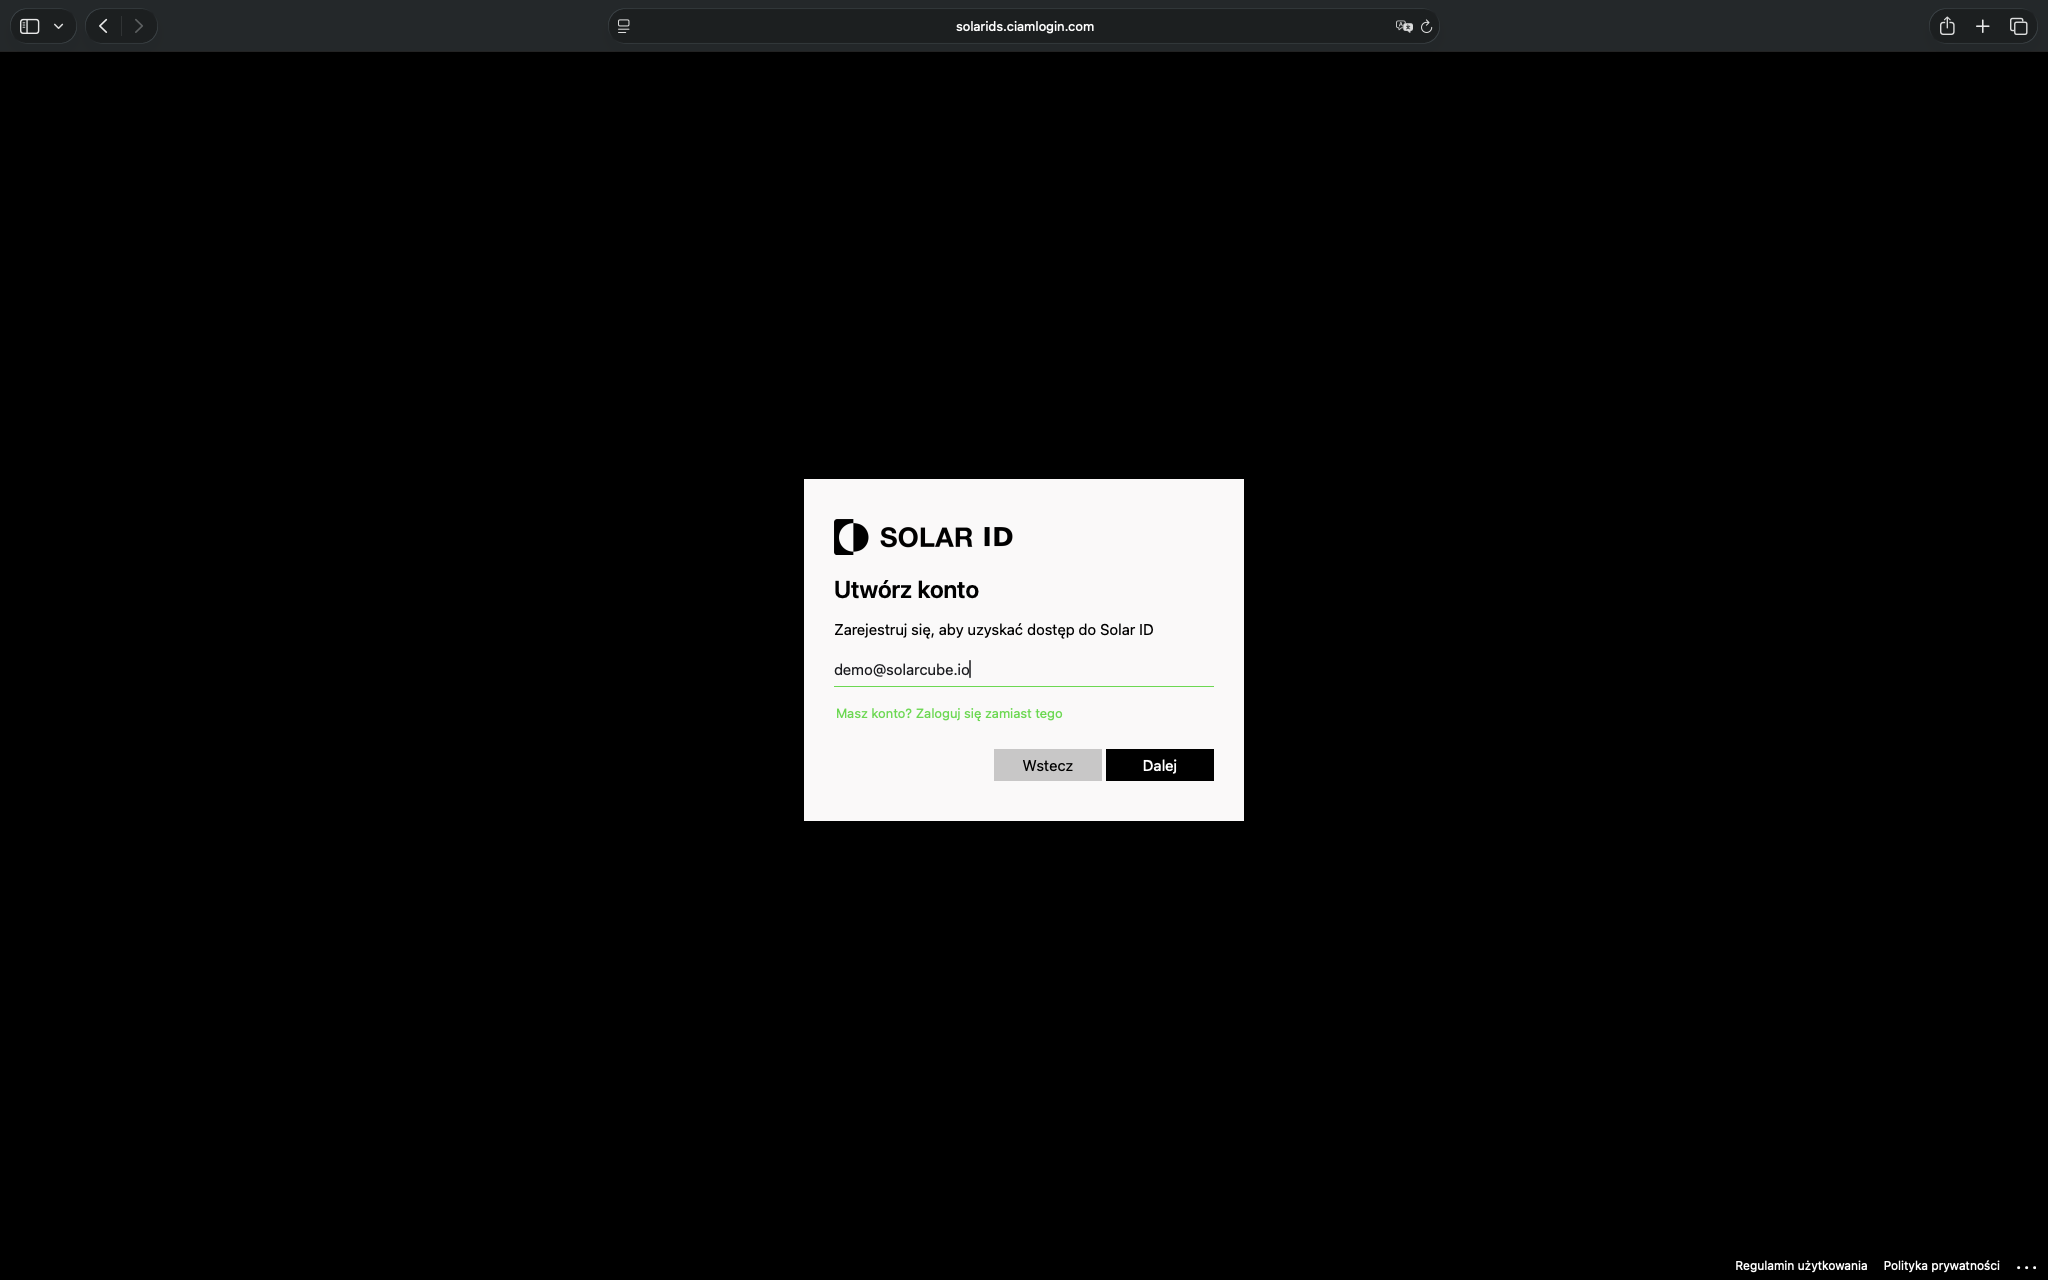
Enter the email address for the new account
Enter the email address that will be used to log in to Solar ID, then continue.
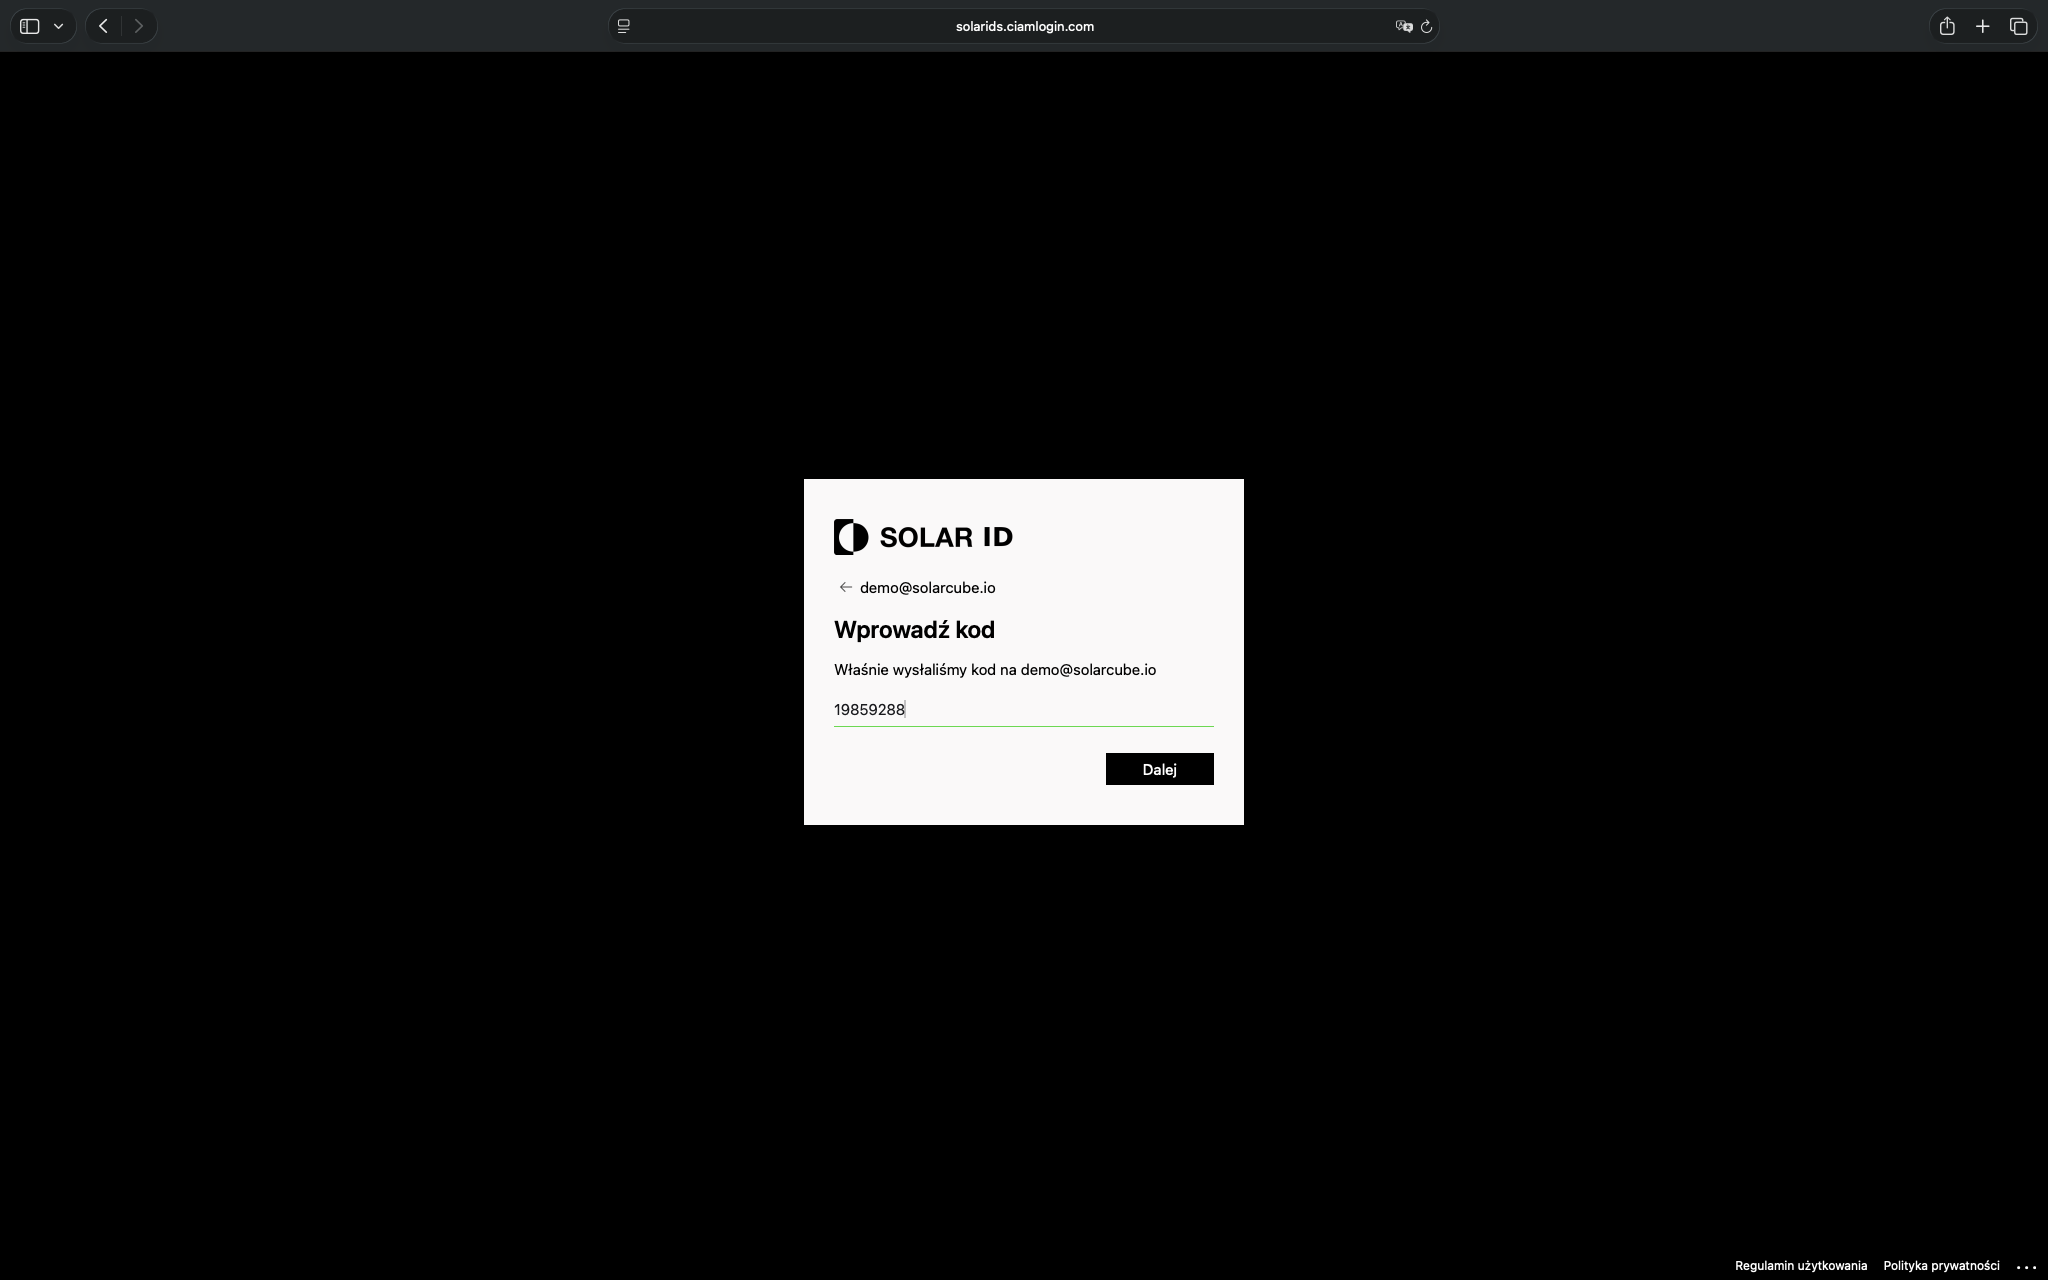
4
Enter the one-time code from the email
A one-time code will be sent to the specified email address. Open the message and enter the code in the confirmation form.
5
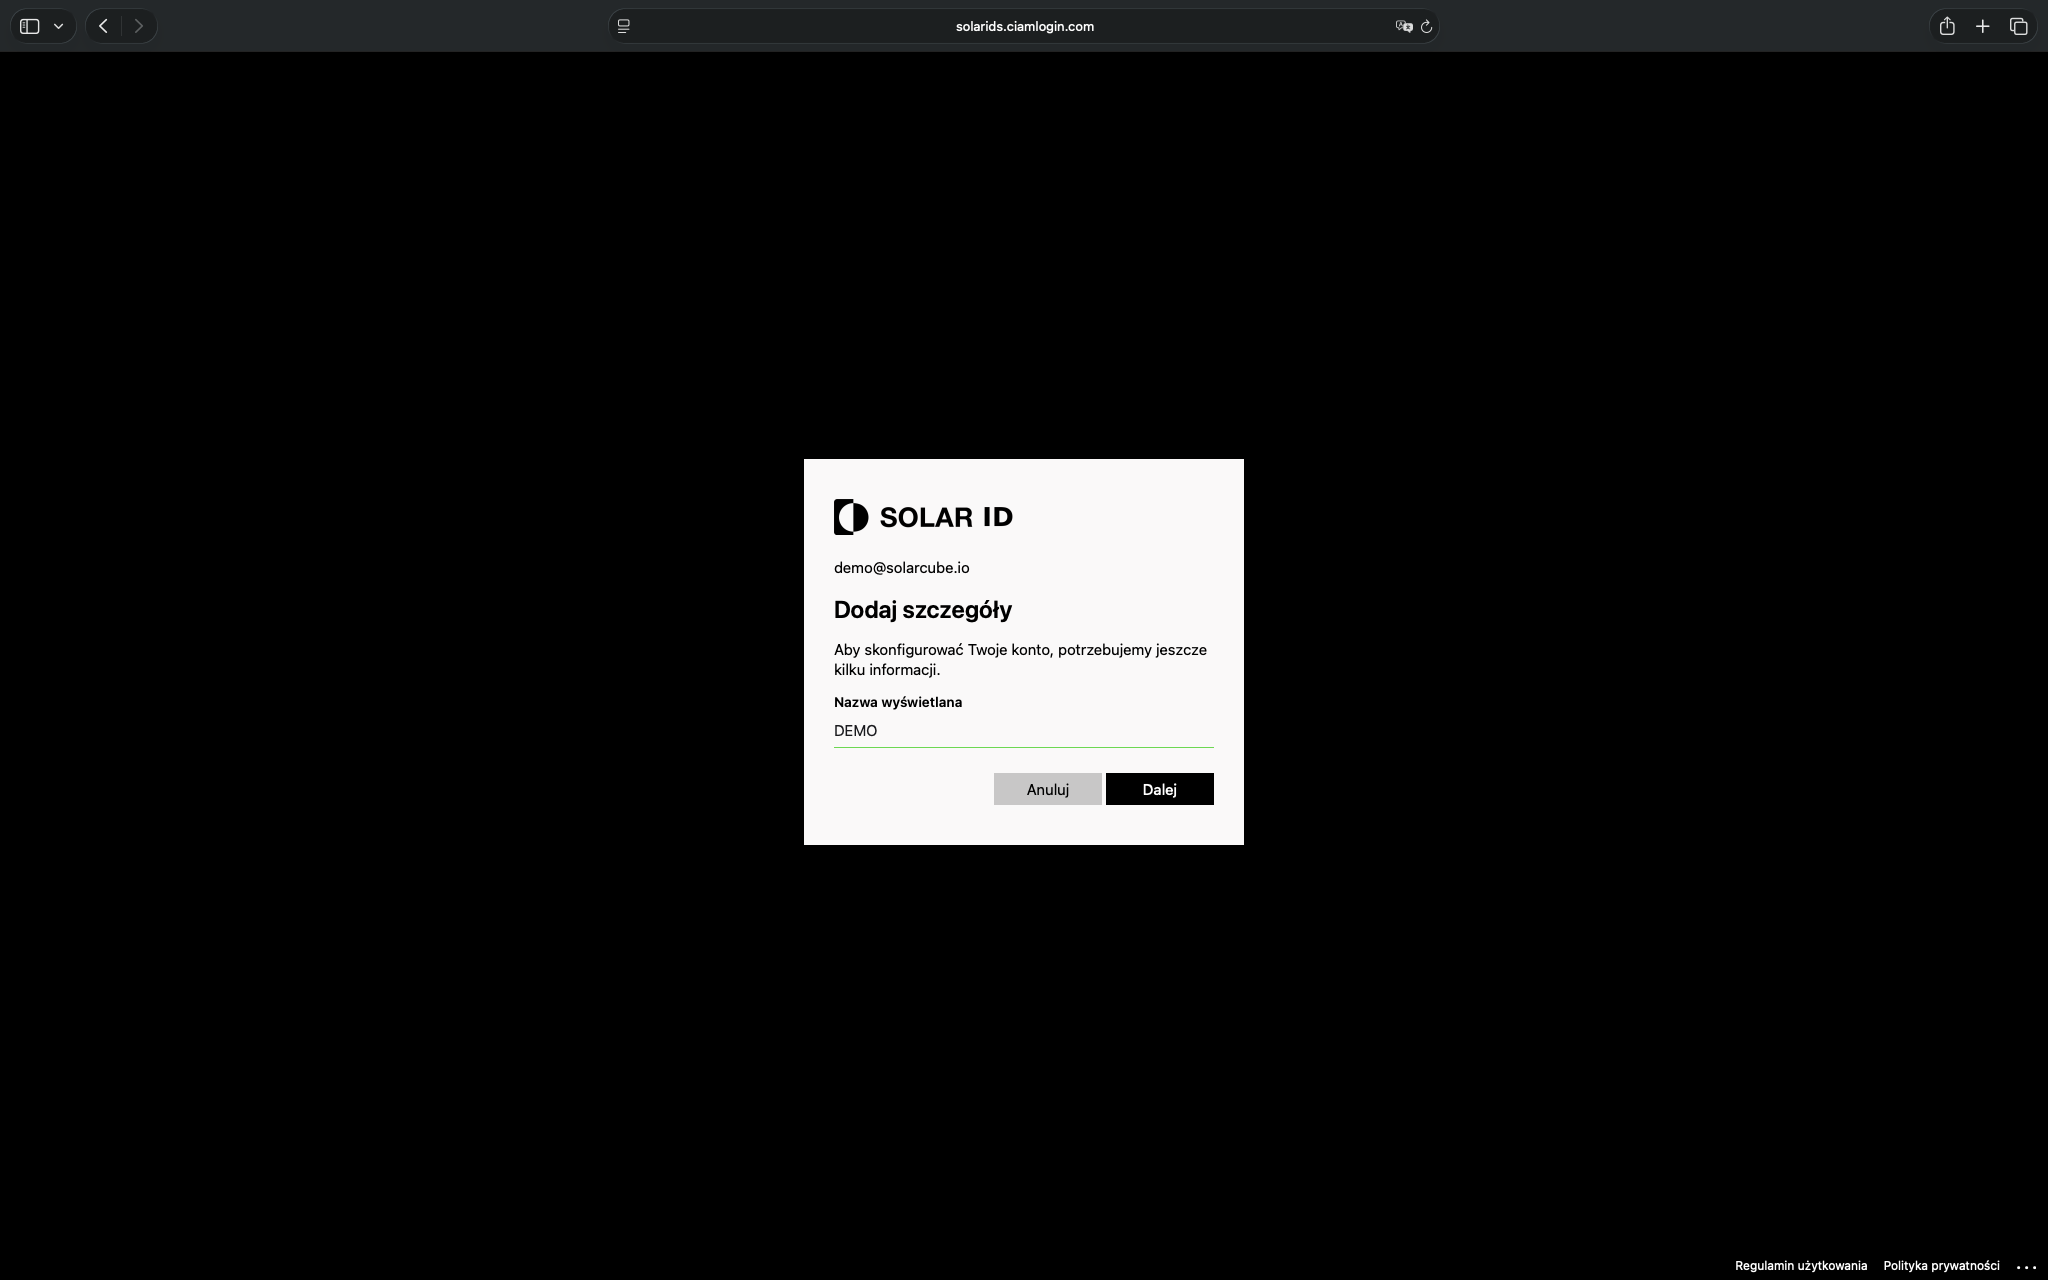
Complete the basic account details
Enter the user display name and submit the form to finish creating the account.
6
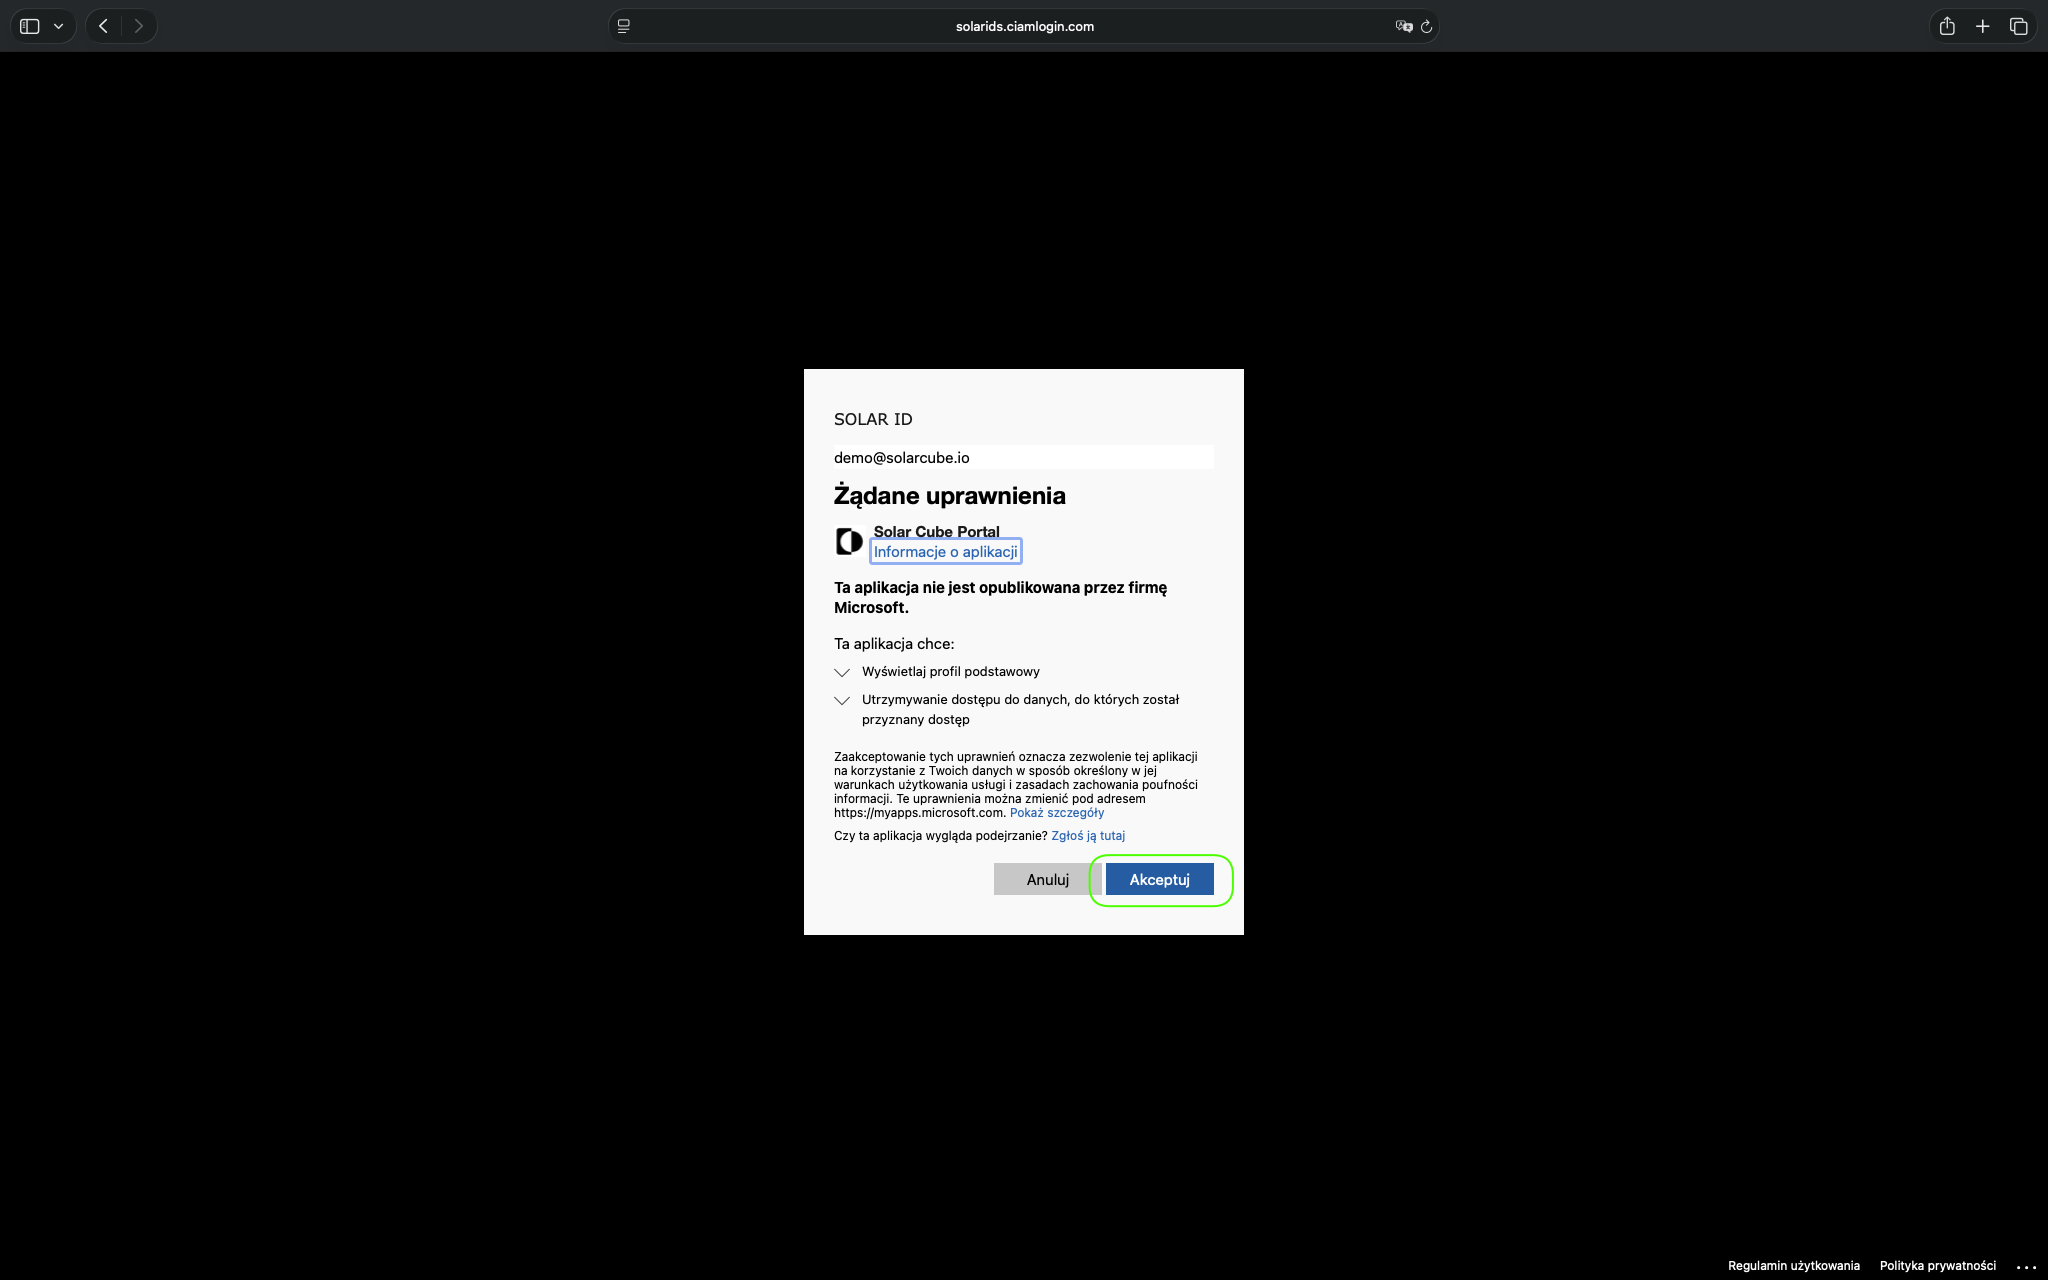
Accept the required permissions
If an application permissions screen is displayed, accept it so that the Solar Cube portal can log the user in correctly and complete access to the system.
2. Starting onboarding and creating a PV profile
In this section you prepare the customer profile, select a plan and enter the installation and Solar Cube device details.
7
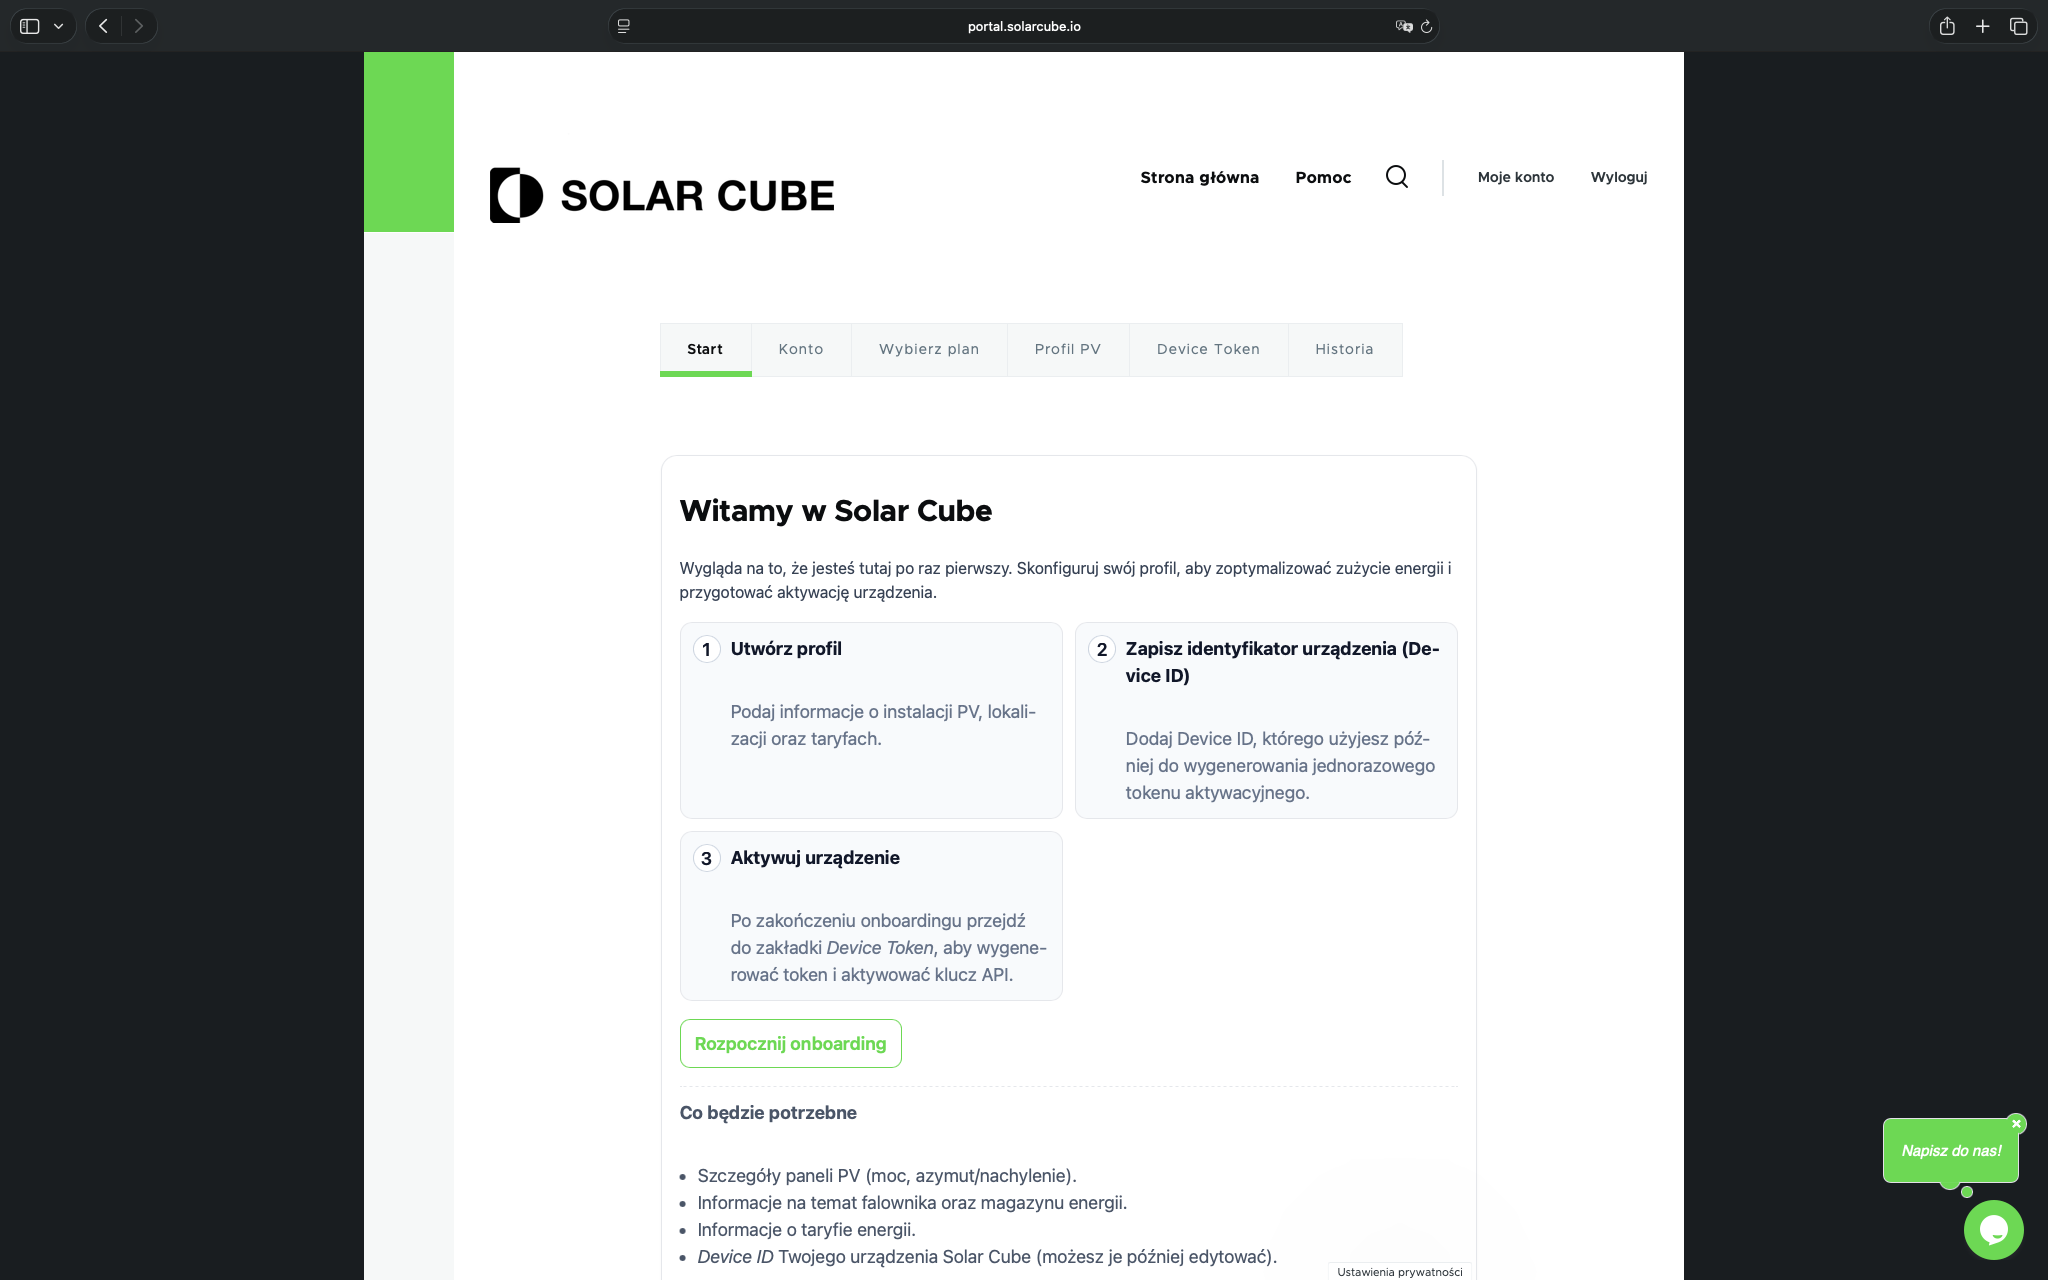
Start onboarding in the portal
After the first login, you will see a welcome screen. Click “Start onboarding” to continue to profile configuration.
8
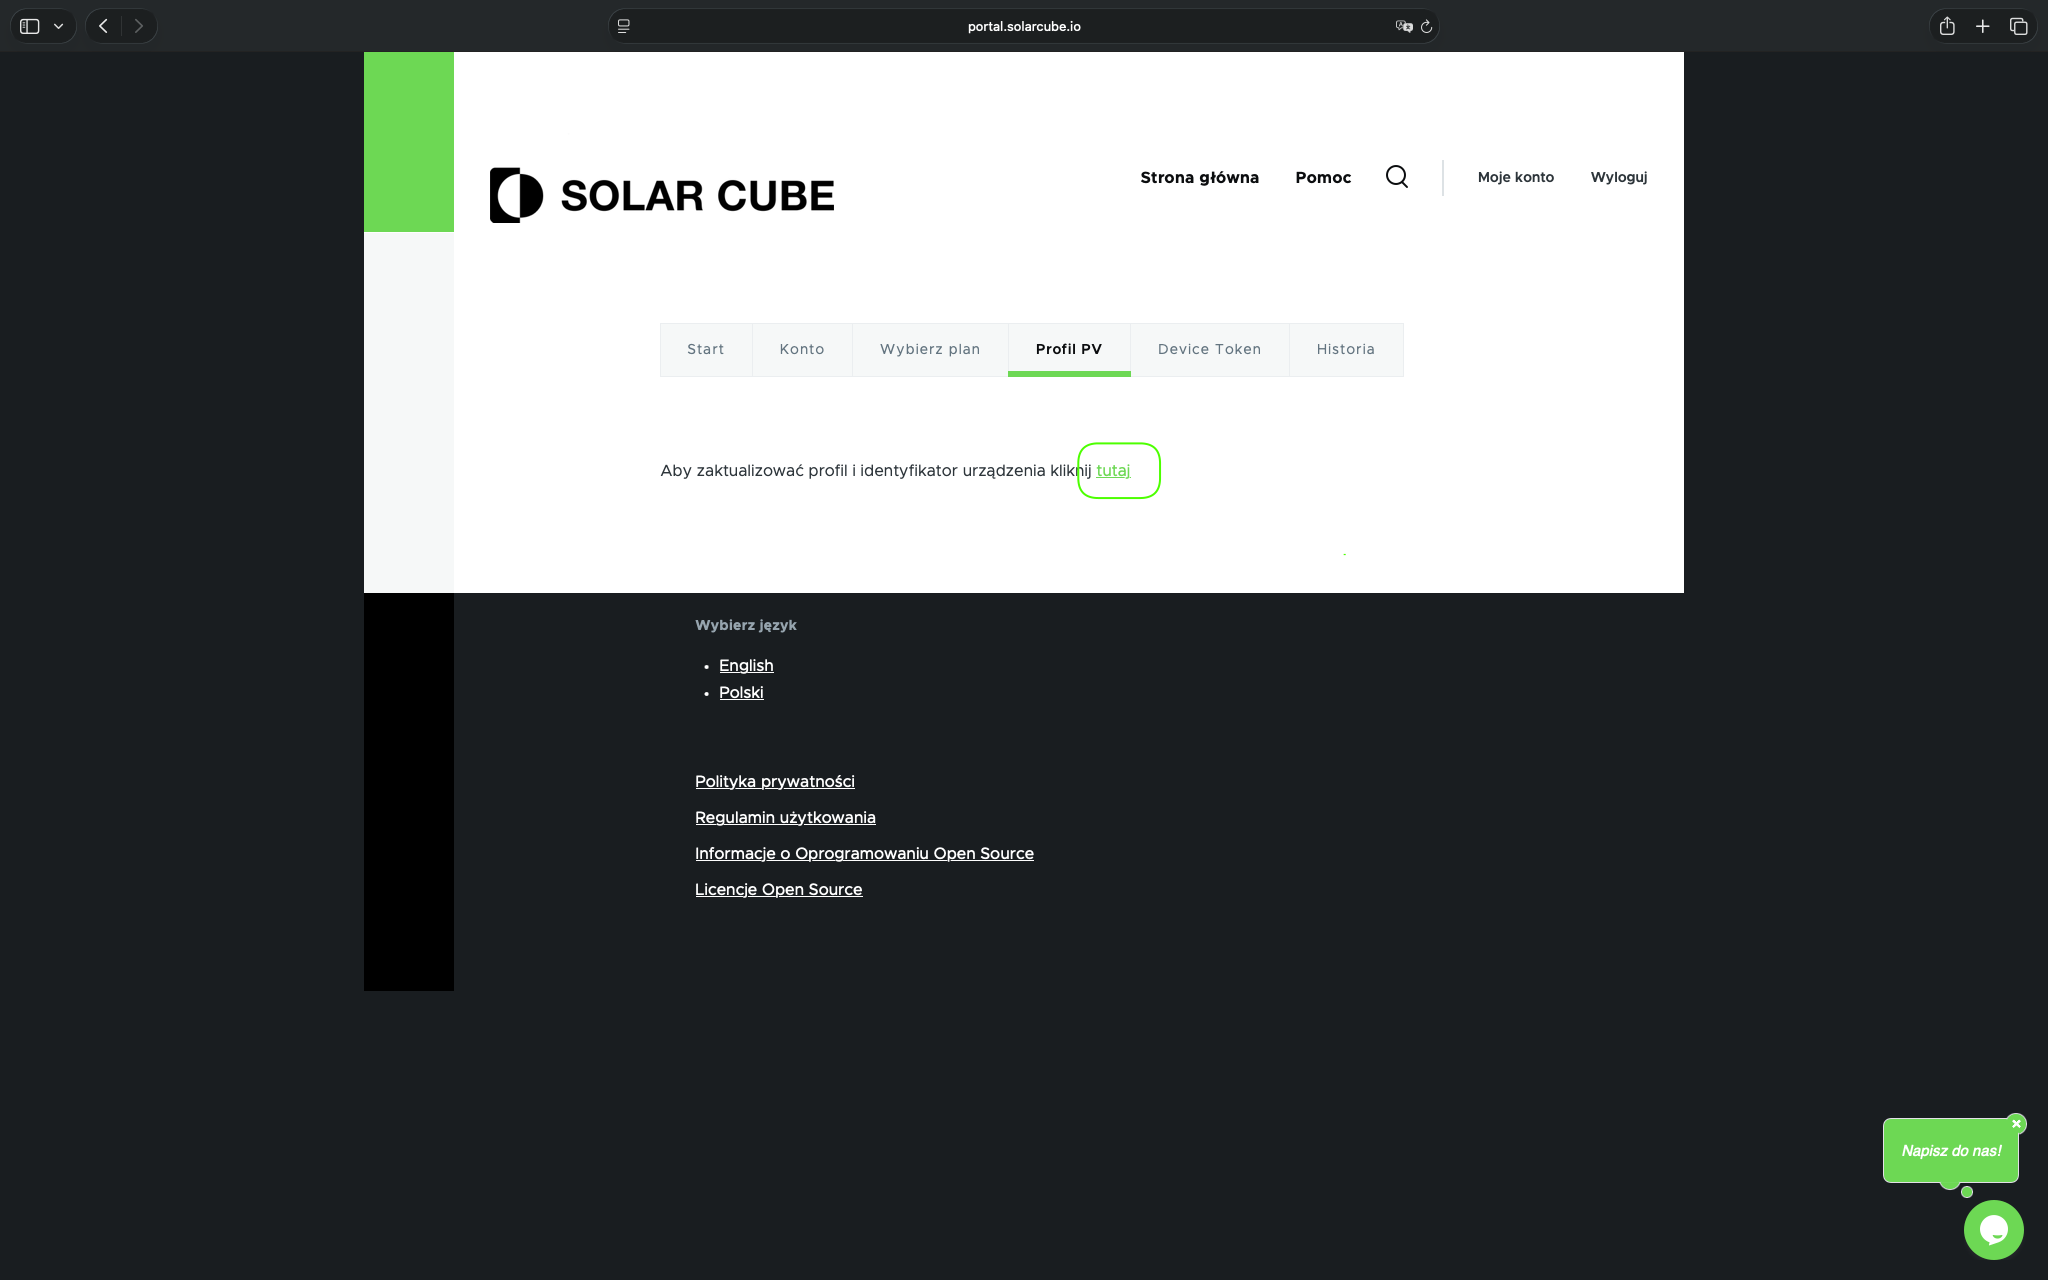
Go to the PV Profile form
If the portal displays the “PV Profile” tab with a message about updating the profile and device identifier, click the “here” link to open the configuration form.
9
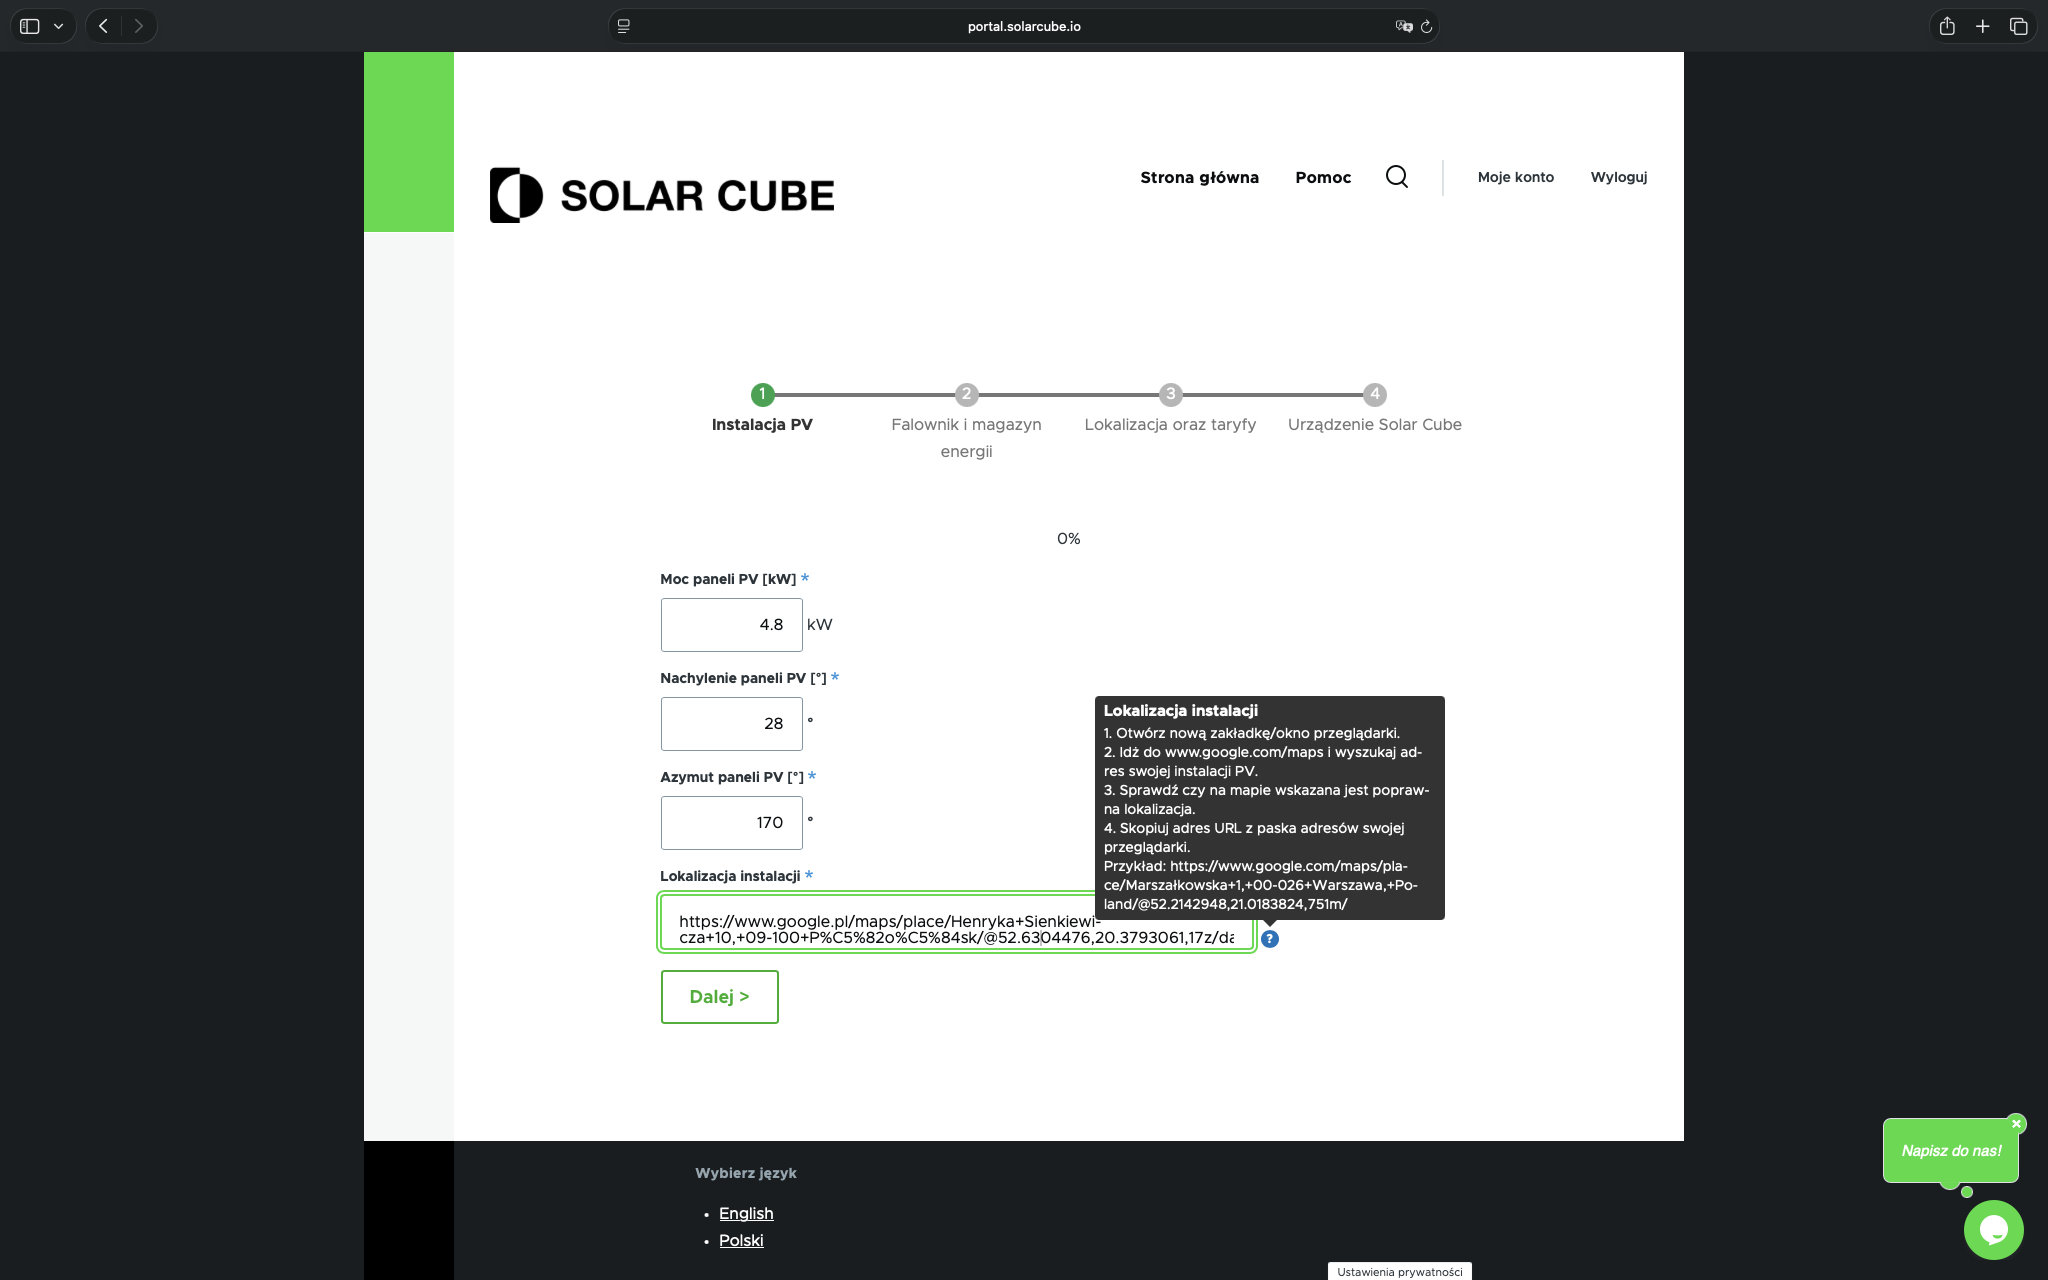
Complete the PV installation details
Enter the panel capacity, tilt angle, azimuth and installation location. It is best to provide the location as a Google Maps link, following the hint shown in the portal.
10
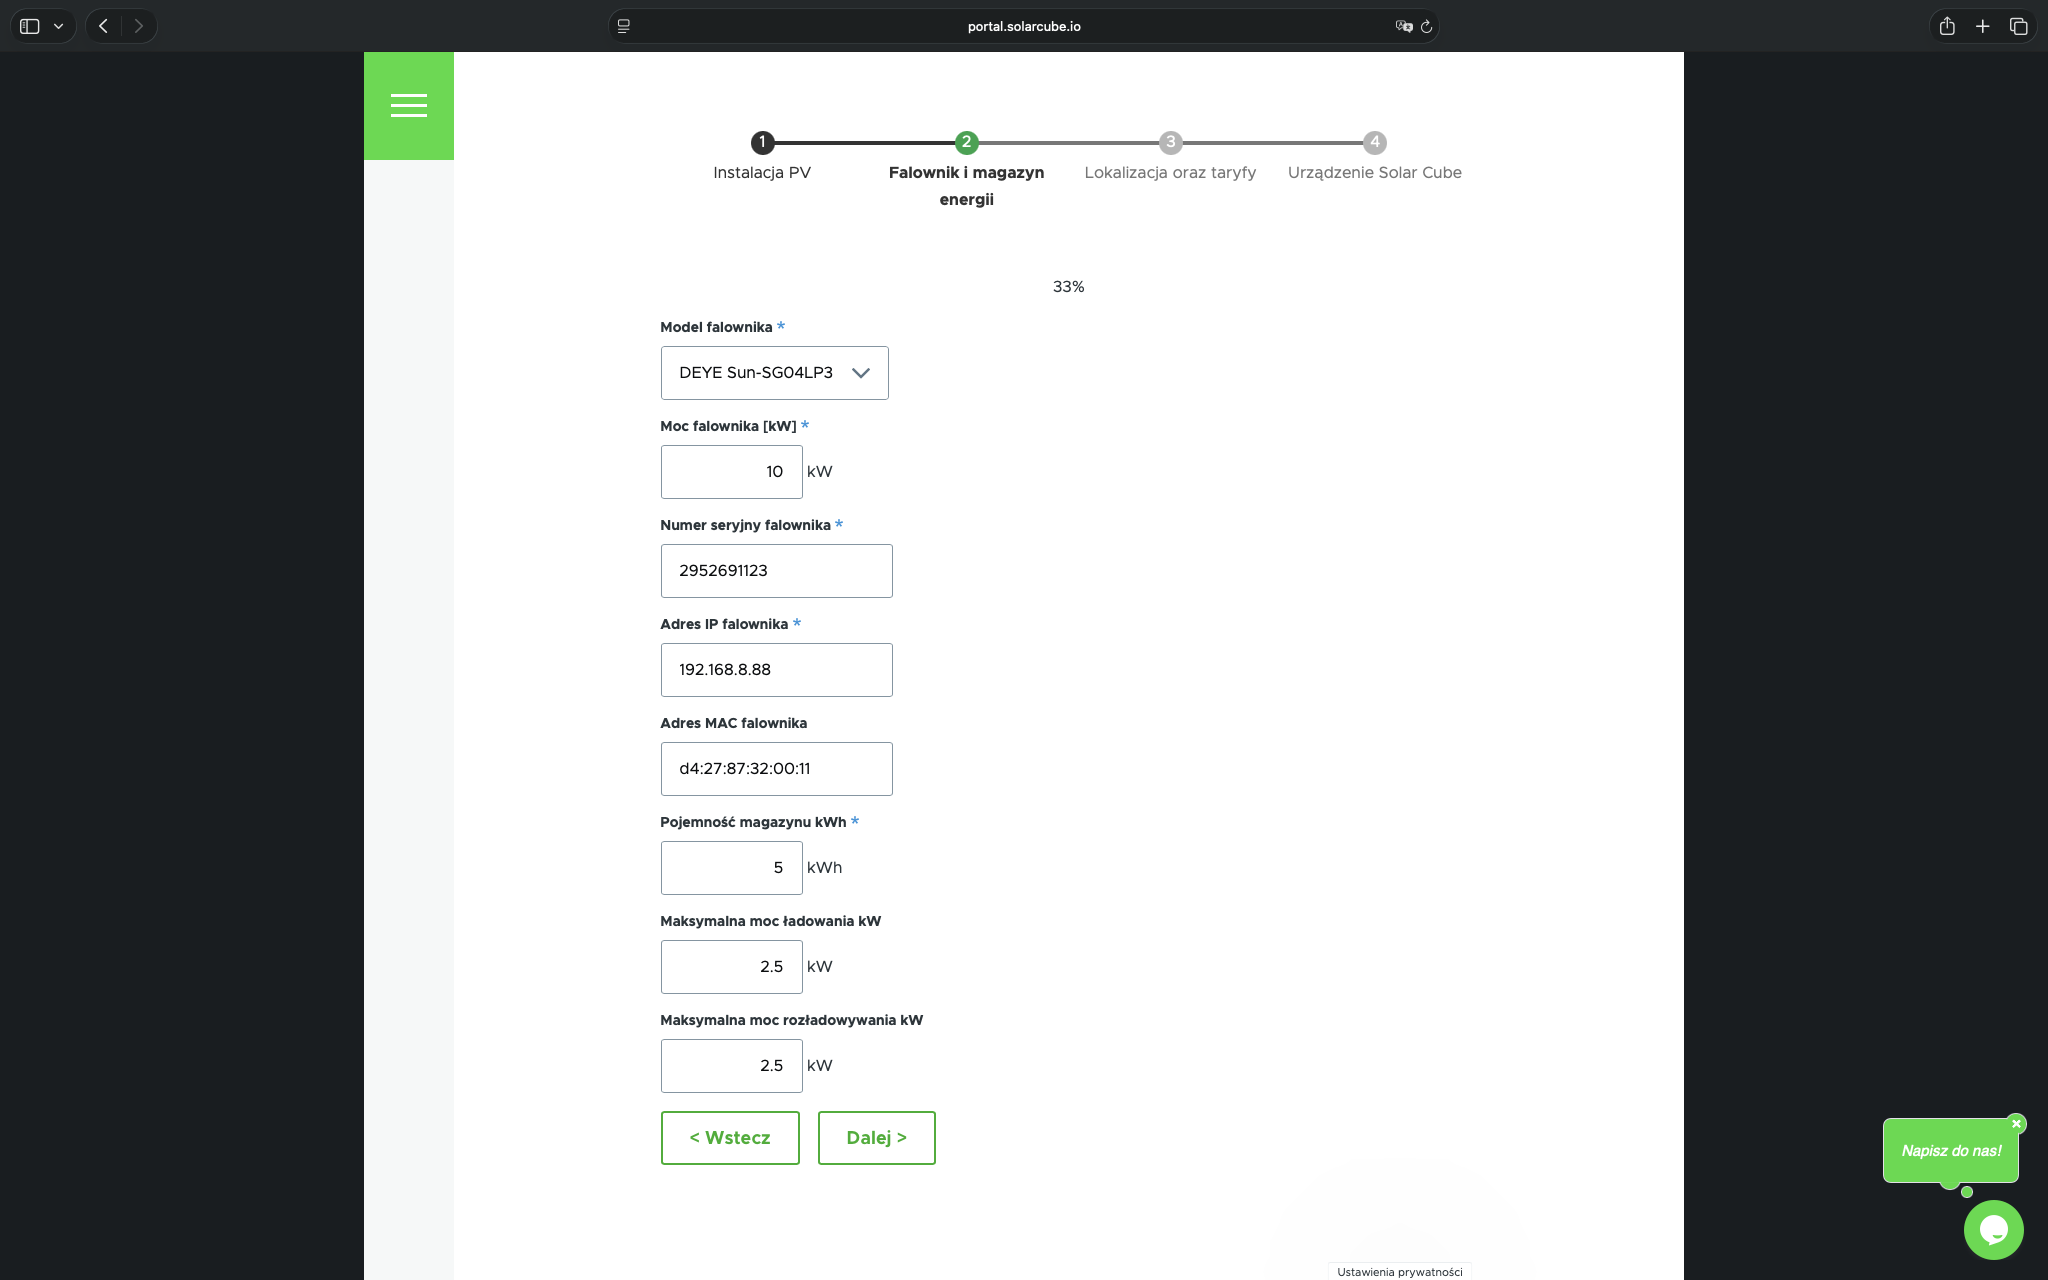
Enter inverter and battery storage details
Select the inverter model and enter its technical parameters: power rating, serial number, IP address, MAC address, battery capacity and charging/discharging power.
11
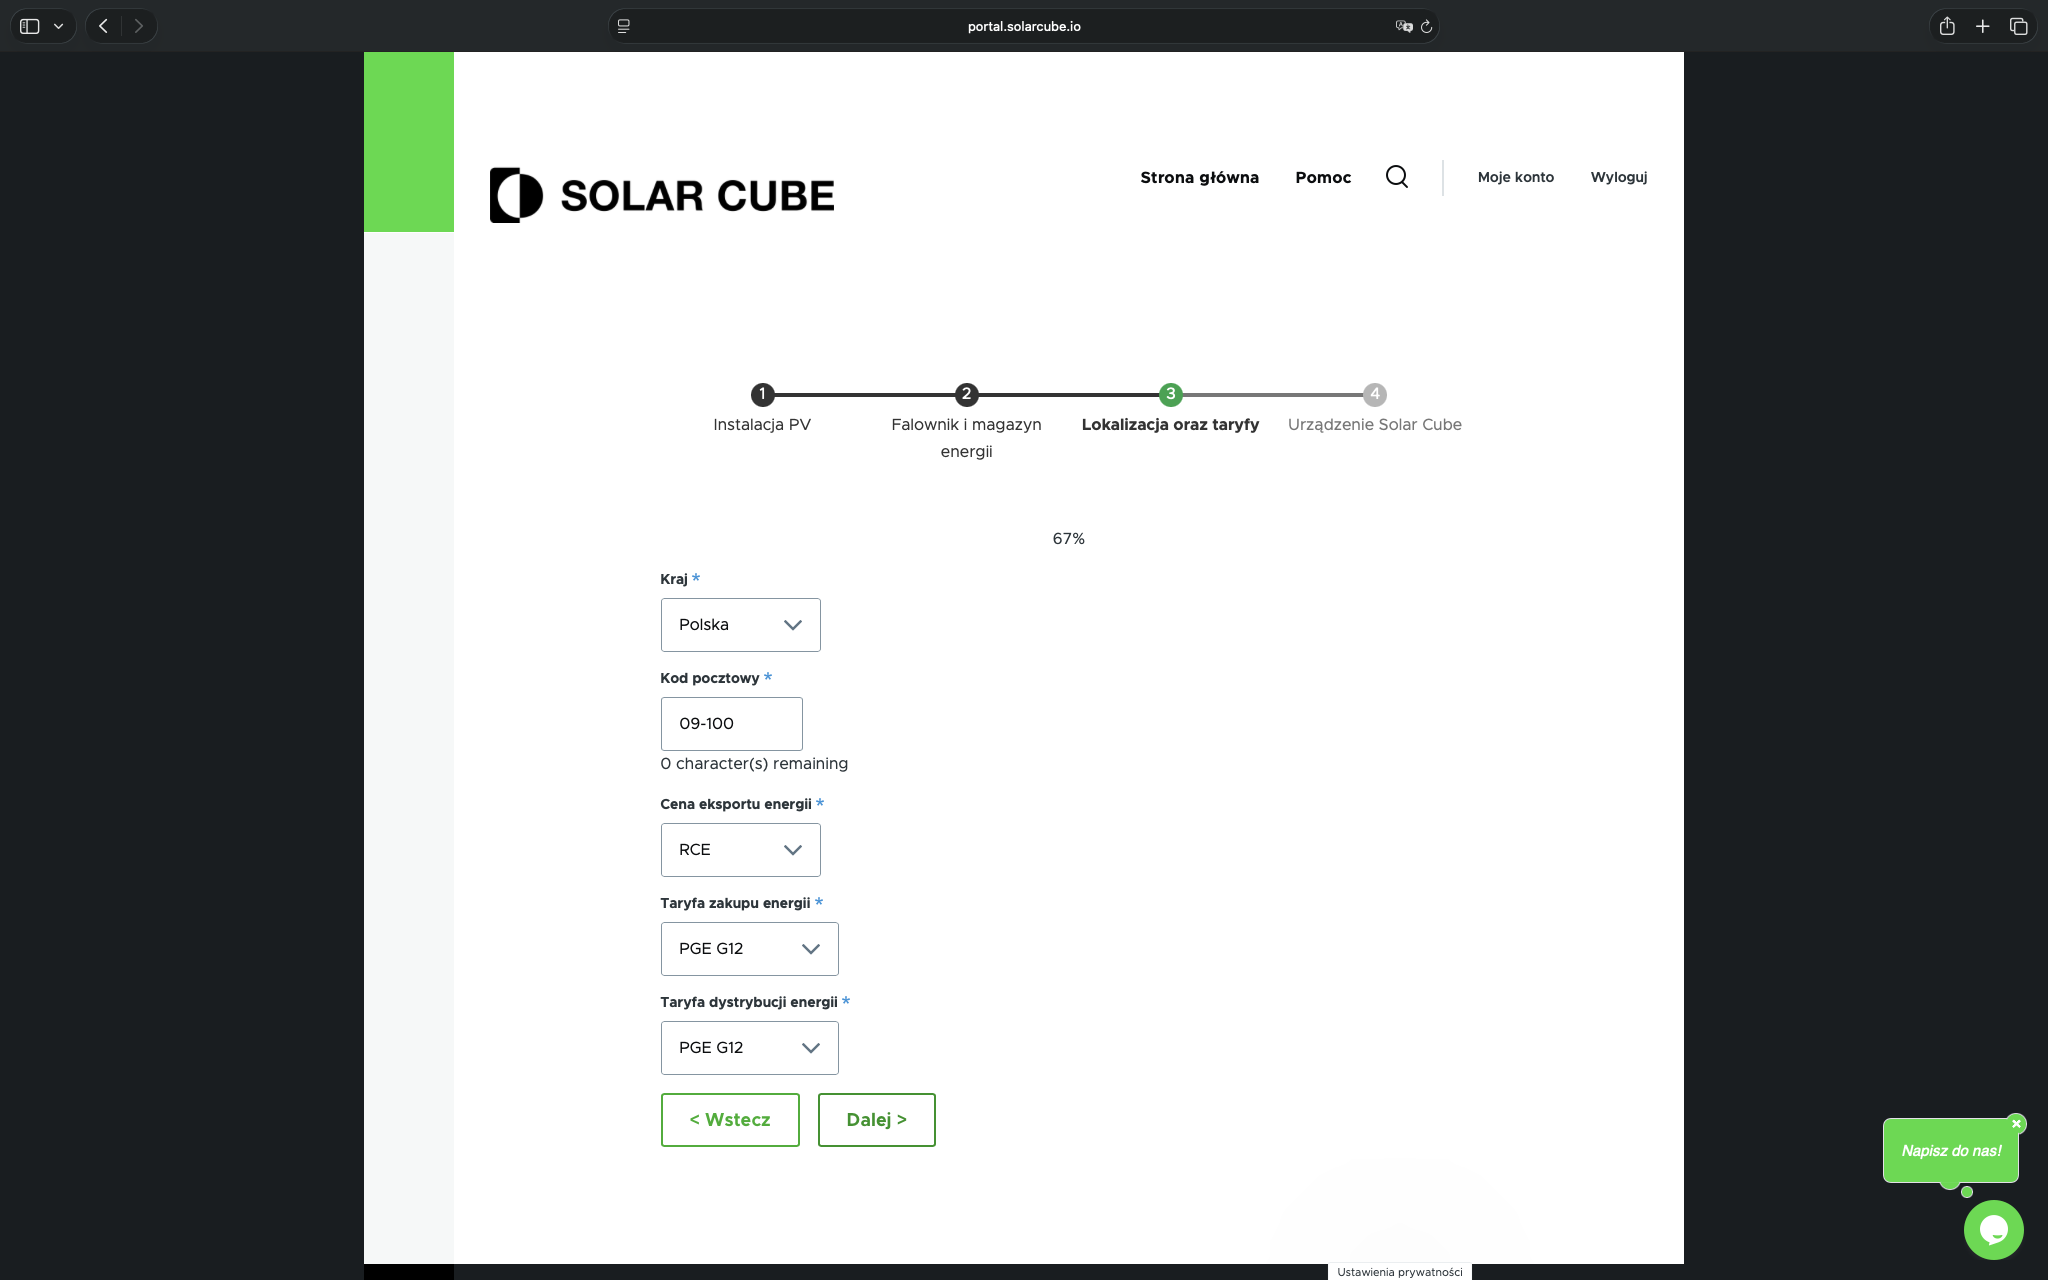
Set location and tariffs
In the next step, select the country, postal code, appropriate tariffs and the energy settlement method for your installation.
12
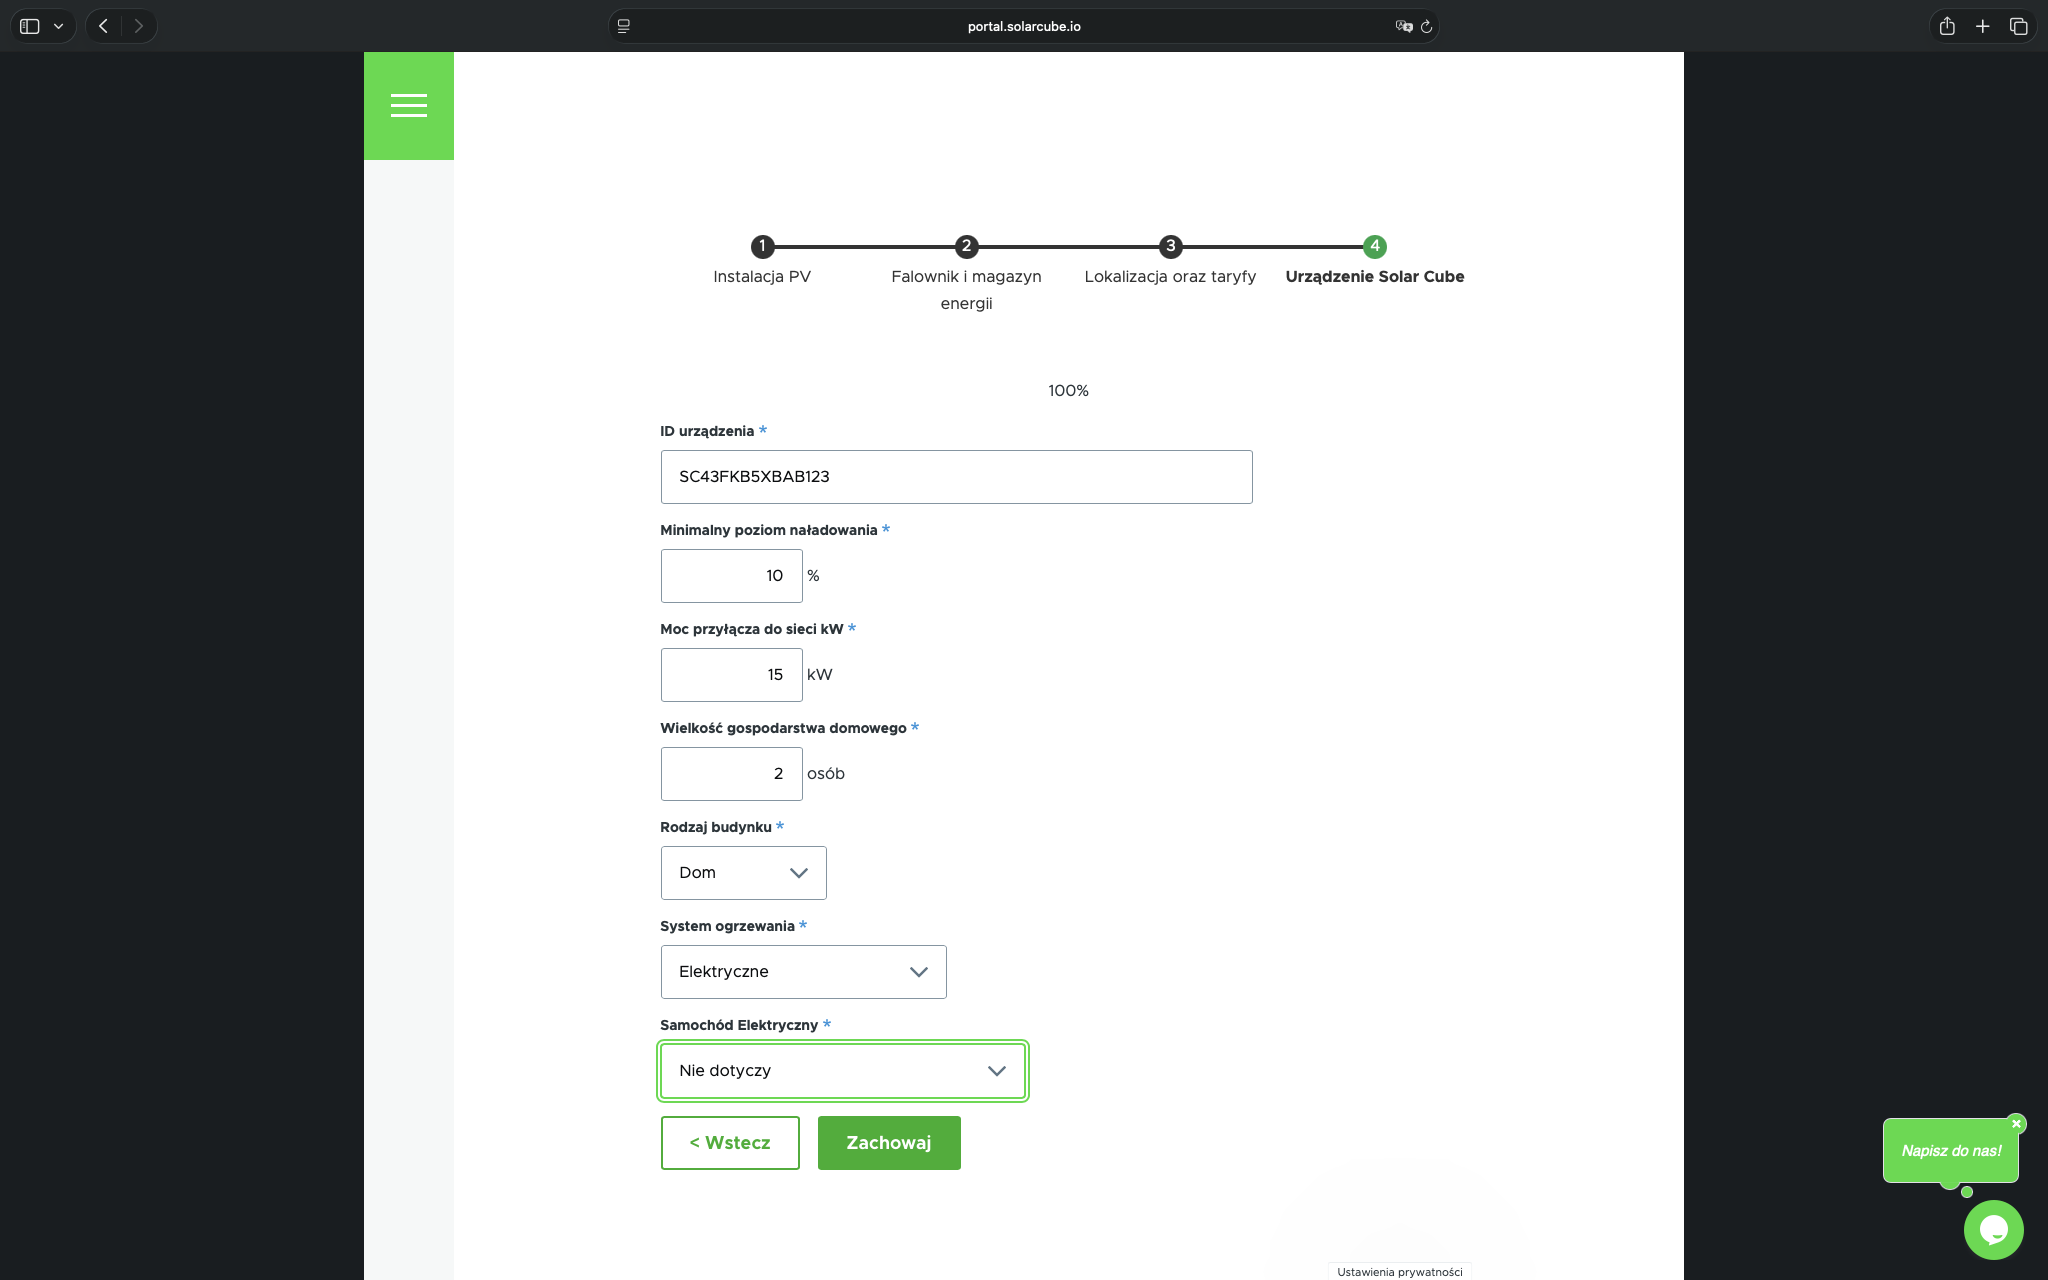
Enter Solar Cube device details
In the final onboarding step, complete the Device ID and the remaining parameters related to device operation and household characteristics.
13
Save the complete PV profile
After checking the form, click “Save” to save the installation profile and proceed to the device activation stage.
3. Preparing for device activation
After the profile is saved, the portal leads to the Device Token tab, where a one-time activation token is created.
14
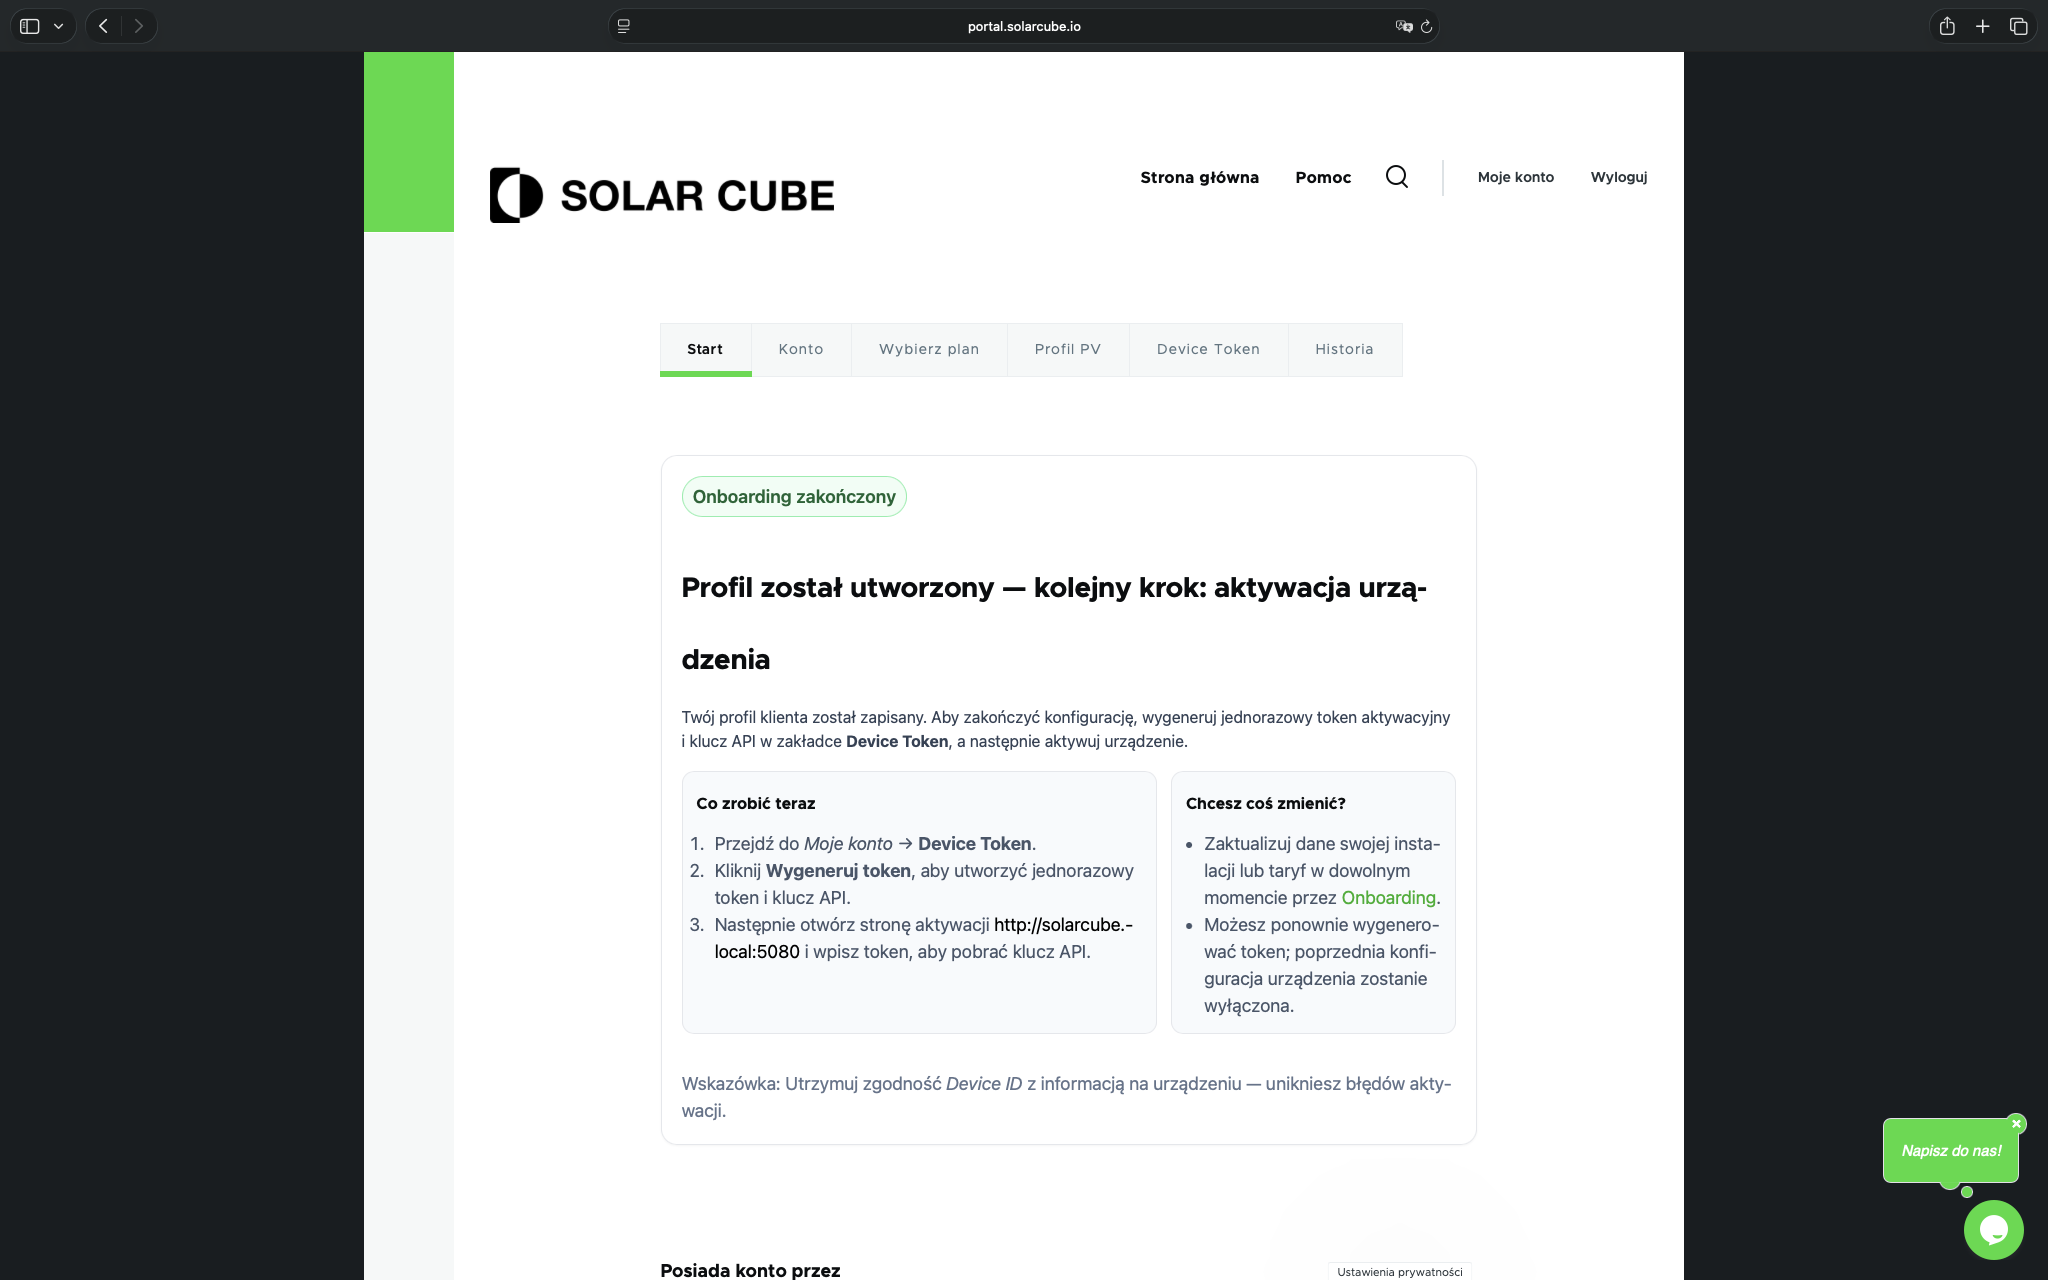
Review the onboarding completion screen
After the profile has been saved successfully, you will see a screen informing you that the next step is device activation. The portal then shows the next path to follow.
15
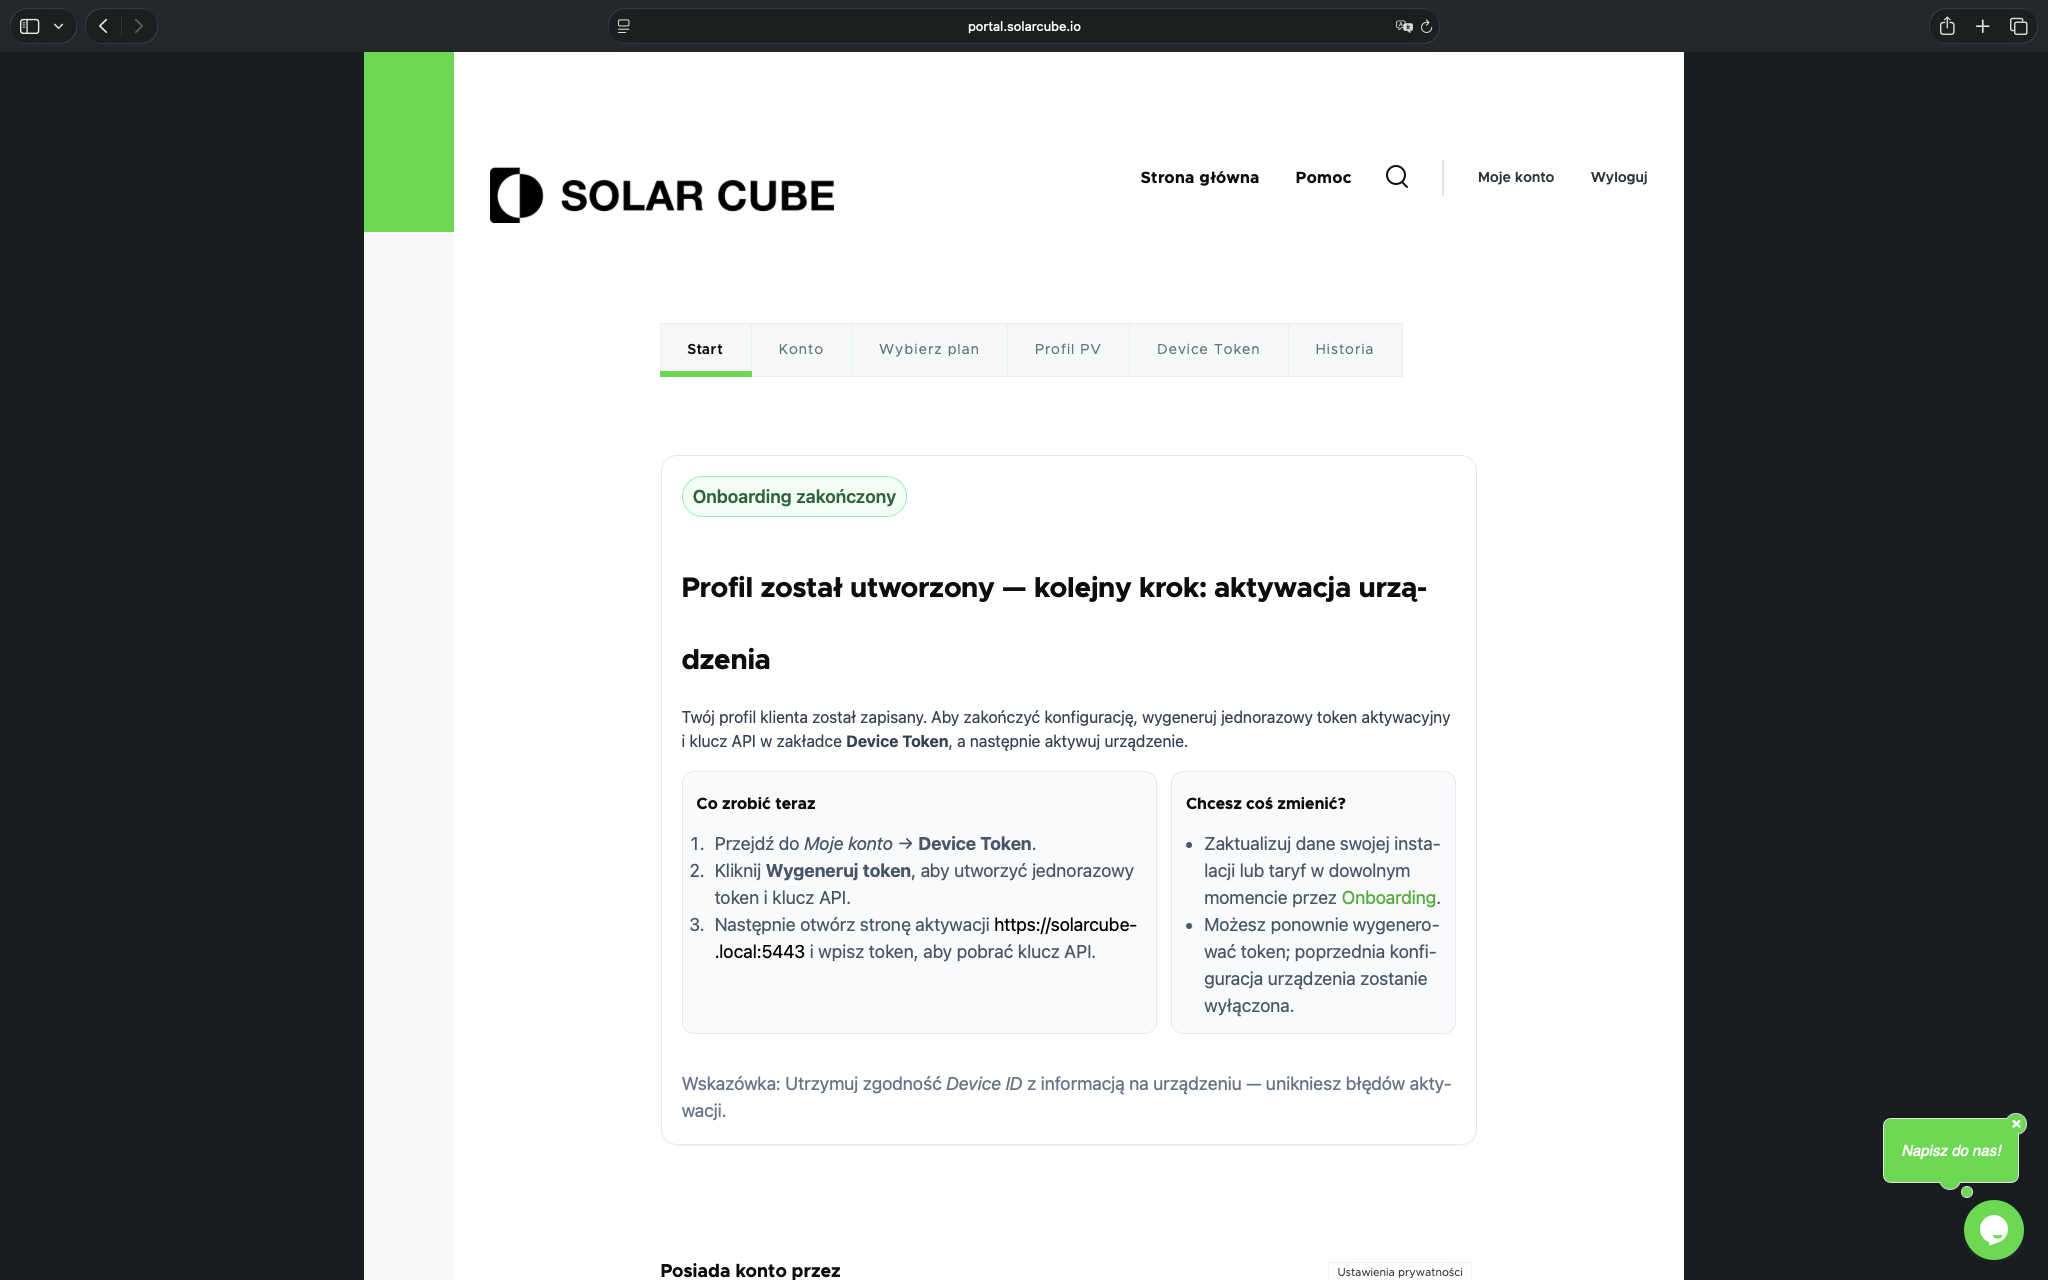
Check the current local activation address
On the final screen, check the indicated local device activation address https://solarcube.local:5443 and open it in a new browser tab or window.
Certificate warning during local activation
When opening https://solarcube.local:5443 the browser may show a certificate error, untrusted connection or potential security warning. This is expected during local device activation.
The page solarcube.local works only within your local network and is used solely for internal communication and securely linking the Solar Cube device with your account. The message appears because the device uses a Solar Cube Root CA certificate, which is not normally recognised as publicly trusted by your phone or computer.
You can safely continue to this page provided that:
- you are using the address
https://solarcube.local:5443, - the Solar Cube device is running in your local network,
- you are performing the activation according to the Solar Cube instructions.
After opening the page, use an option such as “Advanced” → “Proceed to site”, or a similar option depending on your browser. This warning does not mean there is a virus or a phishing attempt. After configuration is complete, the local activation page is disabled or is no longer needed.
16
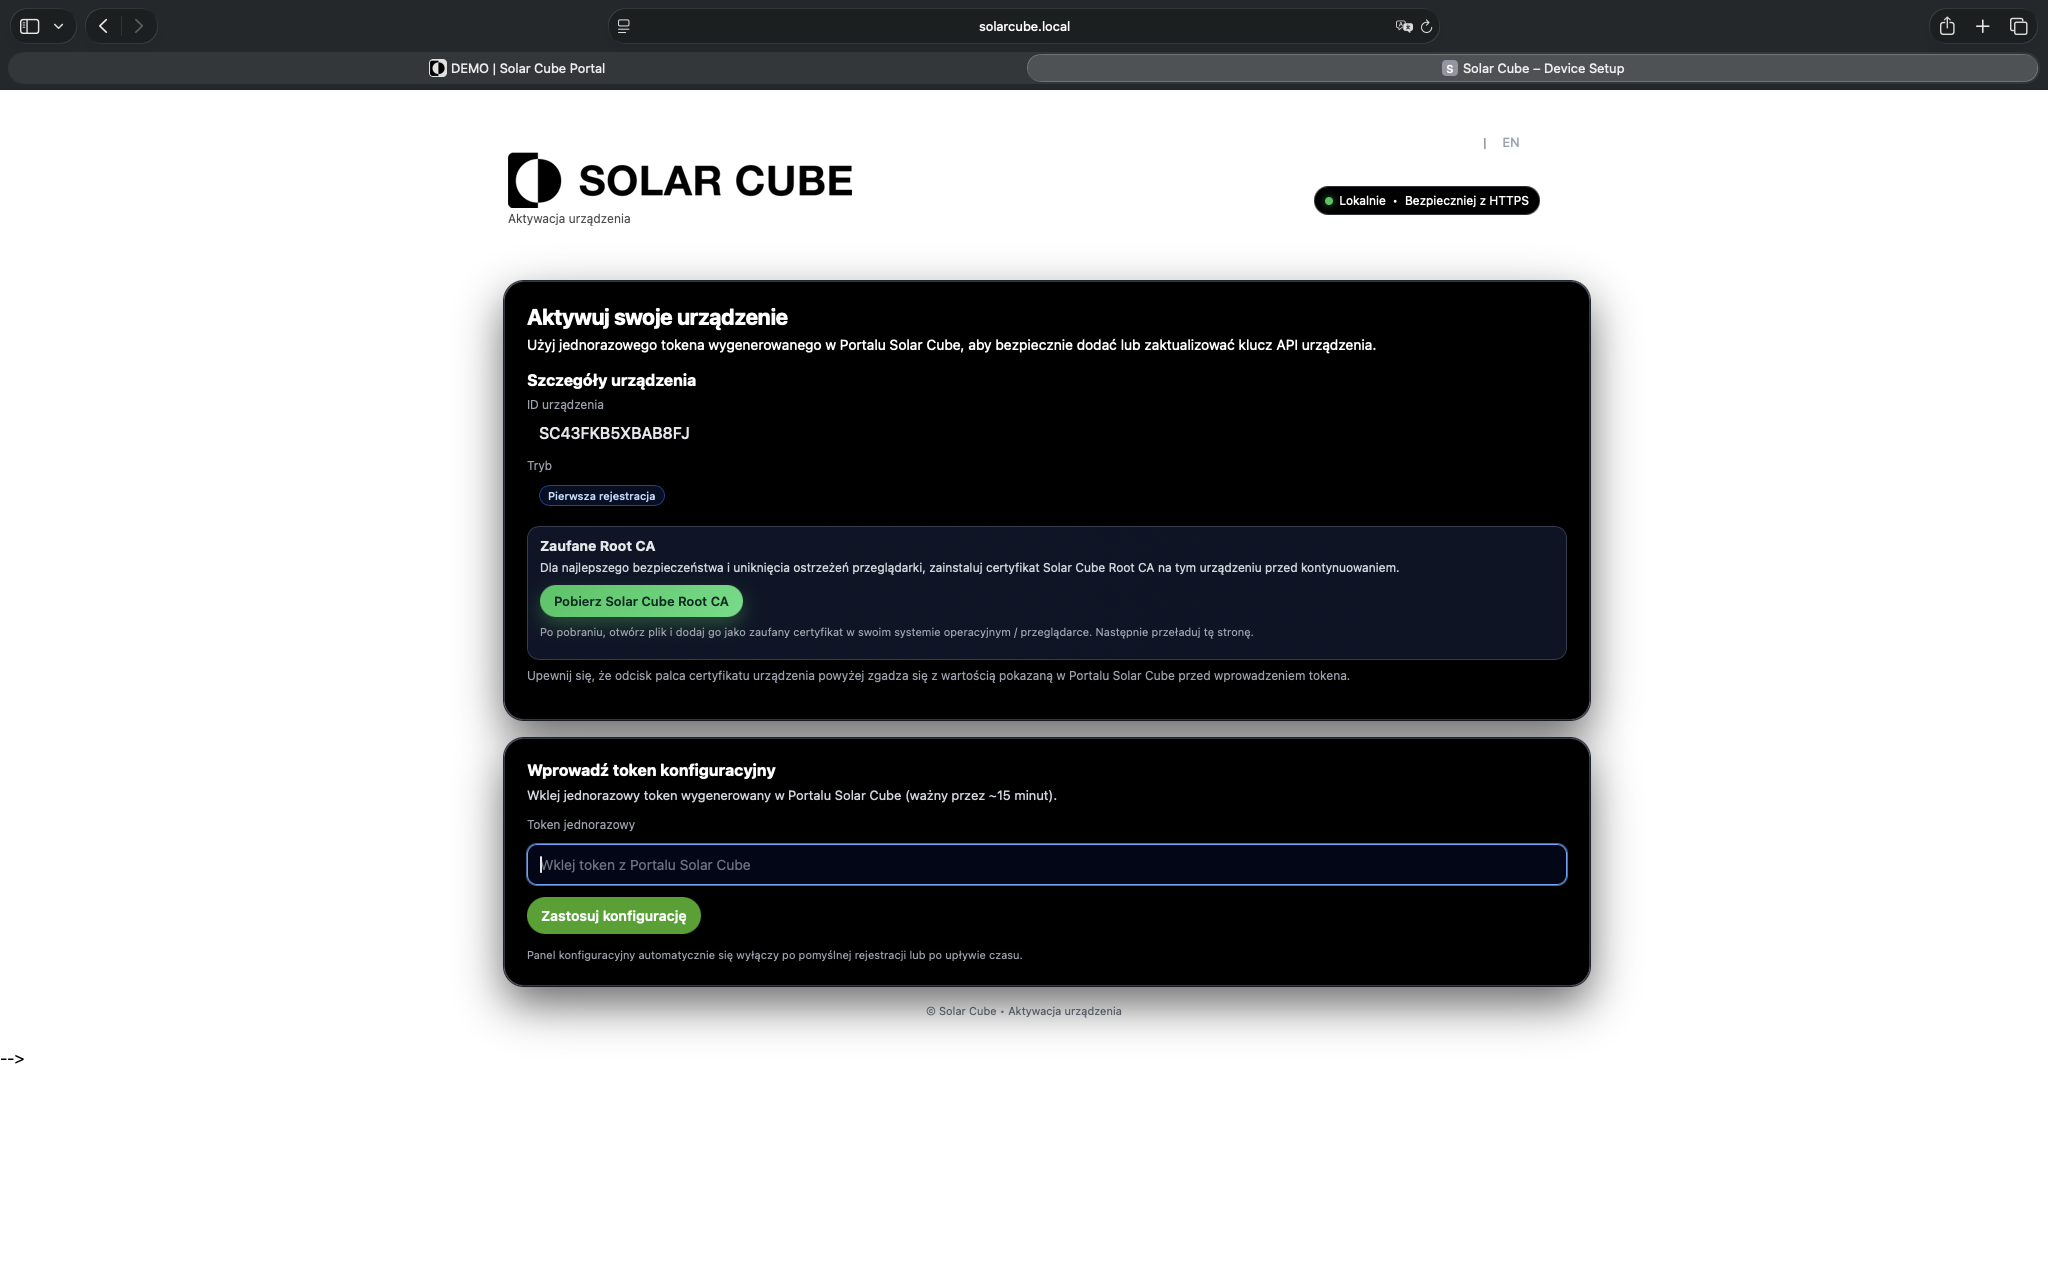
Open the local device activation page
After opening the local address, you will see the Solar Cube device activation screen. Leave this page open in a separate tab — you will paste the token in the next step.
17
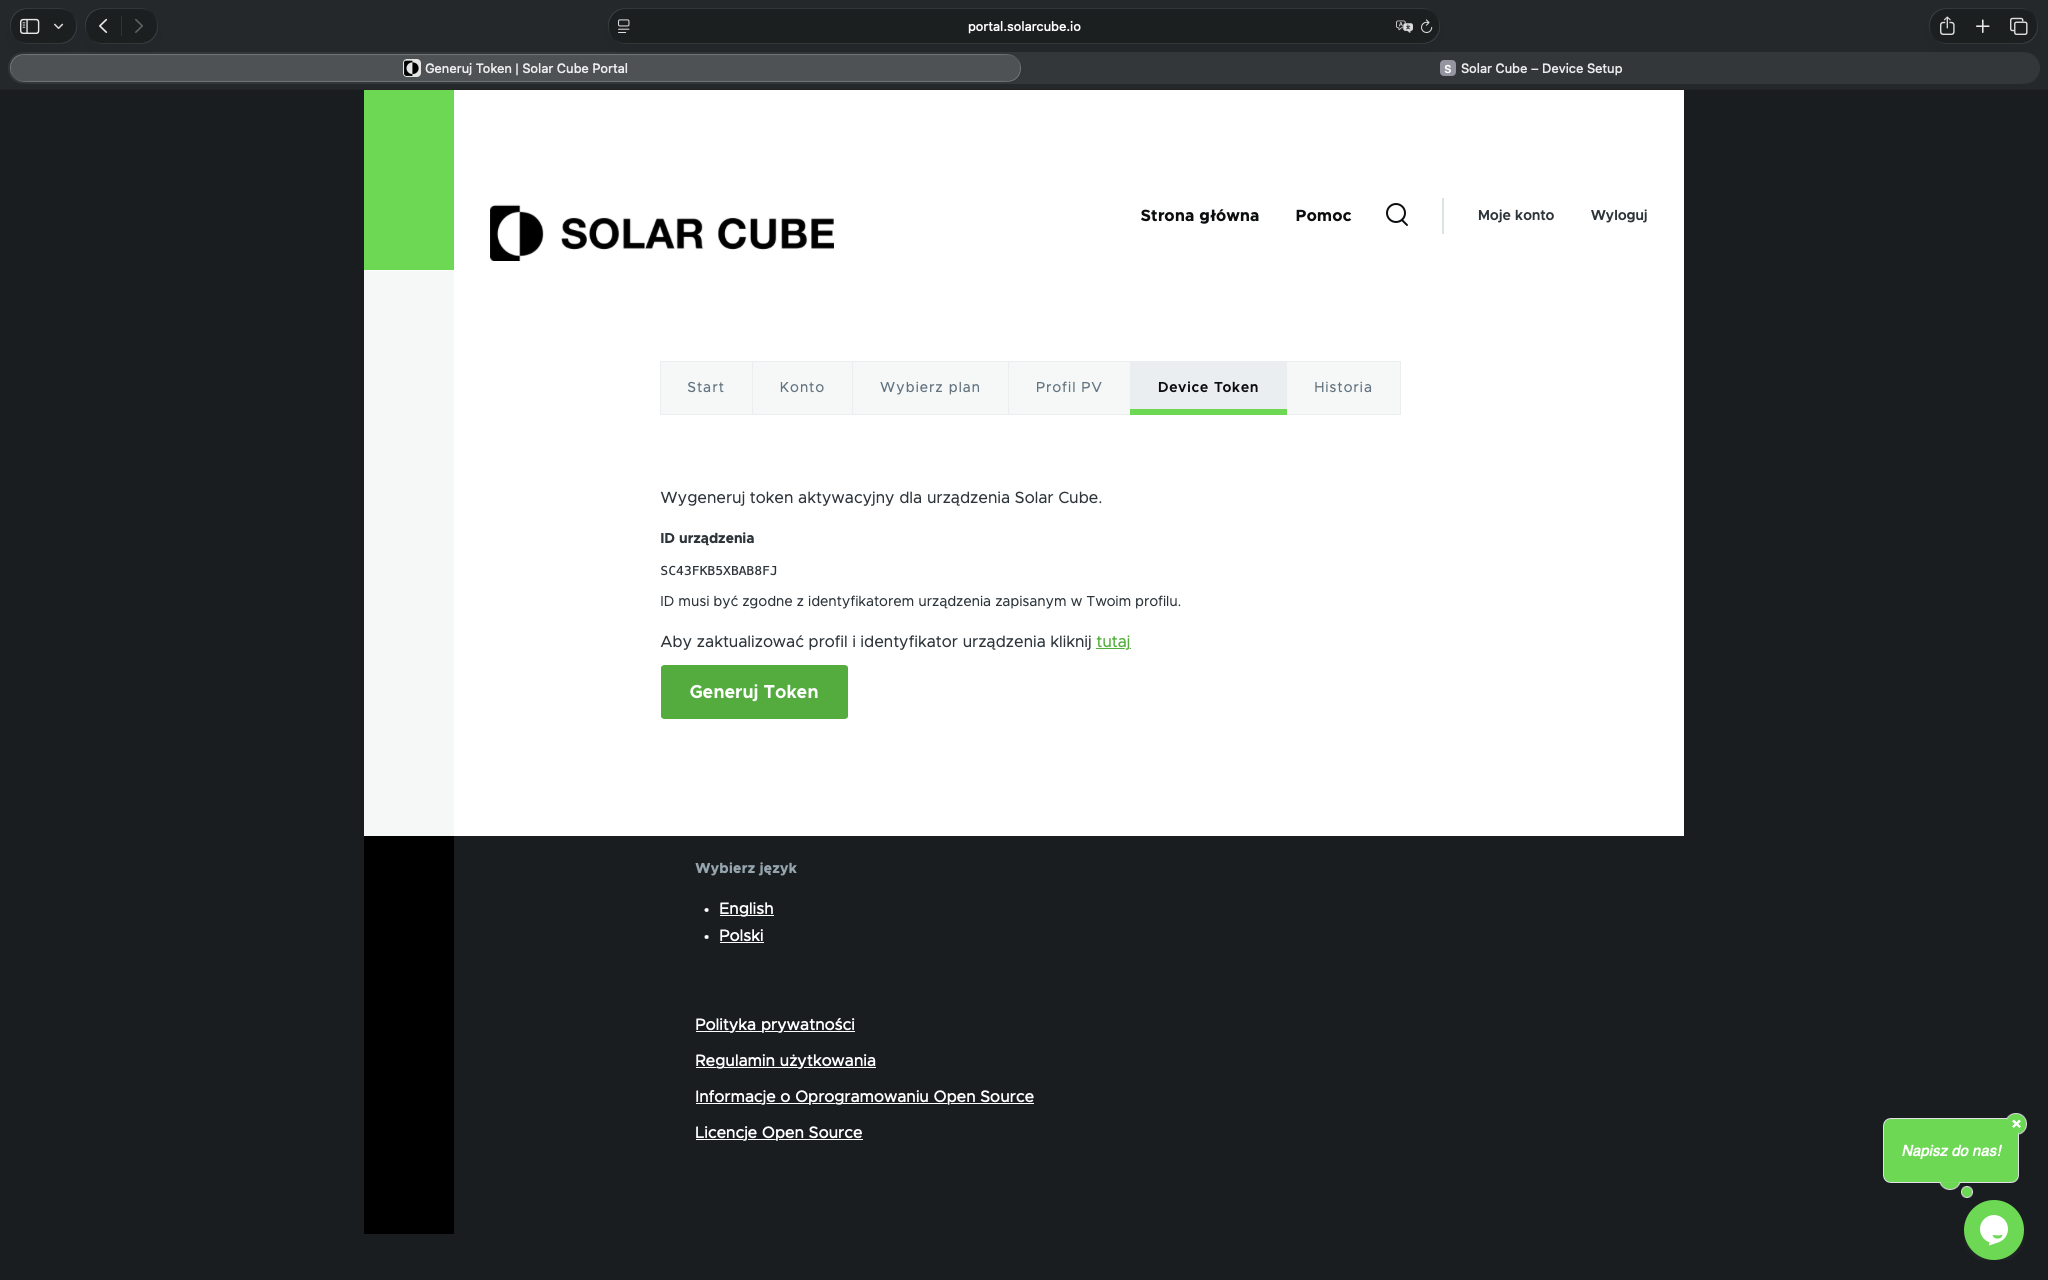
Return to the portal and open the Device Token tab
In the portal, go to the “Device Token” tab, check that the Device ID matches the profile, then click “Generate Token”.
18
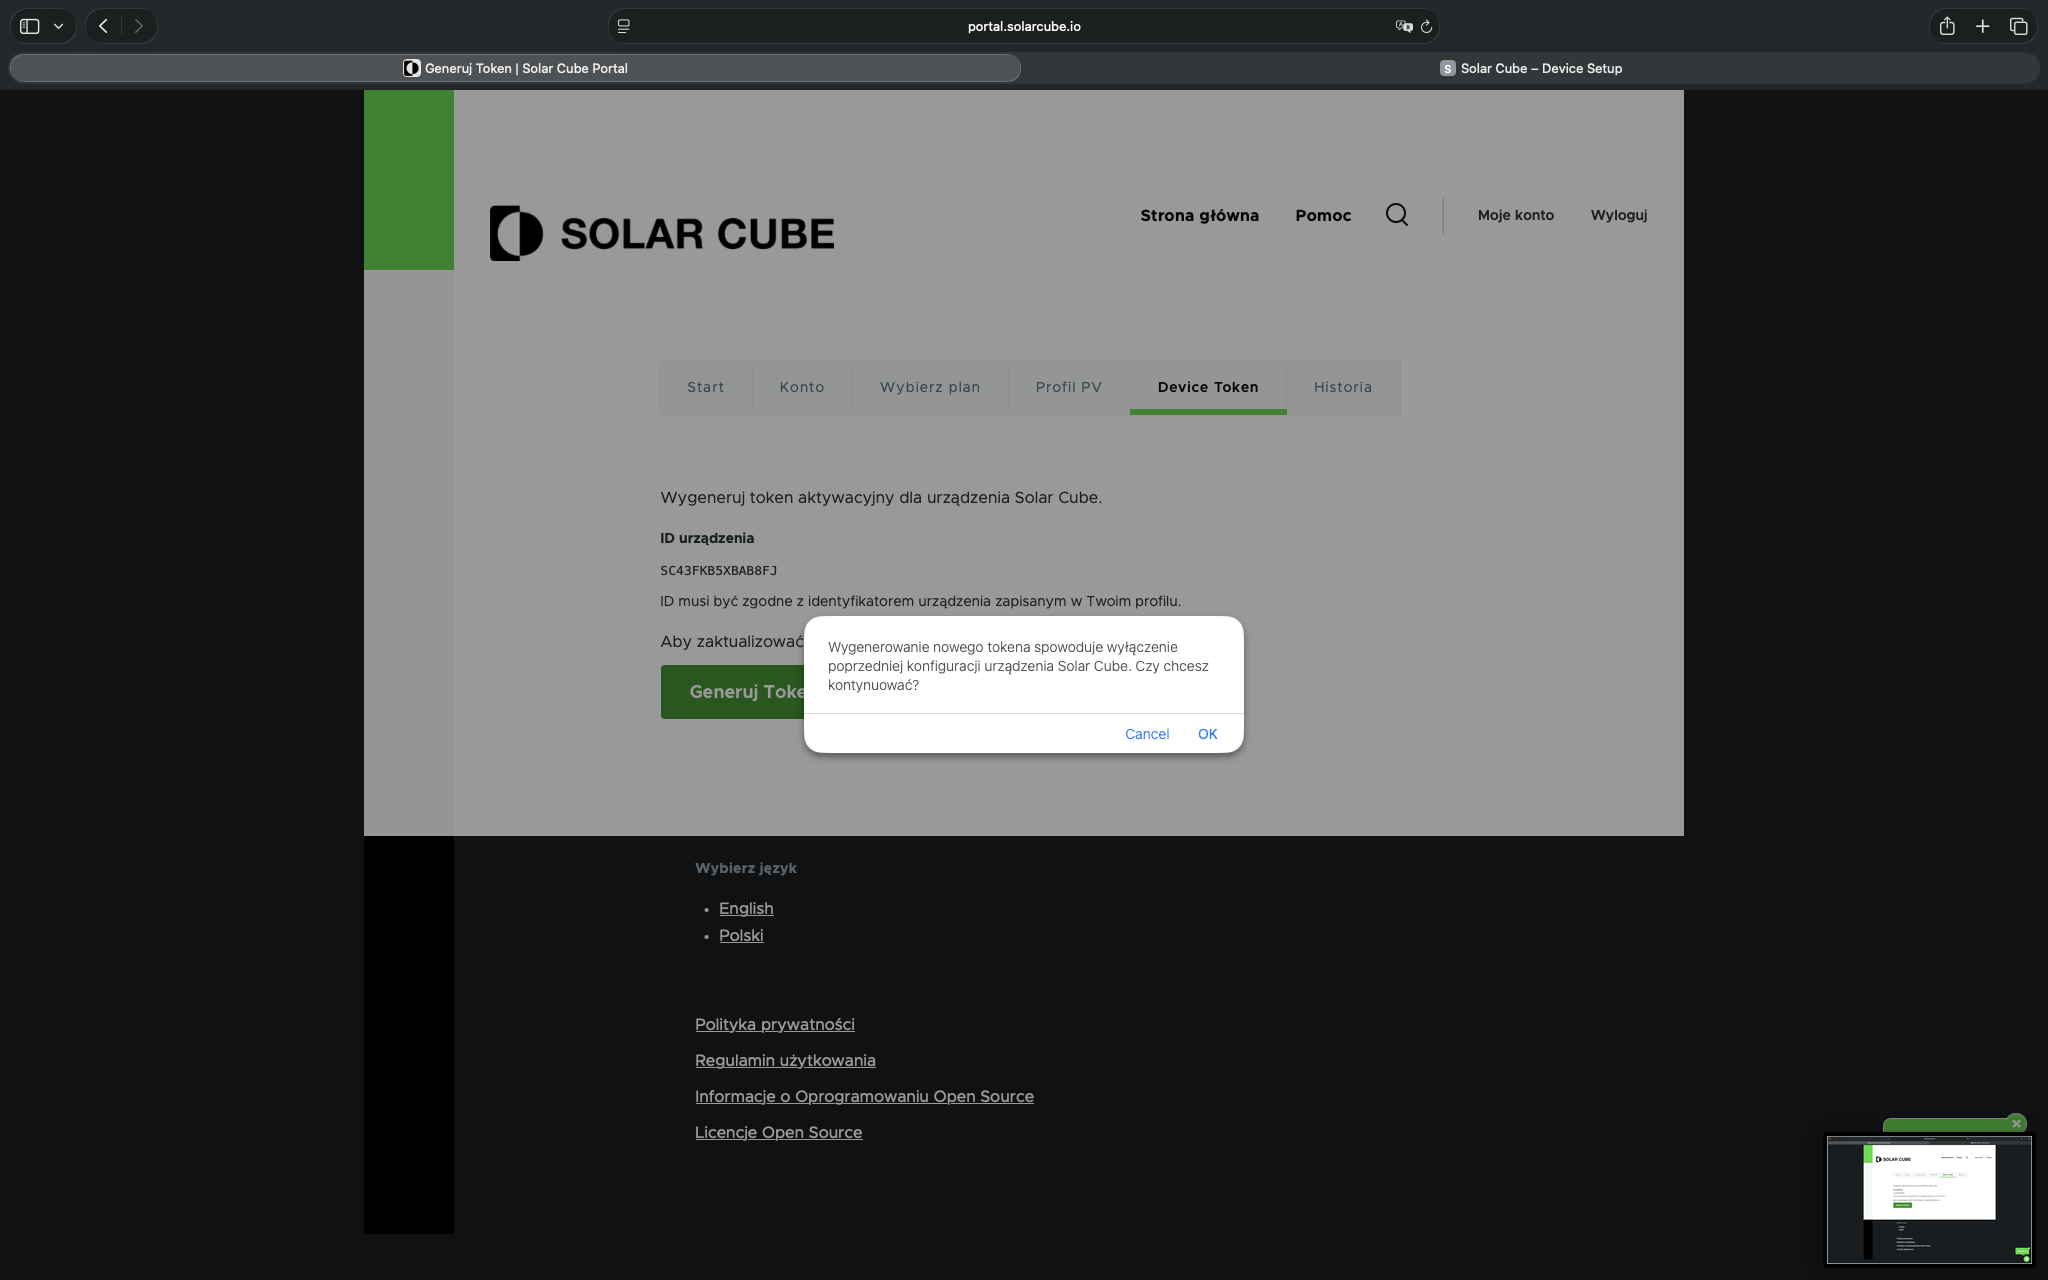
Confirm generation of a new token
If the portal displays a confirmation window, approve the operation to create a new one-time activation token for the device.
4. Activating the Solar Cube device
The token generated in the portal must be pasted into the local device page and the configuration must be confirmed.
19
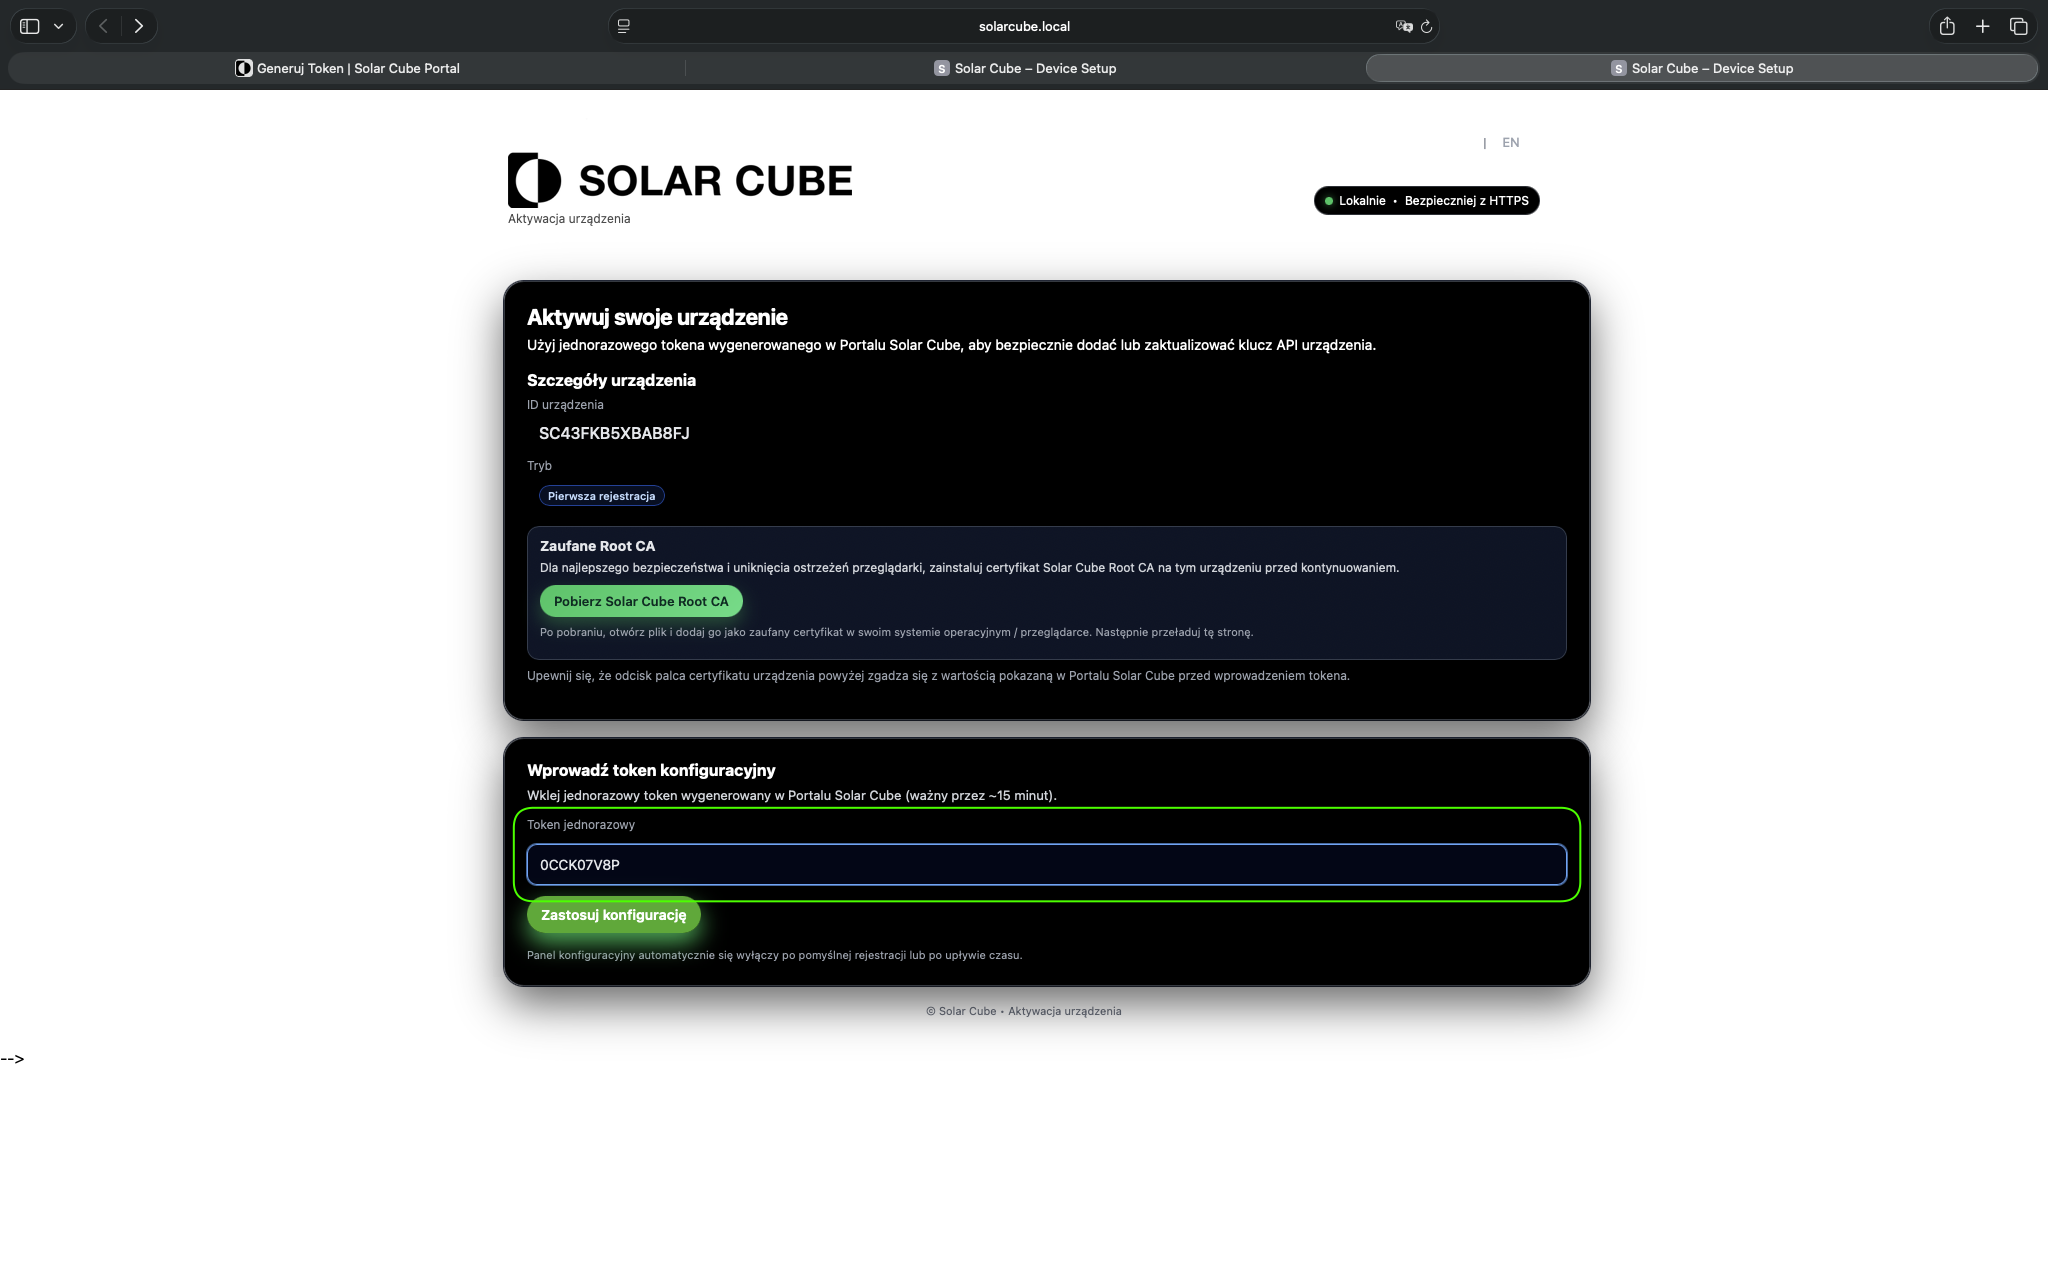
Paste the token into the local form
Return to the device activation page opened earlier, paste the one-time token into the form field and click “Apply configuration”.
20
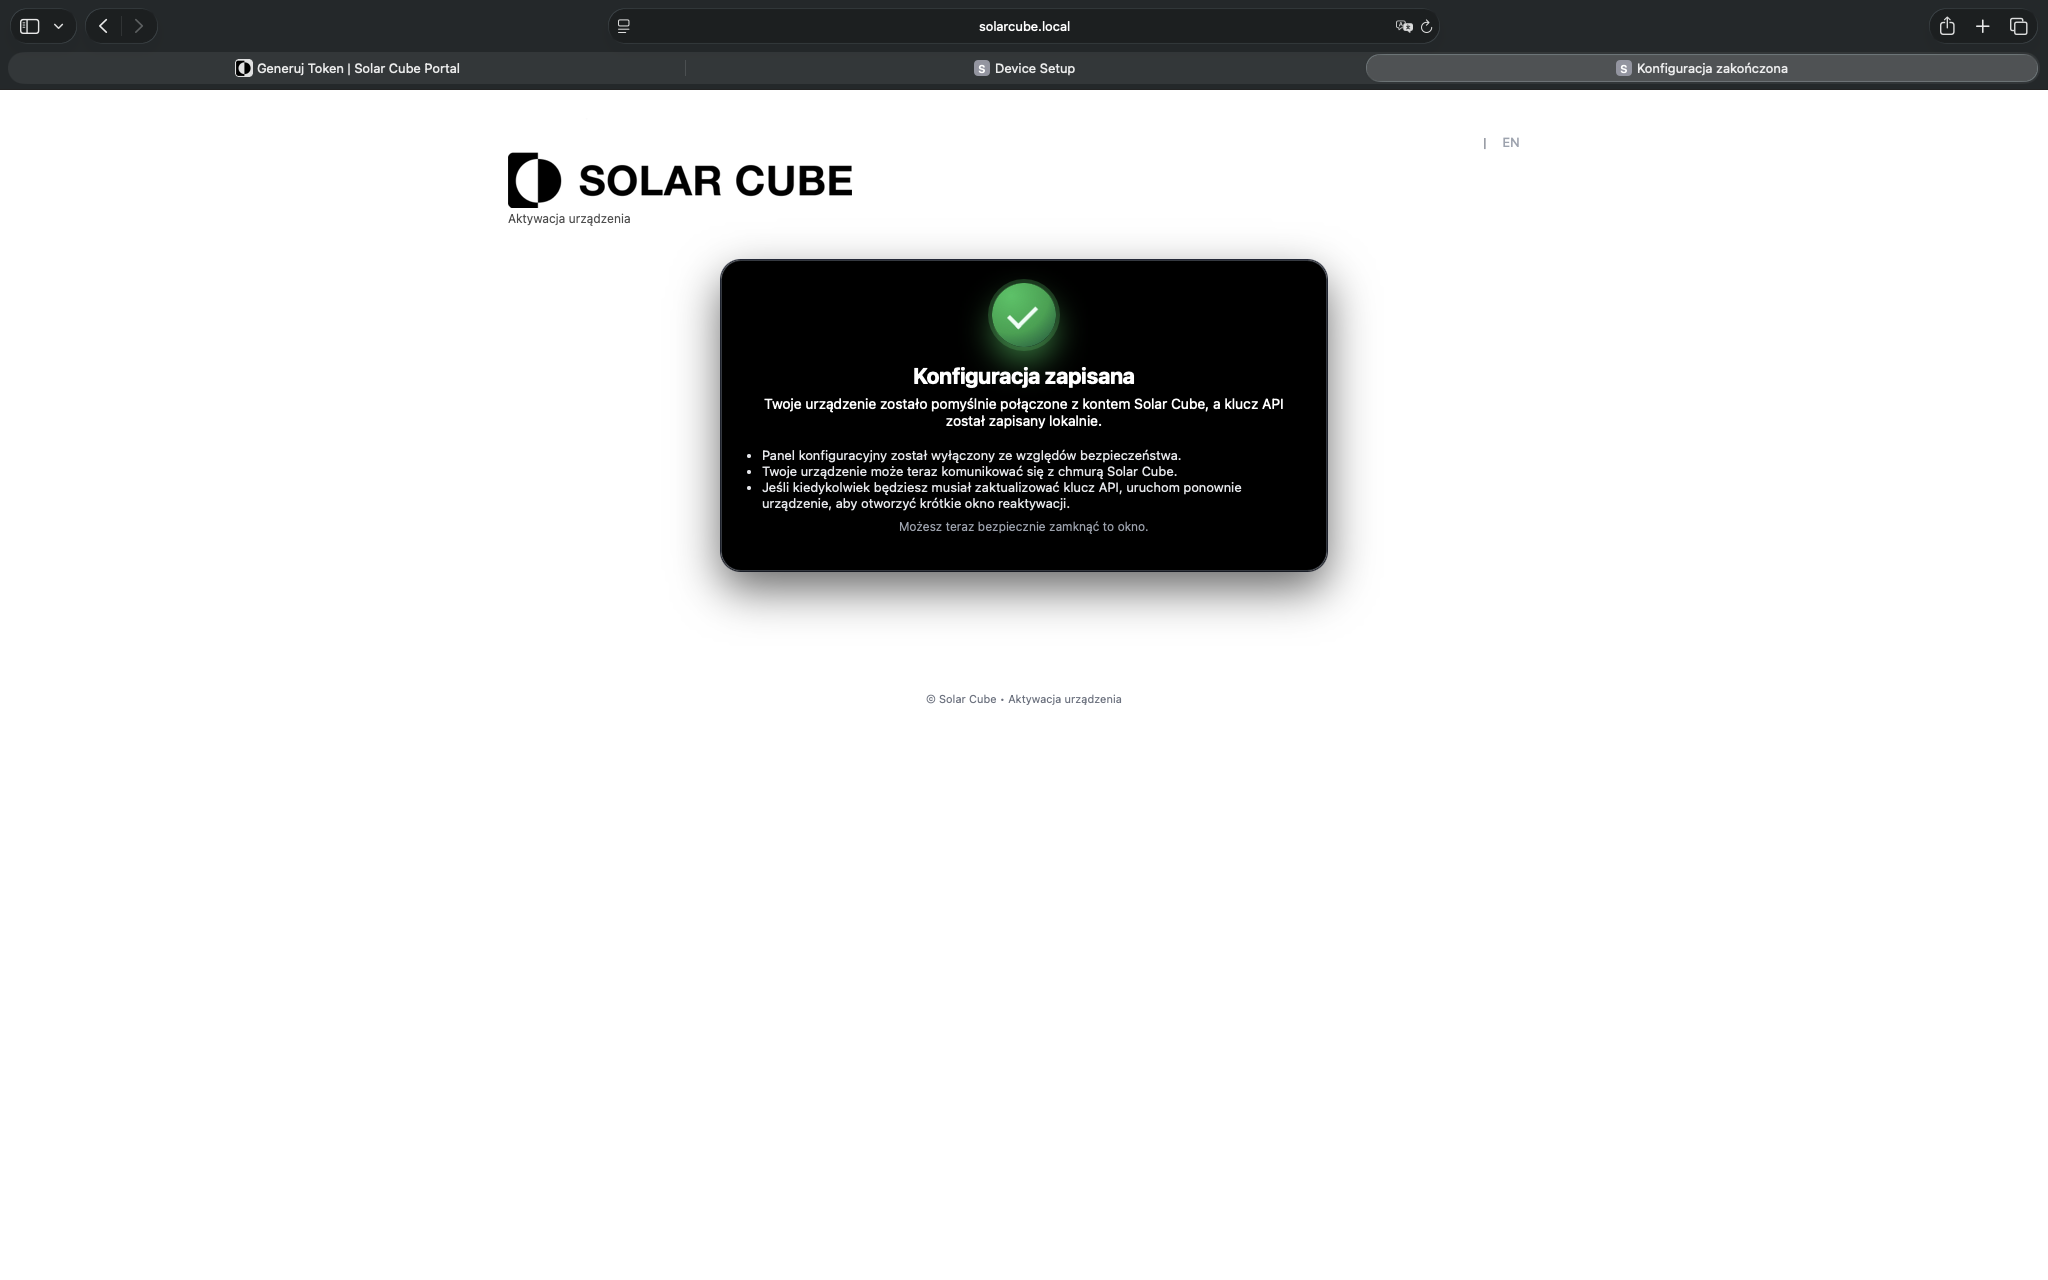
Confirm successful activation
After successful activation, a screen confirming that the configuration has been saved will appear. This means that the device has been linked to the Solar Cube account and the local activation panel will be disabled for security reasons.
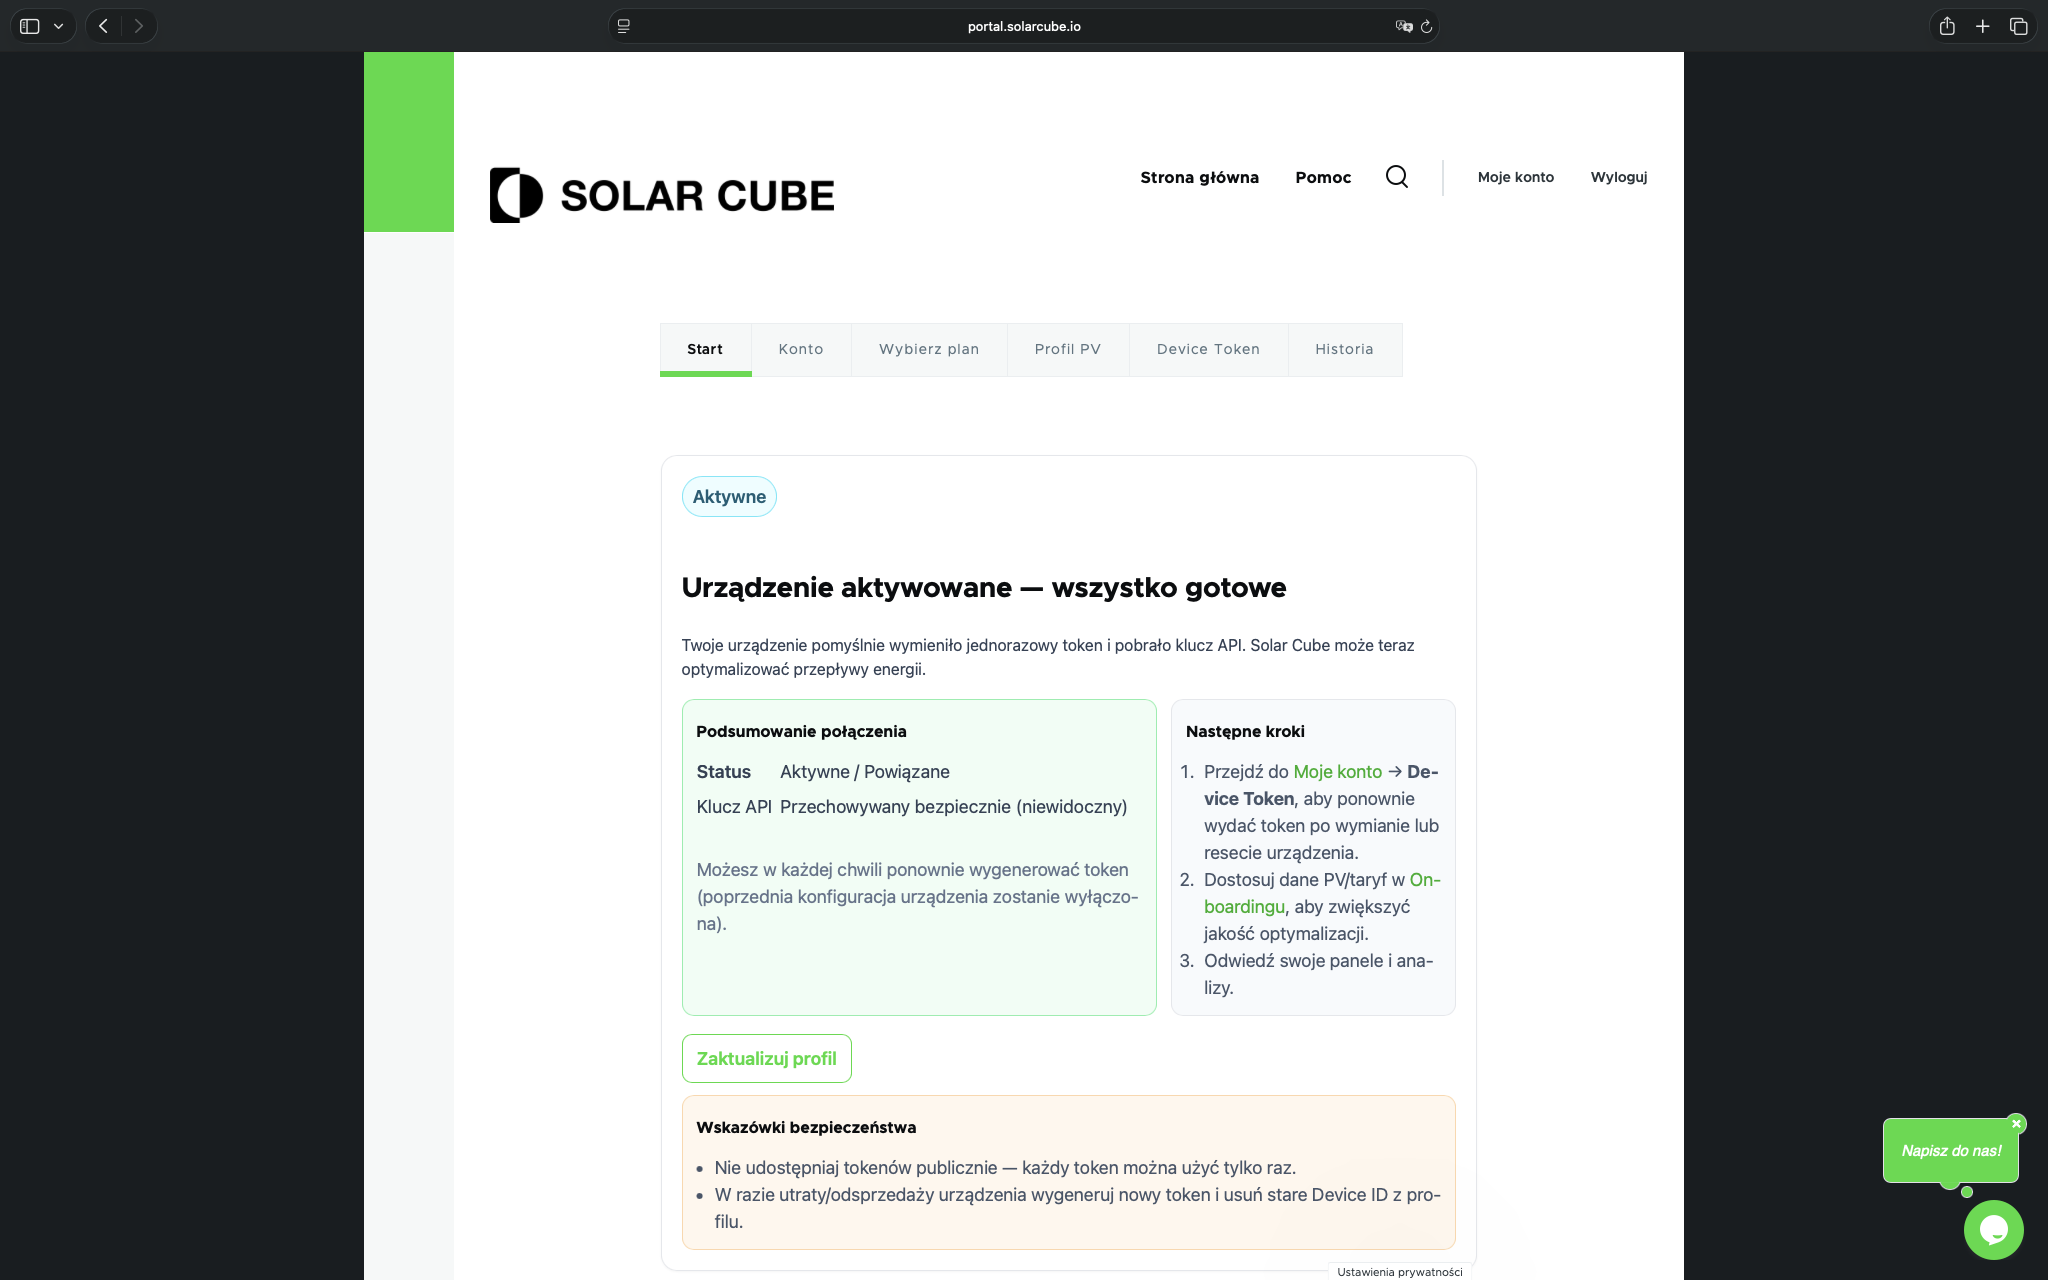
21
Check the confirmation in the portal
You will also find the activation confirmation in the Solar Cube portal.
5. Most common issues and quick fixes
If something does not work, check the points below before trying to activate again.
- No email with the code — check the Spam or Promotions folder.
- The page does not open
solarcube.local:5443— check whether the device has been started or reset within the last 3 minutes and whether the computer or phone is on the same local network. - The browser shows a security warning — use advanced settings or install the Solar Cube Root CA certificate.
- The token does not work — return to the portal, generate a new token and paste it into the activation form again.
- The Device ID does not match the profile — correct the identifier in the PV Profile tab so that it matches the device name.