
Home Assistant
Activating the Solar Cube integration in Home Assistant
This guide explains how to activate the Solar Cube HEMS integration from the Home Assistant web interface. It assumes that the integration files already exist inside the Home Assistant container. If you need to install the Solar Cube integration, please follow the steps described here: https://github.com/solarcube-io/solar-cube-integration
I. Add the Solar Cube integration in the web interface
Visit your Home Assistant web interface at https://solarcube.local. The integration should be available in the standard Home Assistant integration setup wizard.
1
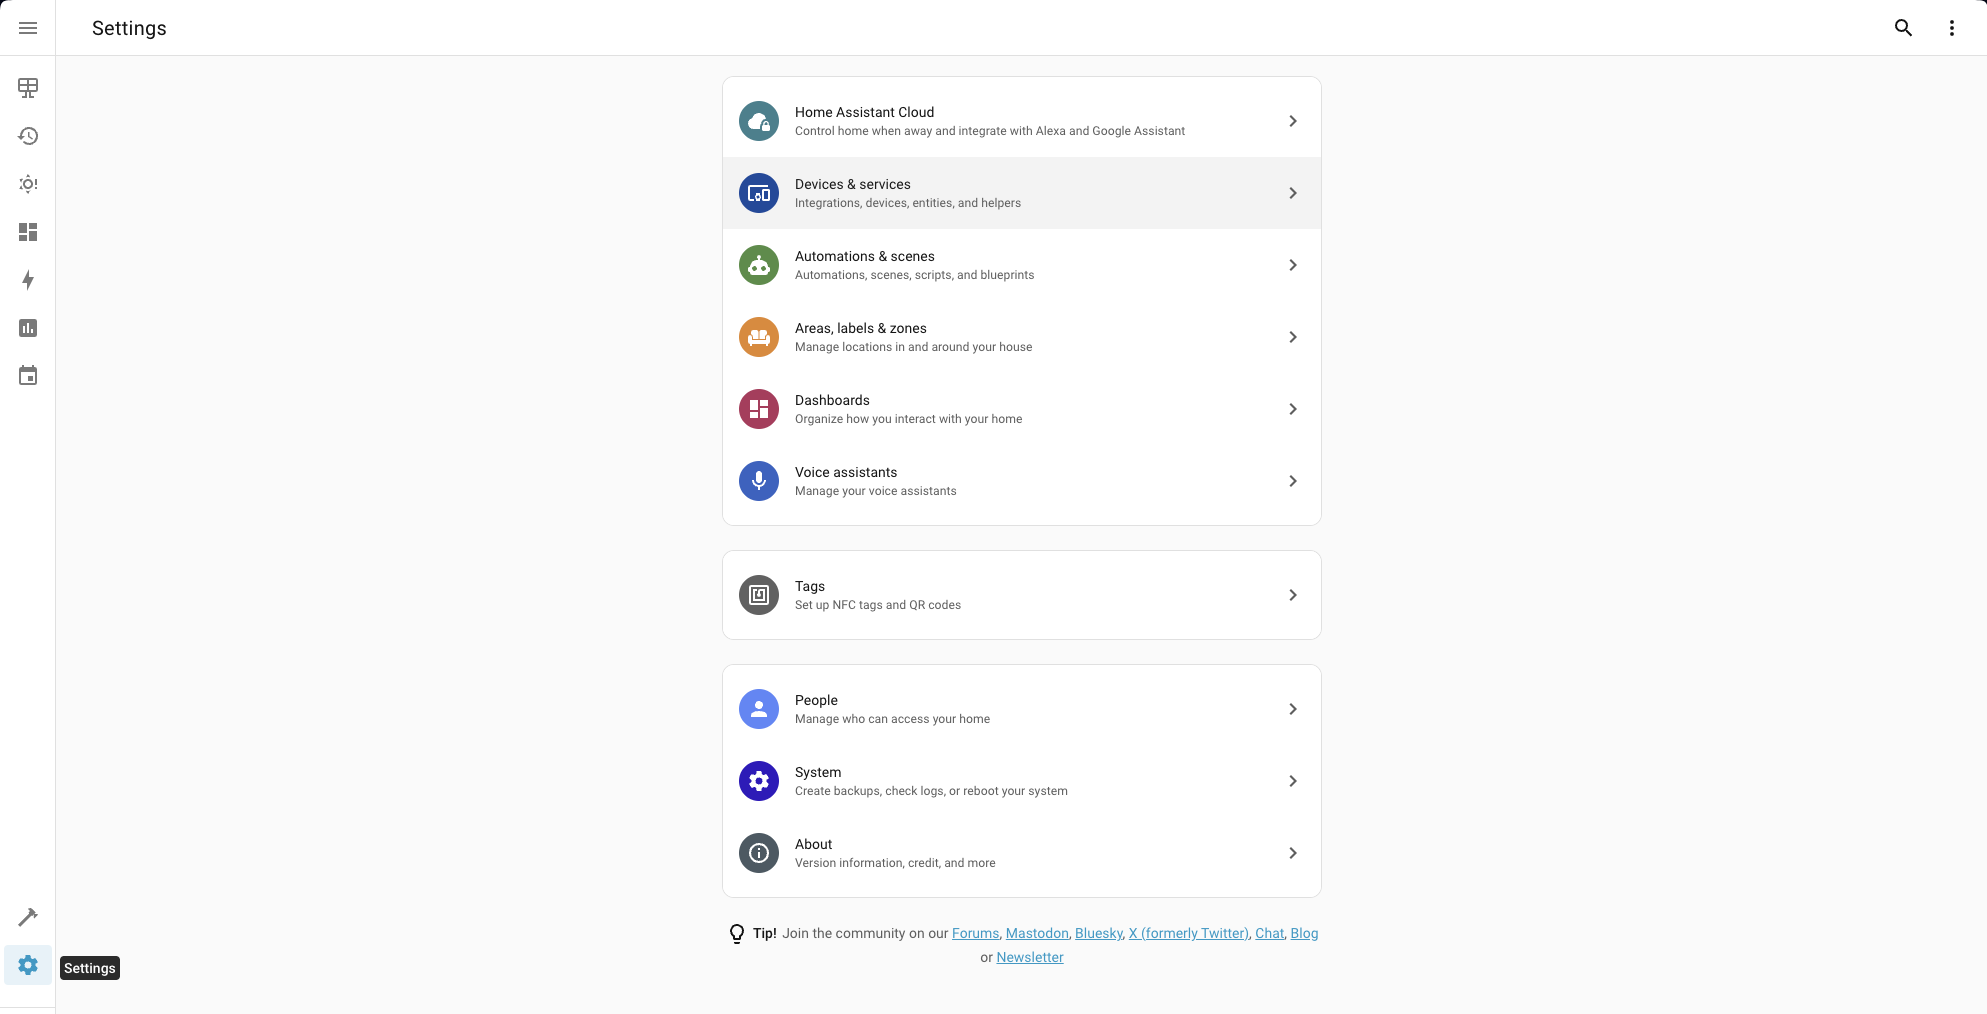
Go to Devices & Services
In Home Assistant, open Settings and then select Devices & Services.
This page shows all integrations currently configured in your Home Assistant instance.
2
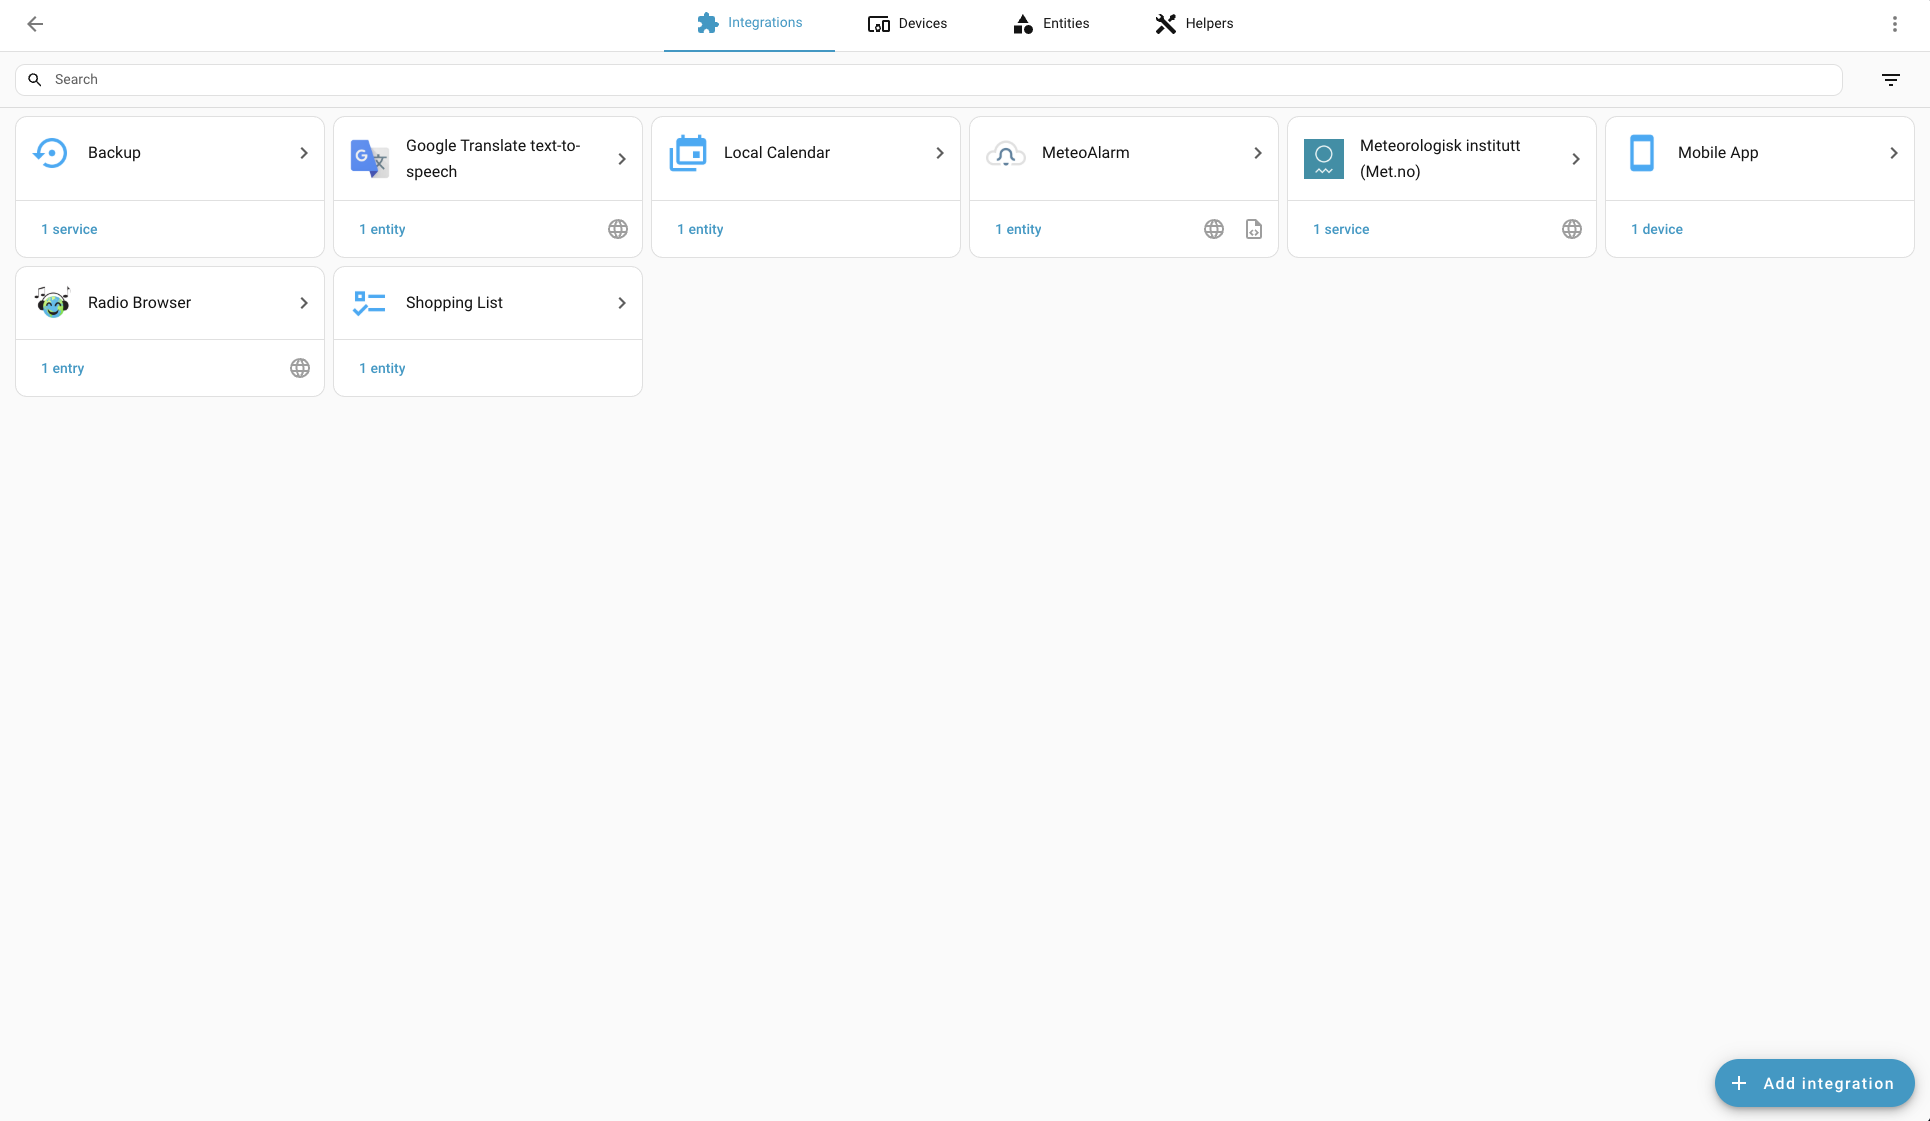
Click Add Integration
Click Add Integration to open the list of available integrations.
3
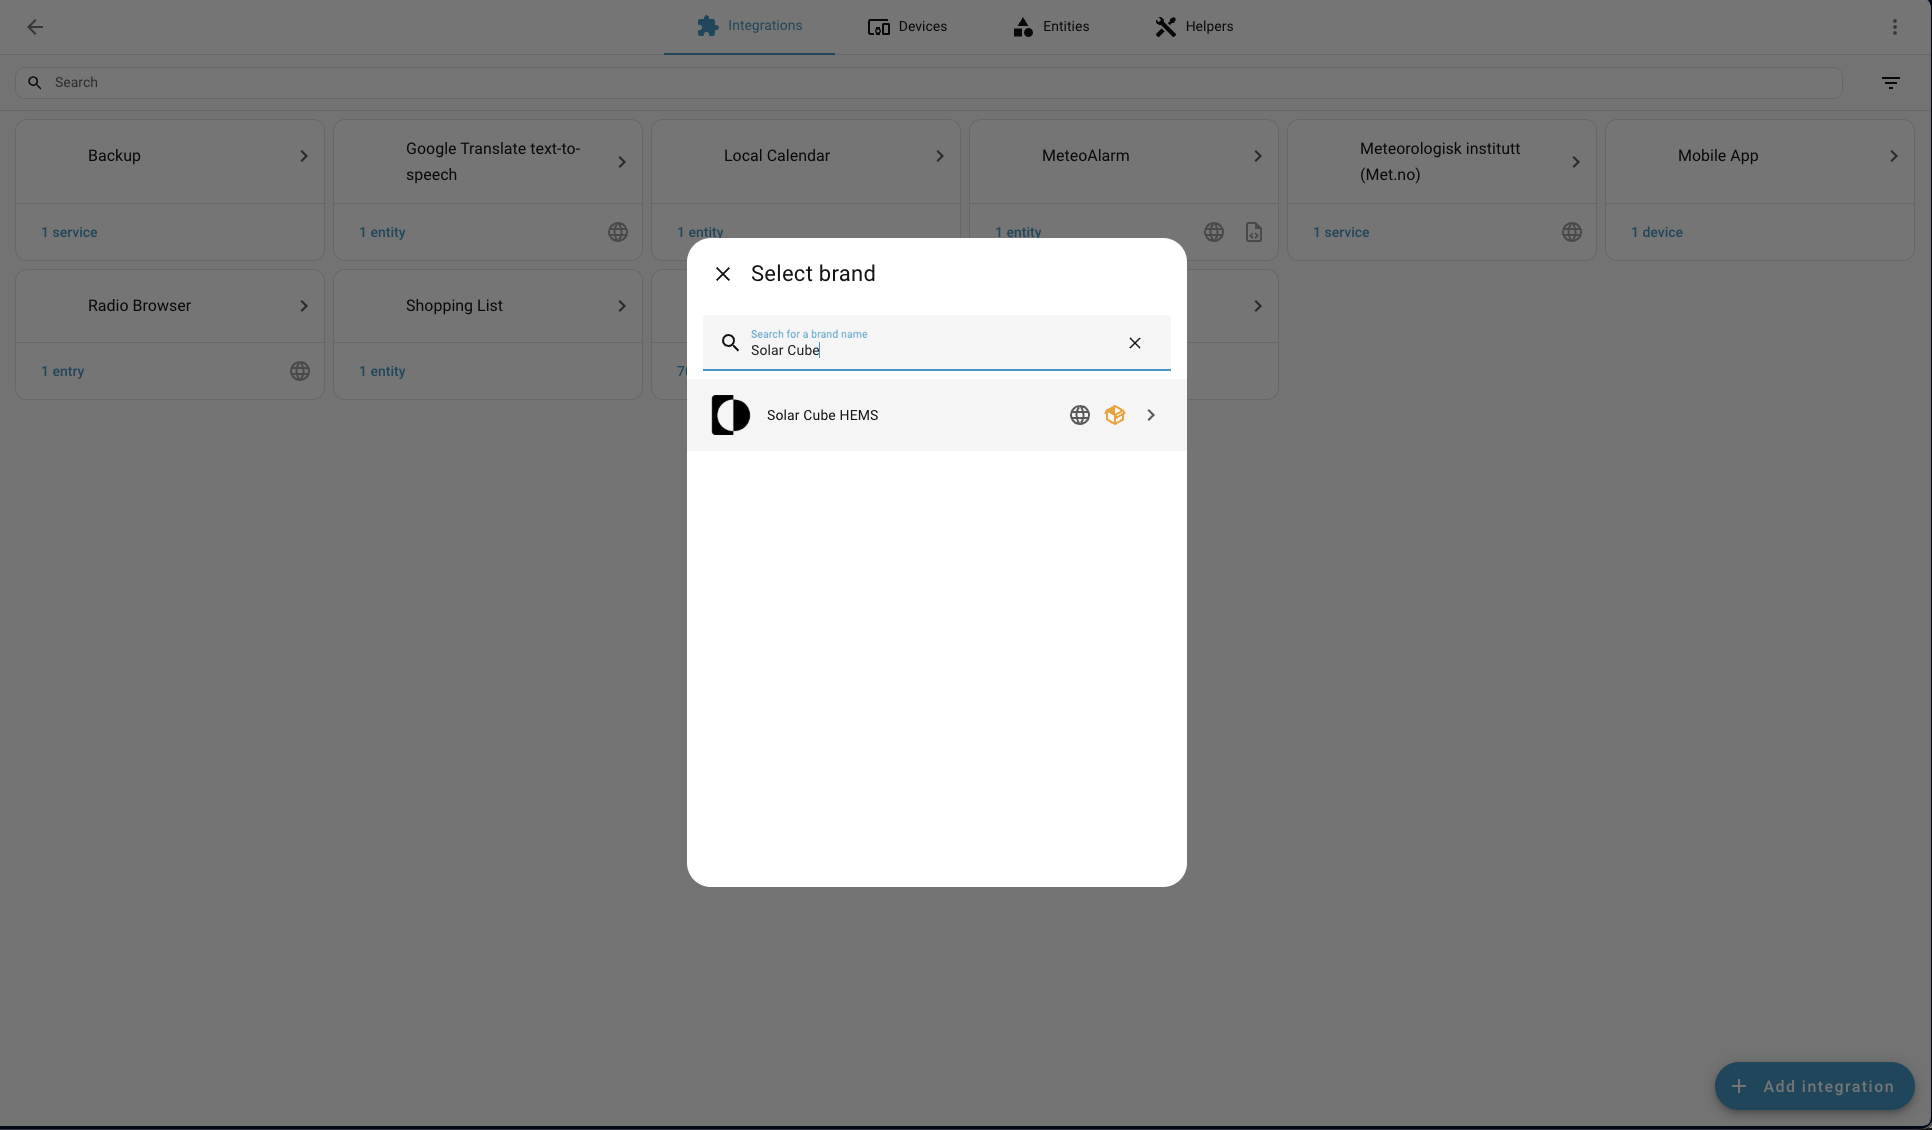
Search for Solar Cube
In the search field, type Solar Cube or Solar Cube HEMS, then select the integration from the list.
If the integration is not visible:
- install the Solar Cube integration by following the steps described here: https://github.com/solarcube-io/solar-cube-integration,
- restart Home Assistant again,
- clear the browser cache or perform a hard refresh.
II. Complete the Solar Cube configuration form
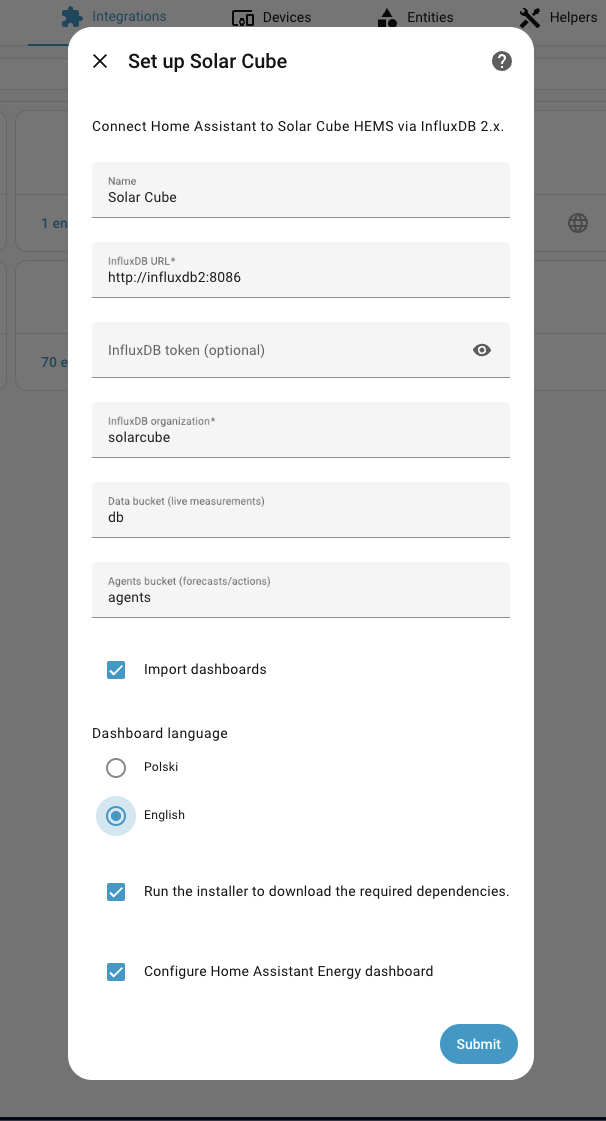
The configuration form connects Home Assistant to Solar Cube data stored in InfluxDB 2.x. In most installations, you can keep the default values and provide only the InfluxDB token.
4
Enter the basic connection parameters
In the Solar Cube Configuration form, fill in the InfluxDB connection fields.
| Field in Home Assistant | Recommended value | Description |
|---|---|---|
| Name | Solar Cube | The integration instance name displayed in Home Assistant. |
| InfluxDB URL | http://influxdb2:8086 | The InfluxDB address reachable from the Home Assistant container. If InfluxDB uses a different service name or IP address, enter the correct address. |
| InfluxDB token | Token with read permissions | The token can be left empty only if influxdb_token is configured in configuration.yaml. |
| InfluxDB organization | solarcube | The organization name configured in InfluxDB. |
| Data bucket | db | The bucket containing live Solar Cube measurements. |
| Agents bucket | agents | The bucket containing forecasts, optimizer actions and agent data. |
5
Decide whether to run the frontend resource installer
The Run installer to download required dependencies option allows the integration to download and register the Lovelace card resources required by Solar Cube dashboards.
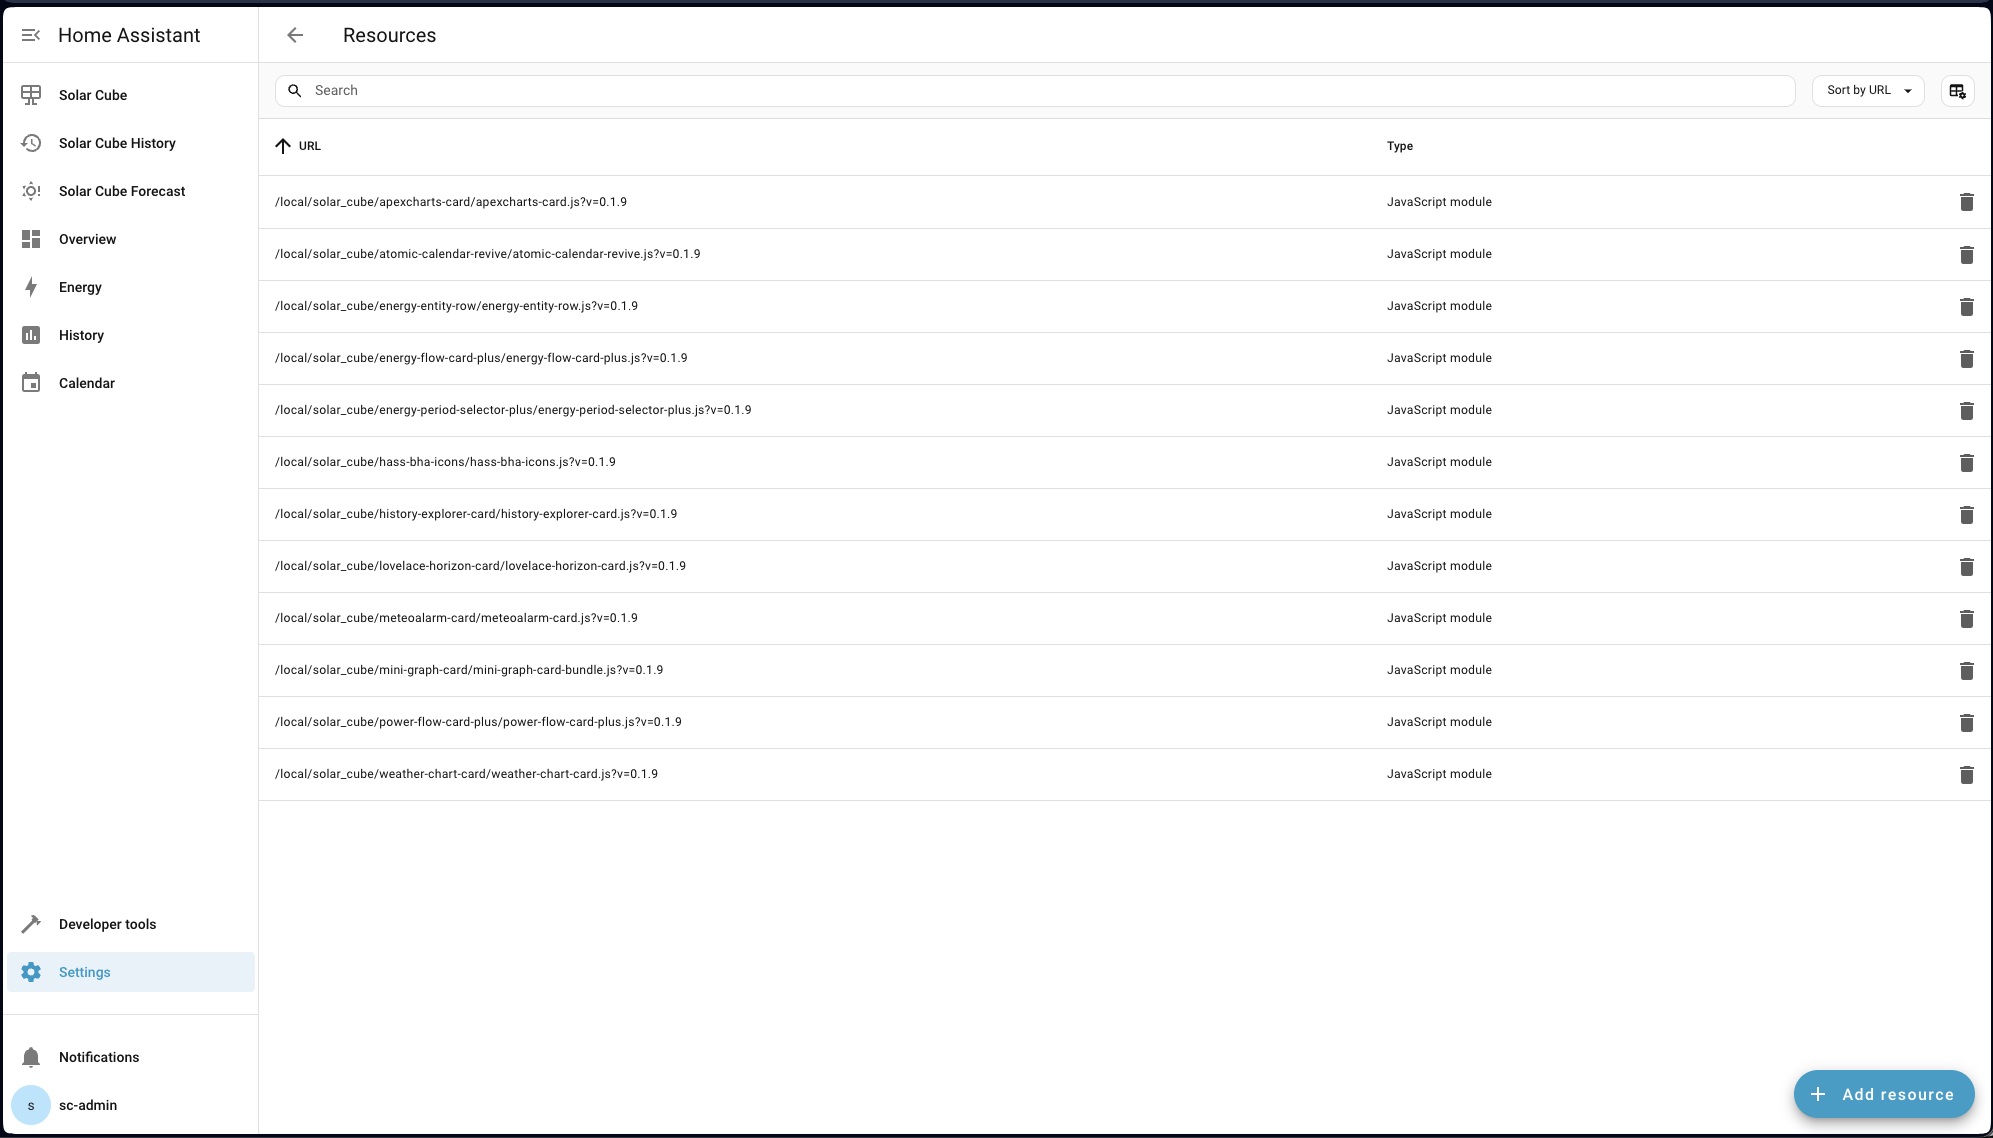
/config/www/solar_cube. If your Home Assistant installation does not have internet access, or if you want to manage frontend resources manually, disable this option and add the resources in Home Assistant under Settings → Dashboards → Resources.6
Submit the configuration
Click Submit. Home Assistant will verify the InfluxDB connection, token validity and bucket access.
III. Optional calendar and dashboard configuration
The integration can automatically create sensors and dashboards. For selected automations, it is also recommended to prepare a local Home Assistant calendar.
7
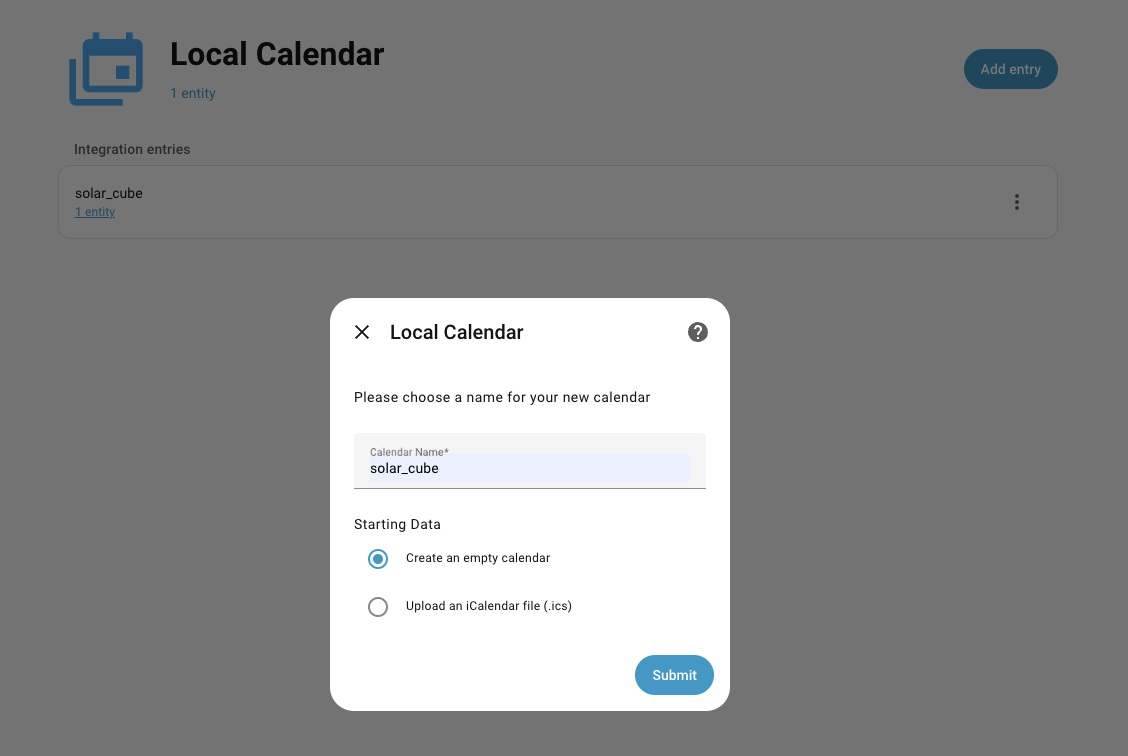
Add Local Calendar if you use Solar Cube automations
Go to Settings → Devices & Services → Add Integration and select Local Calendar.
Create a calendar named solar_cube. This name allows Solar Cube automations to use the calendar.solar_cube entity.
8
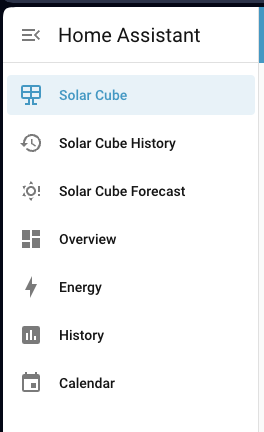
Check dashboards in the sidebar menu
If dashboard import was enabled, Solar Cube dashboards should appear in the Home Assistant sidebar after the configuration is complete.
- Solar Cube live dashboard,
- Solar Cube history dashboard,
- forecast and optimizer actions dashboard.
9
Perform a hard browser refresh
If the dashboards are visible but Lovelace cards do not load correctly, perform a hard browser refresh.
- Windows/Linux:
Ctrl + F5 - macOS:
Cmd + Shift + R
If the issue continues, restart Home Assistant and check resources under Settings → Dashboards → Resources.
IV. Verify that the integration works correctly
After adding the integration, check that the sensors were created, values are being updated and Solar Cube dashboards display data correctly.
10
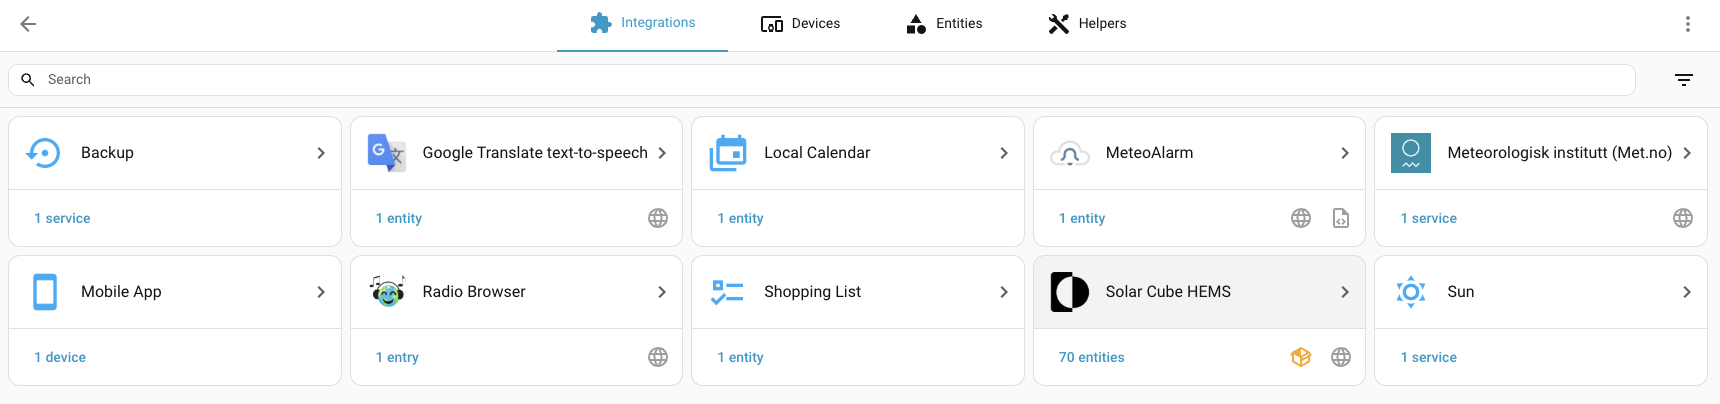
Check the integration in Devices & Services
Return to Settings → Devices & Services and open the Solar Cube integration tile.
The integration should be visible as active and should not show authorization or connection errors.
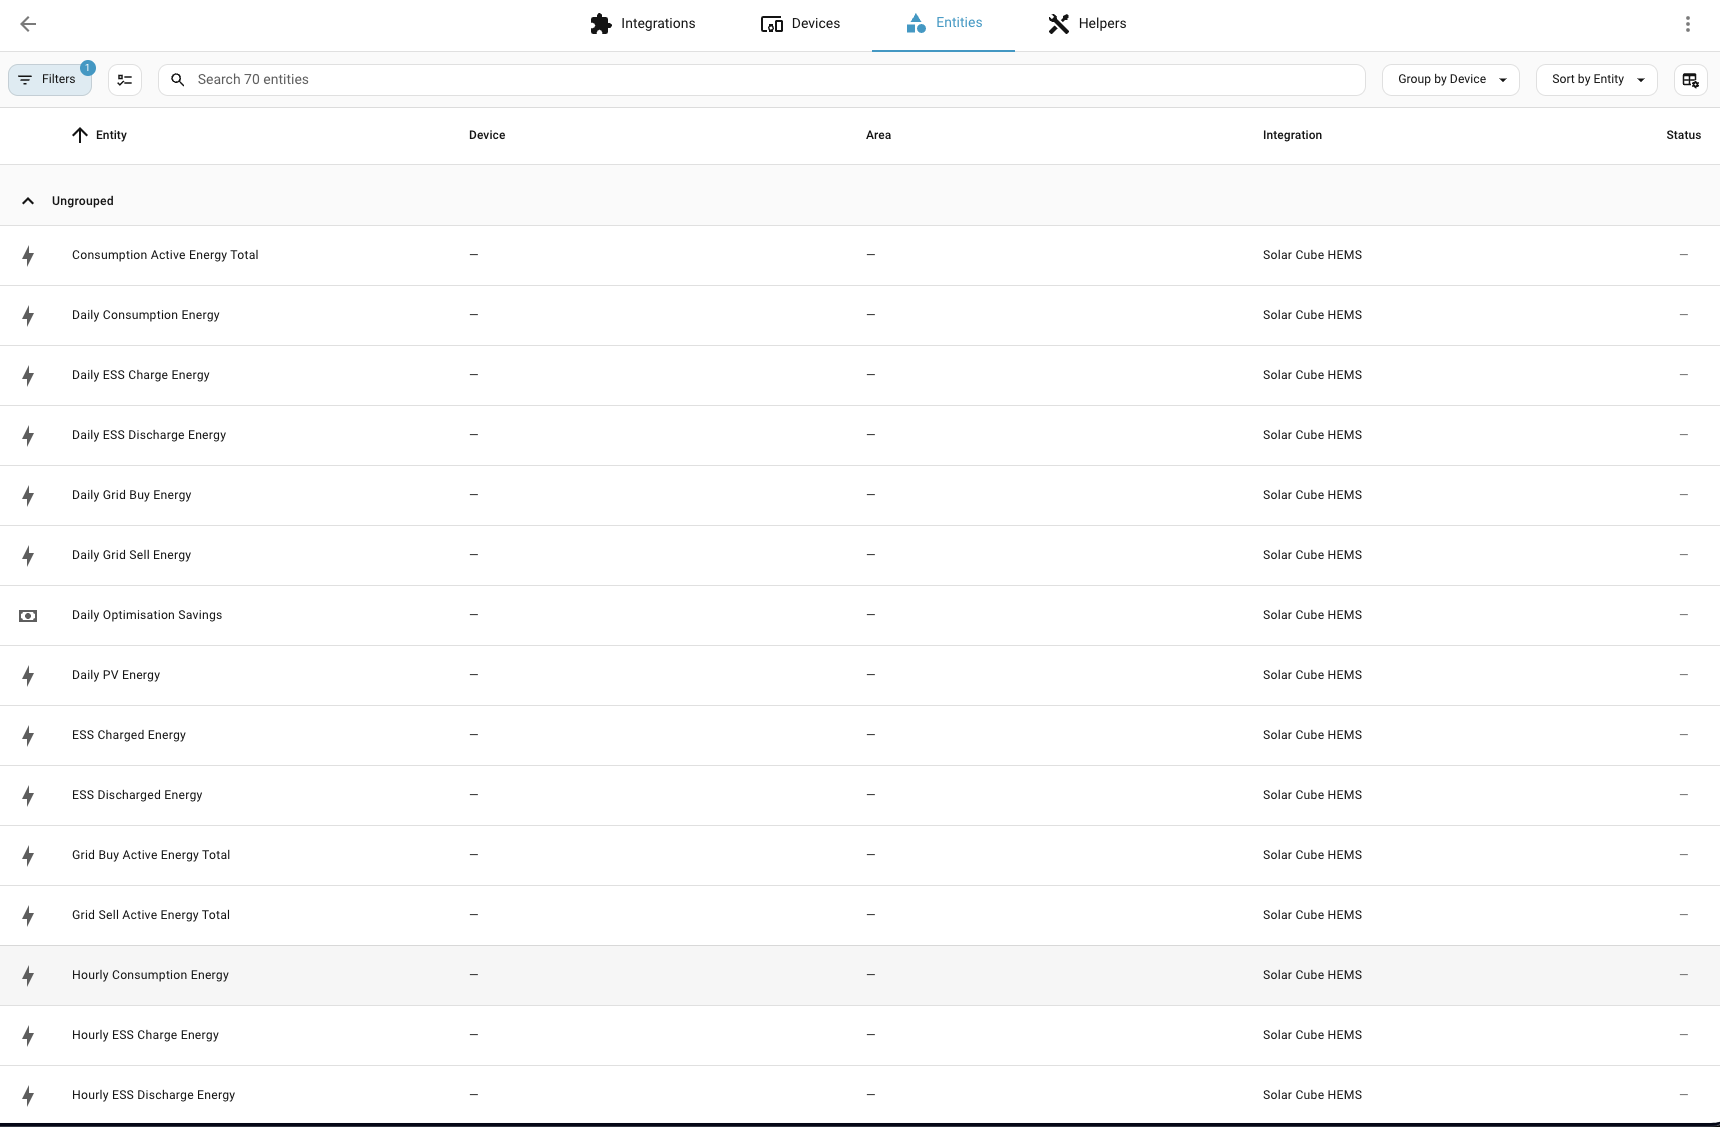
11
Verify created entities
Open the integration entity list and confirm that Solar Cube sensors have been created, such as power, voltage, energy, battery state, prices, forecasts and optimizer actions.
12
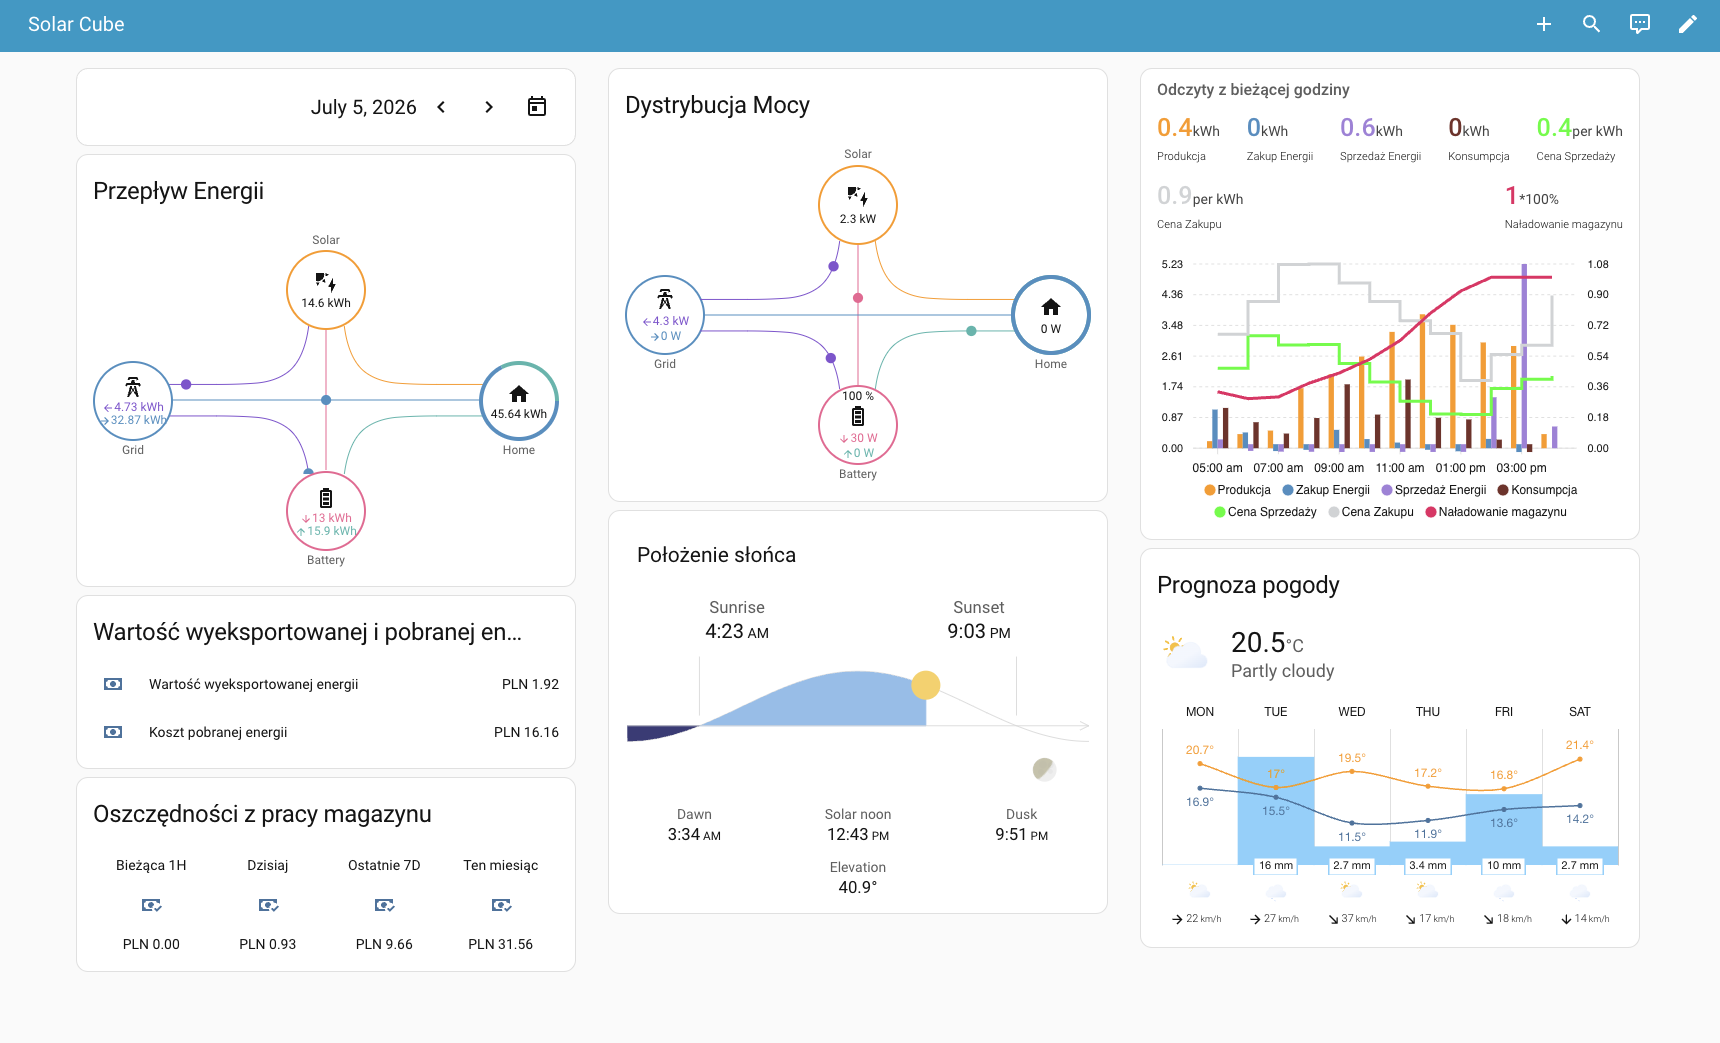
Check data on the Solar Cube dashboard
Open the Solar Cube dashboard and check whether current PV, battery, grid and forecast data is displayed.
The integration works correctly if:
- the integration tile does not show any error,
- sensors have current values,
- Solar Cube dashboards open without Lovelace card errors,
V. Common issues and quick fixes
If the integration does not start correctly, check the points below before repeating the configuration.
- Solar Cube does not appear in the integration list — install the Solar Cube integration by following the steps described here: https://github.com/solarcube-io/solar-cube-integration.
- Cannot connect — check the PV Profile in the My Account section here: https://portal.solarcube.io and update settings if required.
- Sensors are created but have no values — check whether the current Solar Cube device is connected to the PV inverter and the inverter IP address is added to the PV Profile.
- The dashboard shows Lovelace card errors — perform a hard browser refresh, check resources under Settings → Dashboards → Resources, or run the frontend installer again.
- Dashboards did not appear in the sidebar — check whether Import dashboards was enabled during configuration. If needed, open the integration options and enable dashboard import again.
- Automations do not create calendar events — add the Local Calendar integration and create a calendar named
solar_cube.