Solar Cube Wi‑Fi setup
Connect Solar Cube to your home Wi‑Fi network
Use the built-in Wi‑Fi access point of the Solar Cube device and the configuration portal opened on your phone. This guide explains how to connect the device to your home network before completing the PV profile and device activation.
Important
When connecting to the Solar Cube device AP, write down the Wi‑Fi/device identifier, which is the network name starting with SC, for example SCXXXXXXXXXXXXX. This identifier will be needed later for the PV profile settings.
Quick checklist
Before you start, make sure the device, password and Wi‑Fi network are ready.
- The Solar Cube device is connected to power and the LED on the POWER button is lit.
- The network/device identifier starting with
SChas been written down. - You know the name of the correct home Wi‑Fi network.
- You know the password for the home Wi‑Fi network.
- The device is within range of the Wi‑Fi router.
Configuration steps
Follow the steps below on a phone connected to the Solar Cube access point.
1
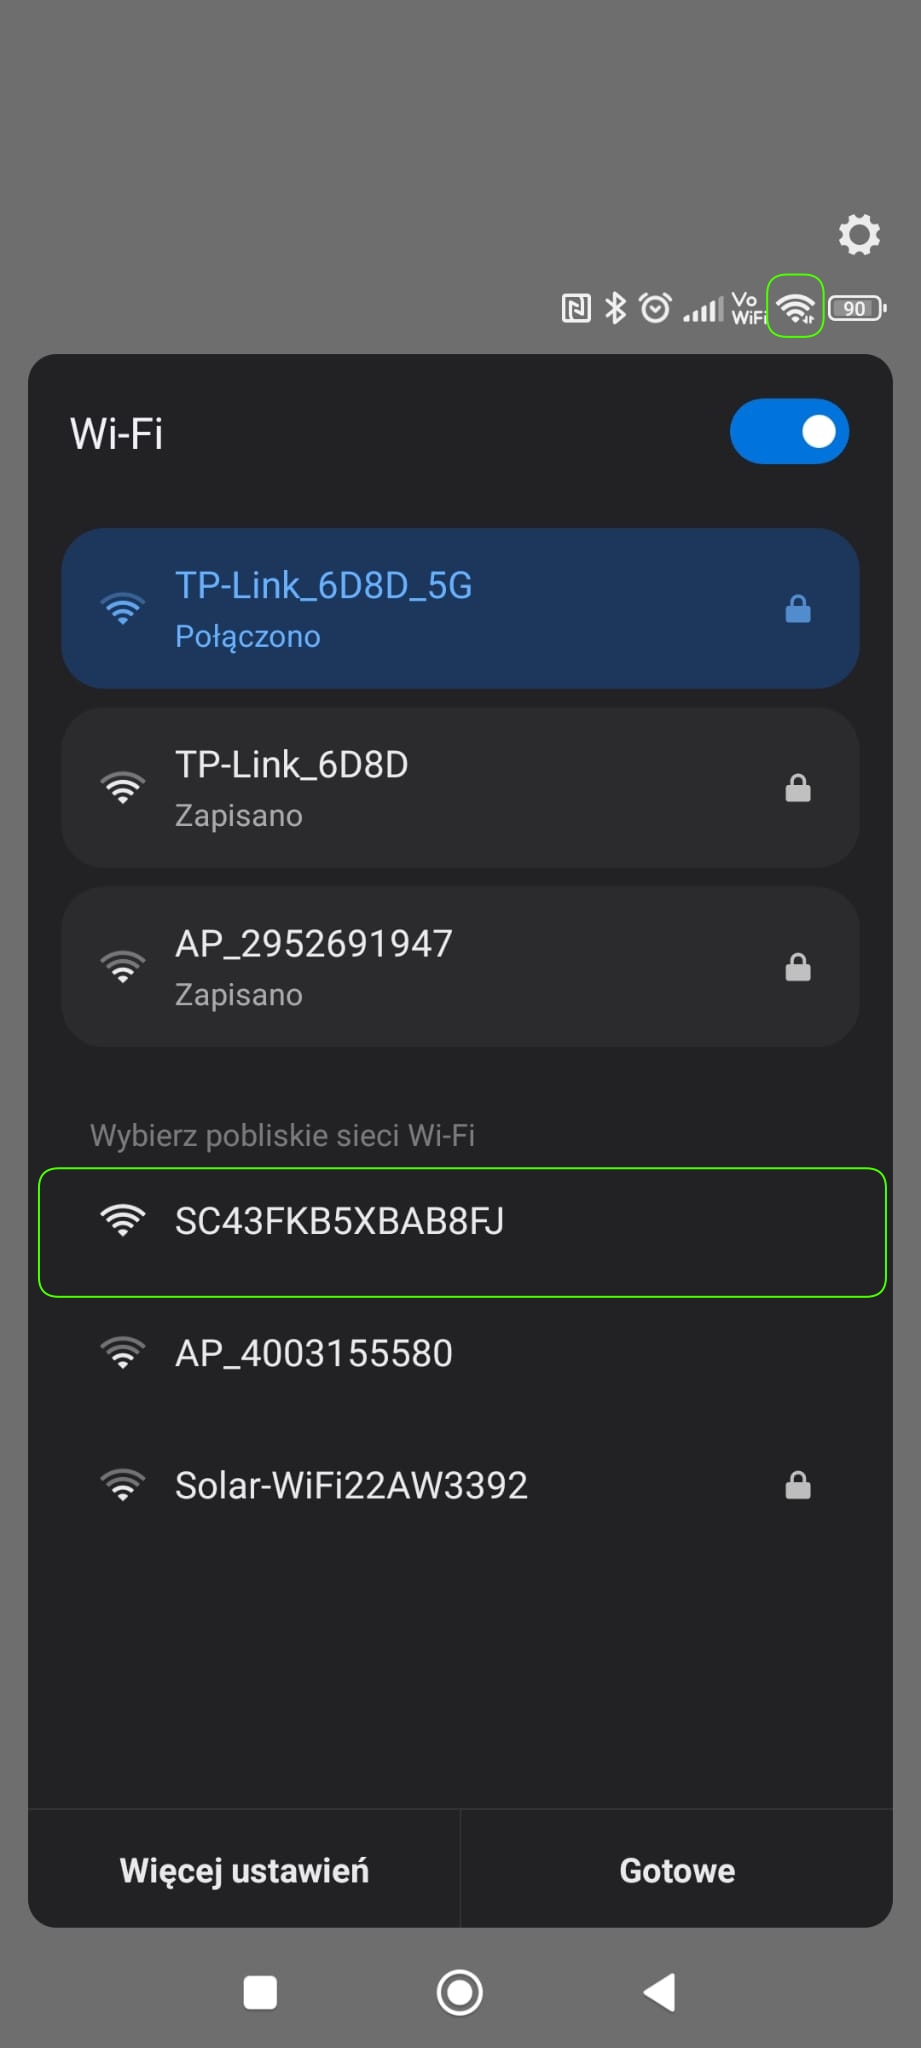
Open the phone Wi‑Fi settings and select the Solar Cube device network
- Go to the Wi‑Fi settings on your phone.
- In the list of available networks, find the new network whose name starts with
SC. - Connect to this network, but first save its name/identifier, for example
SCXXXXXXXXXXXXX.
2
Open the device Wi‑Fi configuration portal
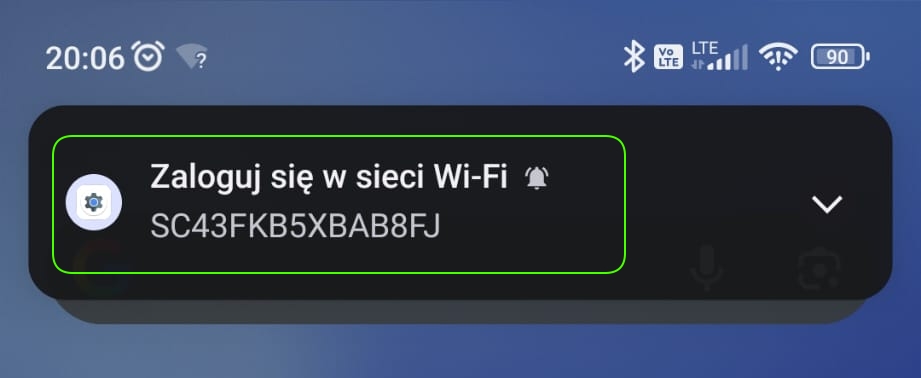
- After connecting to the device AP, open the Wi‑Fi configuration portal.
- Your phone may automatically display the login/configuration screen.
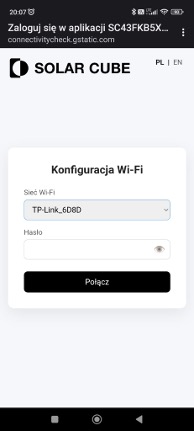
- Tap the configuration portal window and wait until the configuration form loads.
3
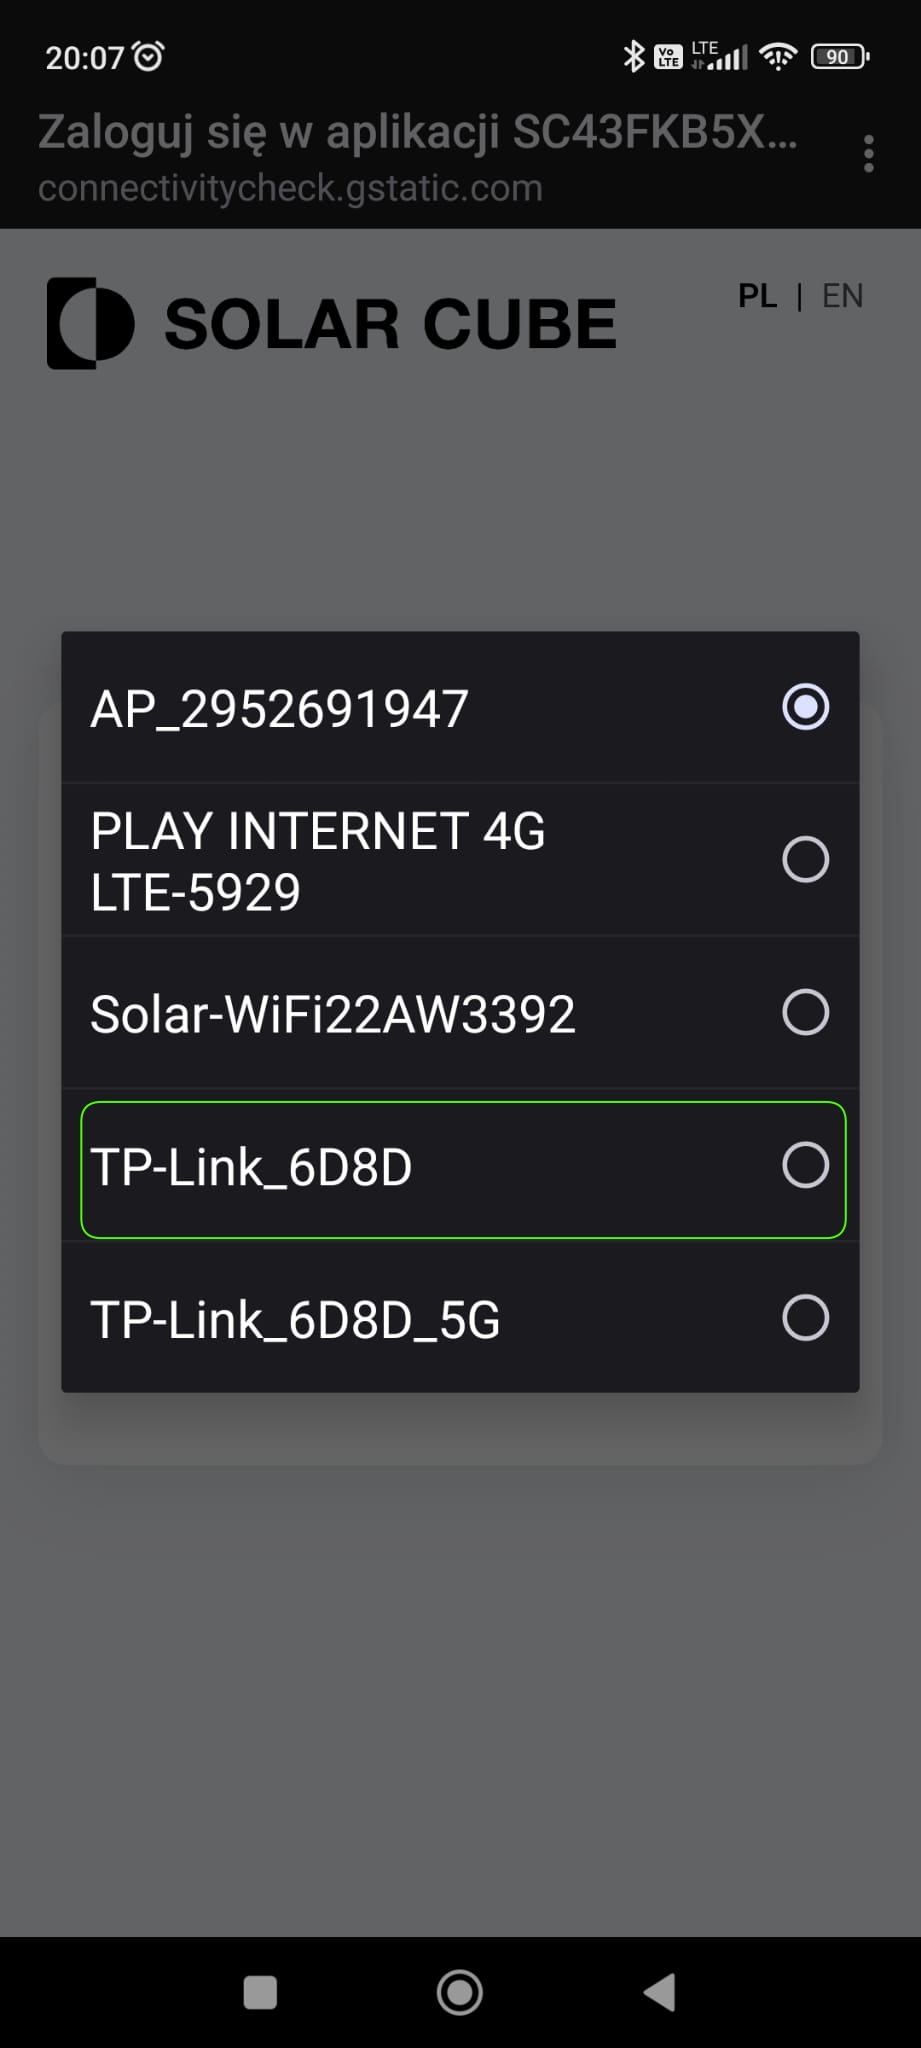
Select the target Wi‑Fi network
In the Wi‑Fi network field, select the home network that the device should connect to. Make sure you select the correct router, especially if several similar networks are available in your home.
4
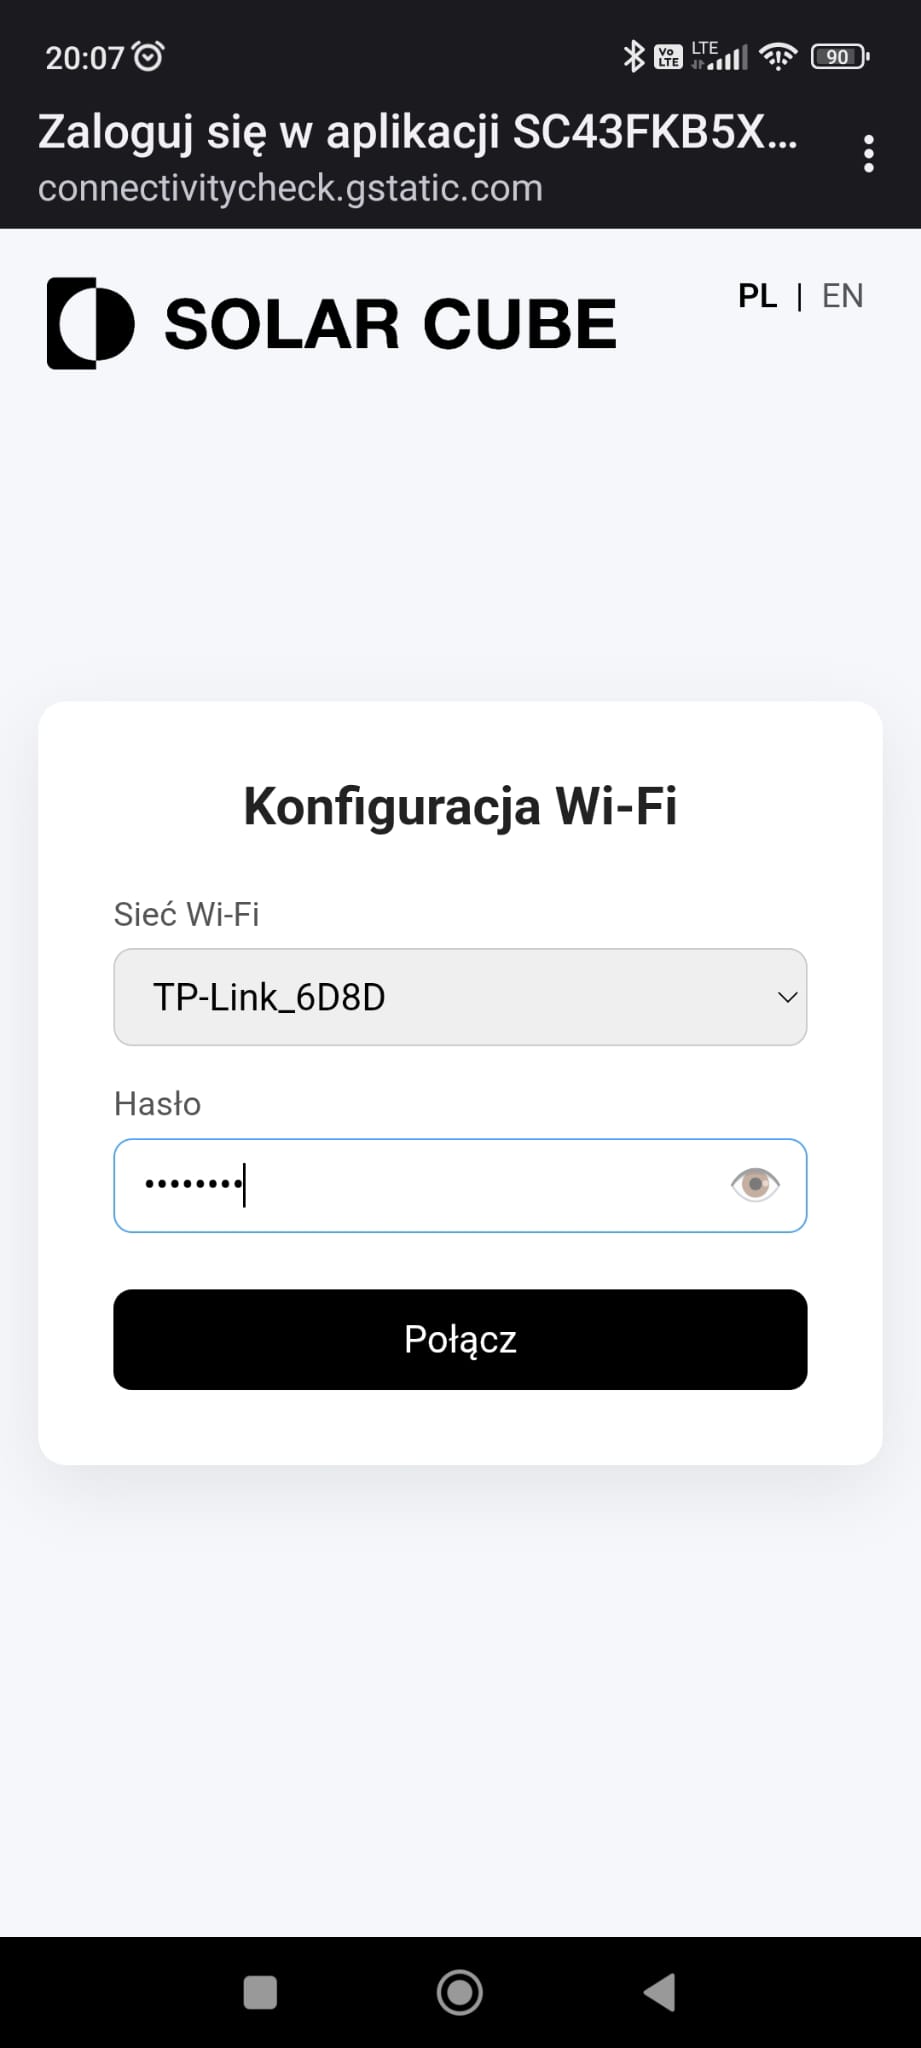
Enter the password
- Enter the password for the selected Wi‑Fi network.
- Press the Connect button.
5
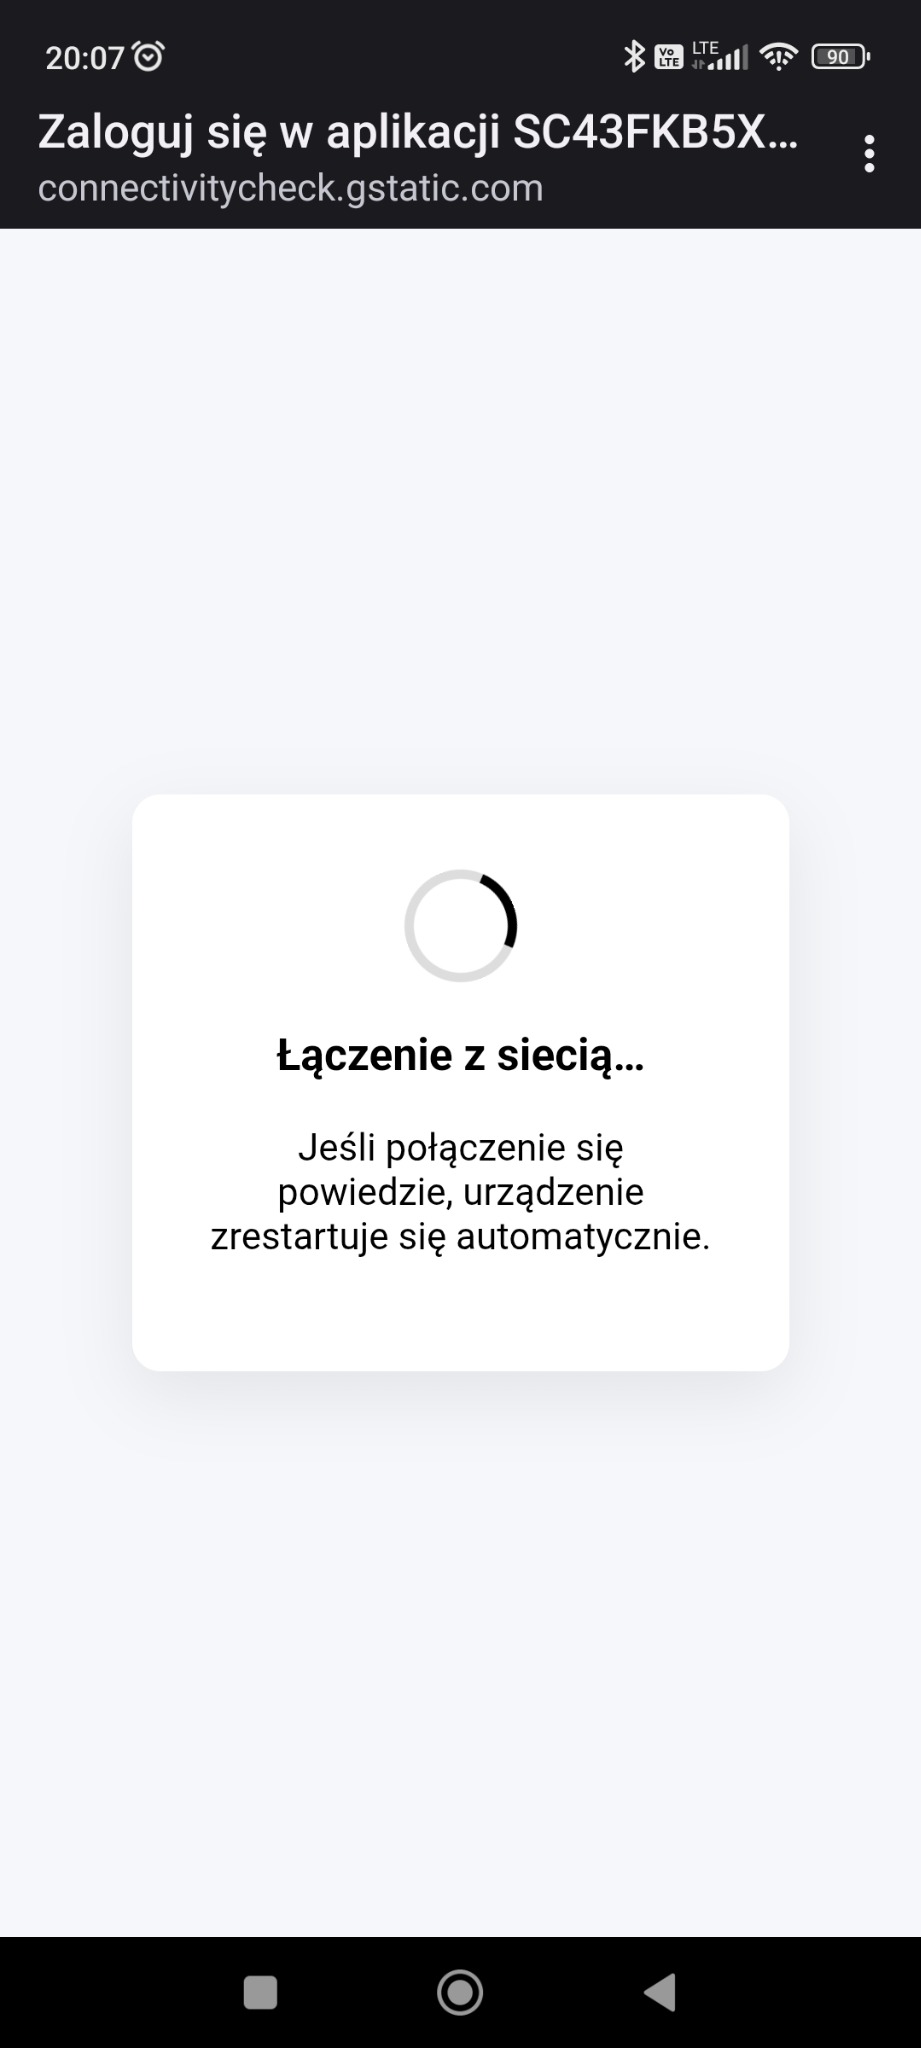
Wait for the connection process to complete
- After a successful connection, the device will restart automatically.
- After the restart, the device should connect to the selected Wi‑Fi network.
- If the device AP disappears from the list of available Wi‑Fi networks on your phone, this usually means that the configuration was completed successfully.
What to do if the connection fails
If the device does not connect to Wi‑Fi, check the most common causes before repeating the process.
!
Quick recovery actions
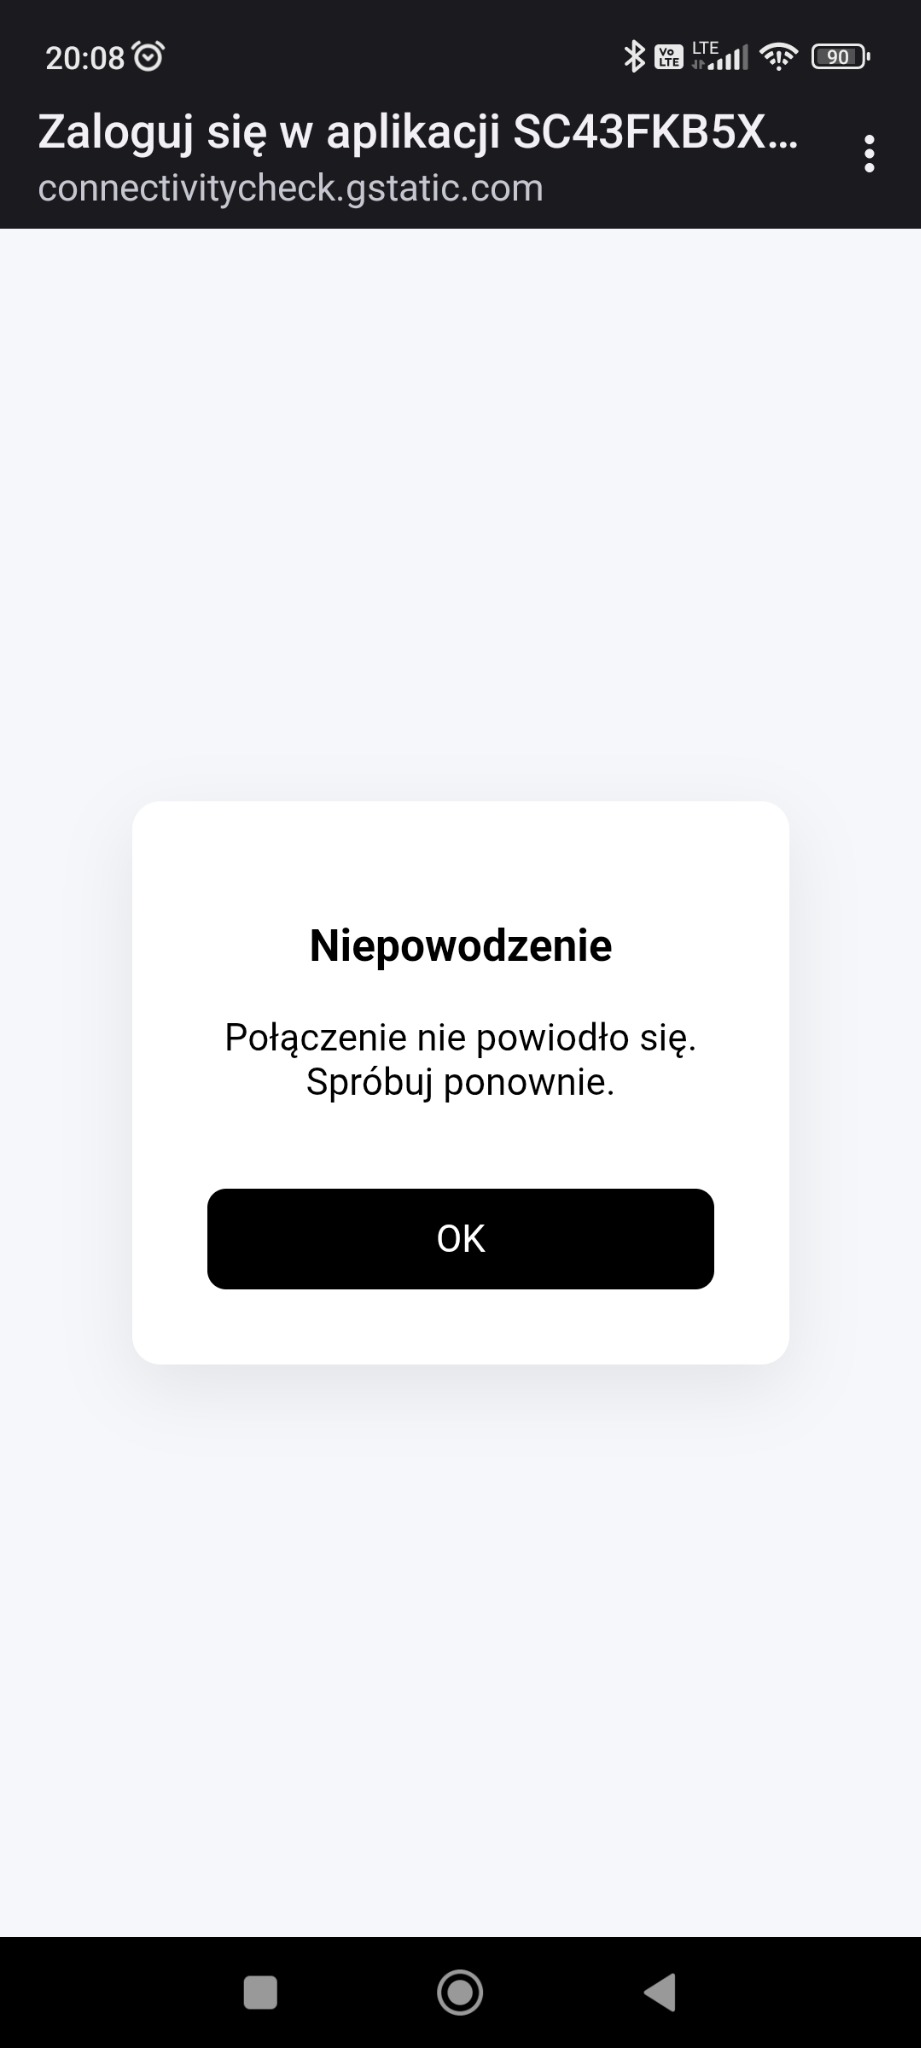
- If an error message appears, first check whether the Wi‑Fi password was entered correctly.
- Move the device closer to the Wi‑Fi router to improve range and signal quality.
- Restart the device and repeat the whole procedure from the beginning.
SCXXXXXXXXXXXXX saved together with the customer or installation data.